I used a little different technique this week to create another sign, that I thought would be helpful to other people who are new to using a Silhouette machine.

You may recall this Colonial Pharmacy coat rack/sign I created a few months ago. It was made using Contact paper cut as a stencil with my Silhouette (the negative space).

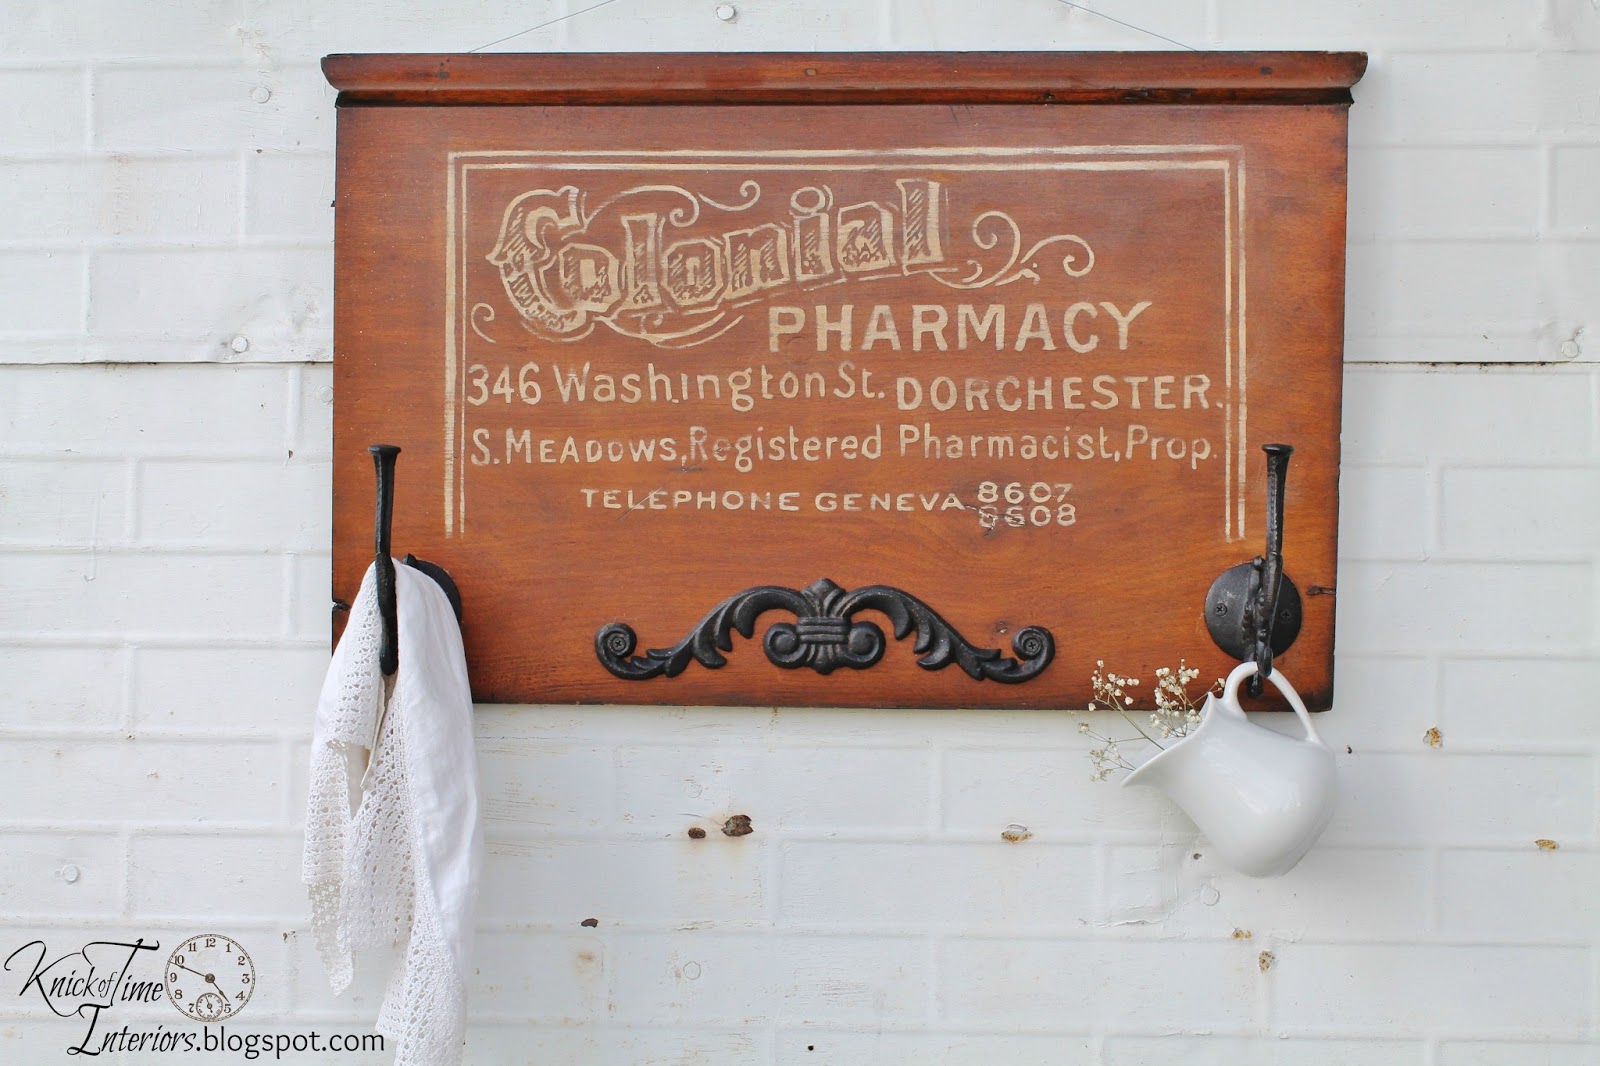
What was left on the paper backing is the positive space, that you need to use transfer tape to be able to apply it to another surface.
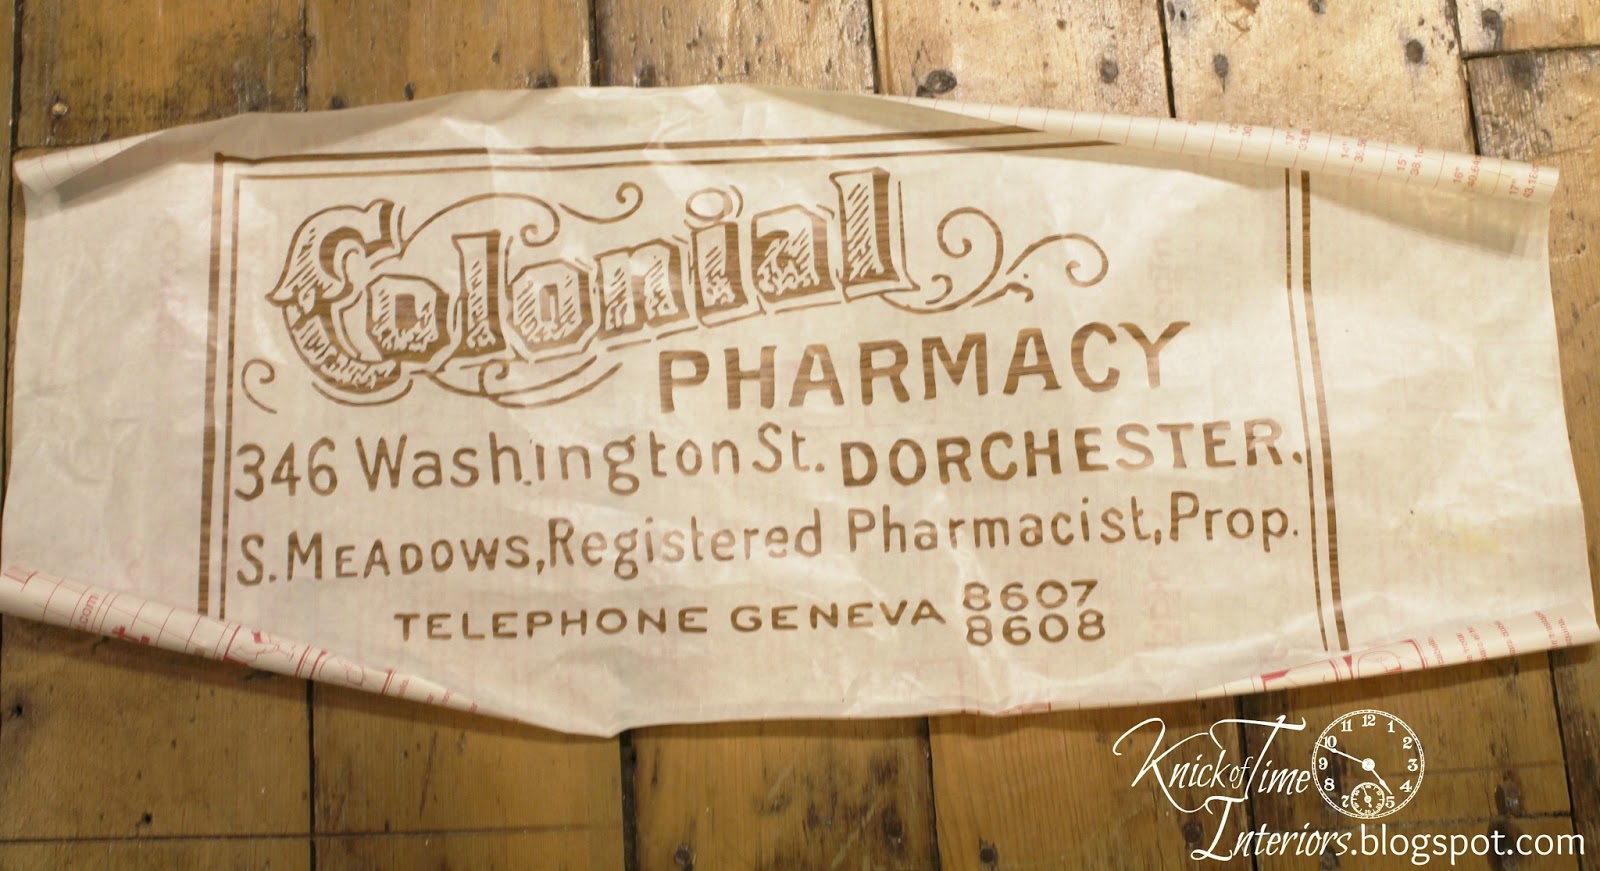
I purchased a large roll of transfer paper online and tried to use it on one of my window projects, with NO success. I got the image onto the transfer tape, but couldn’t get it to come off the transfer paper and stuck on the window.
For this project, I purchased some more expensive transfer paper at Hobby Lobby, that comes in sheets, instead of a roll. While it worked somewhat better, it was still a tedious process trying to gently work the transfer paper away from the Contact paper and getting it to stick on the board, but I finally got it. Next time I attempt this process, I will try clear Contact paper as my transfer tape and see if that works better.
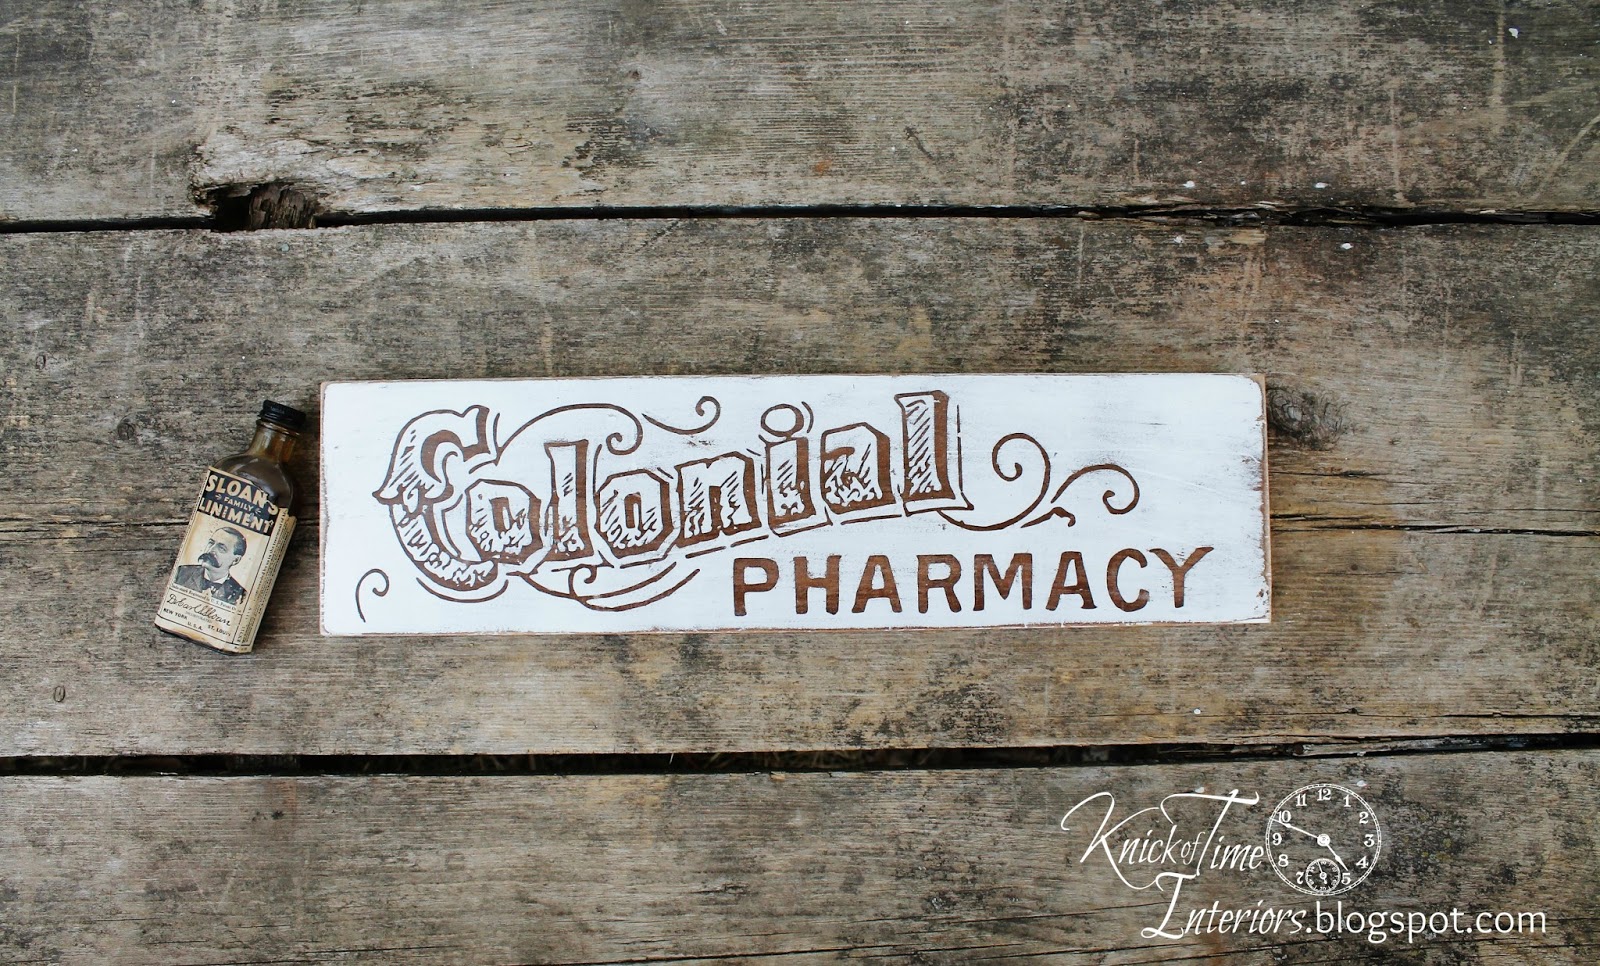
I cut a section off a wooden bed side rail to create the sign. I left the natural wood unpainted, then transferred the image onto it. Once it was in place, I spray painted over the vinyl, then used the tip of a needle to gently remove all the tiny vinyl pieces. Once dry, I went over it with my sander to distress it a little, then waxed it.

I’m really thrilled with how it turned out, and I get double the mileage from my cut images by using both the positive and negative parts of the stencil.

Blessings,


Another fabulous sign Angie. Love it! I struggled with some vinyl on Monday because it was just too sticky. It was a really warm day here and the vinyl felt like it was melting…maybe I need to put it all in the freezer first:-)
Very nice! I love your signs.
I don’t have trouble with my transfer tape but I use vinyl instead of contact paper. Maybe that could be making a difference for you. I hope you get it figured out; nothing is more frustrating than a product that doesn’t do what it’s supposed to. 🙂
Love the sign Angie … I need to try that. I got some clear contact paper today and will see what I can do. I do not have vinyl or transfer tape. Maybe I need to order some of that. Thanks for the tutorial. Hard to understand how it really works until you try to cut one. I may be calling for help.
Blessings, my friend.
Audrey Z.
I think I would be totally at sea using this machine. I have been following along to see if I wanted to purchase one, but I do not really have enough projects to justify the time and expense. If I need a sign I know exactly where to find a great one without lifting a finger! At Knick of Time, of course!
Nice sign Angie and super blog.
By Roberta
I don’t have a Silhouette….I usually do hand painting so this may not help. My husband’s company does vinyl graphics for architectural projects. He had the graphic for my shop sign cut for me. It was on a paper that seemed like freezer paper to me. So the vinyl and paper are fed in together I guess. Anyway, I laid the vinyl face down, rubbed with a tool and the letters came off onto the sign. Is that something you can do on your machine? I think you may need a commercial type paper. It seems that the Contact paper would adhere too much but it sure is cheap enough to experiment with! You’ll end up being the new spokesperson for Silhouette! LOL
Ooooooh, your sign is amazing! That would look so pretty in a kitchen or bathroom!
Jeanine
Love these signs, I think they are so very pretty!
Cynthia
Love that you were able to use both parts! Great sign.
Let me know if the contact paper as transfer paper works. I have a terrible time with regular transfer paper and if I have flipped the design the way it should be. Must be a left brain right brain thing, and I fail at that.
Bliss
What a great idea! I love the way each of them turned out. Pinning this!
Thanks for the tips! It’s awesome. I’d love it if you could link this up to our party, Give Me The Goods Monday! {1 party, 5 blogs}
http://www.somuchbetterwithage.com/2013/05/give-me-goods-party-7.html
Have a great week!
Jamie @ somuchbetterwithage.com
great job angie! I bet it is hard to transfer that image. I’ve used contact paper as transfer, and it’s sticky. I hope it works for ya. 😉
gail
This is just lovely, Angie! Another beautiful piece from you! Thanks for sharing at Give Me The Goods Monday! Can’t wait to see what goods you bring next week! Jenna @ Rain on a Tin Roof
Hi, Angie, If you have transfer paper that won’t release the vinyl, stick it to the counter top and peel off a couple of times before you use it on your vinyl. This takes the adhesion down a bit and will release the vinyl much easier. If it’s still too sticky, apply the transfer paper to a T-shirt and peel it off – then use it for the vinyl. Works great.
Thanks for the tip, Joan. I ordered this transfer tape on Amazon, and was very disappointed with it. I buy name brand transfer tape now, but it’s pretty pricey!