Sometimes new projects are a huge success, and other times, they are a dismal failure. Today’s project turned out wonderful, but only because another project was a dismal failure first. Last year about this time, I made a canvas bucket bag (seen here), which I absolutely loved, and I always thought it might be possible to make something similar out of brown paper, and I decided I would attempt it. My husband walked in while I was working on it, and he saw me snapping photos of each step of the process. “What if you take all those photos, and it doesn’t turn out?”, he asked. I’m pretty sure he jinxed me, because it was going really well, until I got to the last step, and I realized it wouldn’t work out, because brown paper doesn’t stretch the way fabric does. I guess he didn’t totally jinx me though, because before he walked away, he said, I think you should cover a pot with brown paper – like we did on the bathroom floor”.
If you’ve never seen my bathroom floor, we papered the whole thing using brown paper (seen here), and the updated bathroom remodel here.

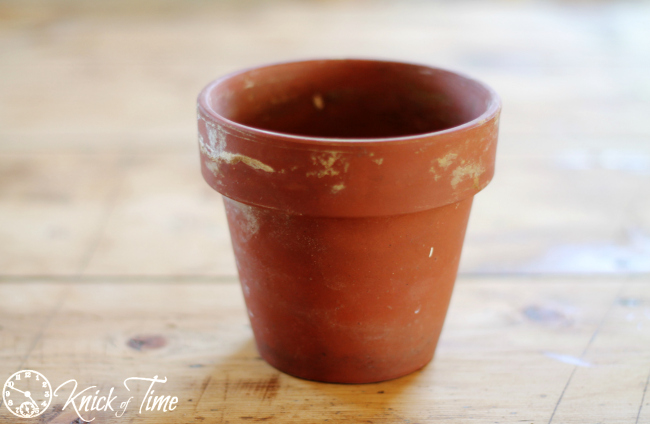
Since my first project was a failure, I thought his idea didn’t sound half bad. In fact, I liked the sound of it even better than my original idea, and I was in the mood to work with brown paper, so I grabbed one of my clay pots and got started.
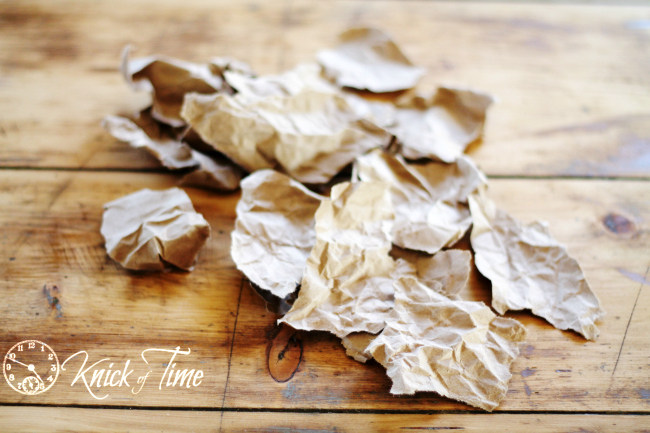
I took my failed bucket bag project, scrunched the paper, and started tearing it into pieces. Scrunching the paper before decoupaging it, gives the paper a really rustic pretty look. The crumple lines and torn edges get darker than the rest of the paper.
I put the pot upside down over a jar, so I could work on the whole pot at one time, without needing to set it down. It only took about 15 minutes to cover the whole pot, and smooth down the edges.

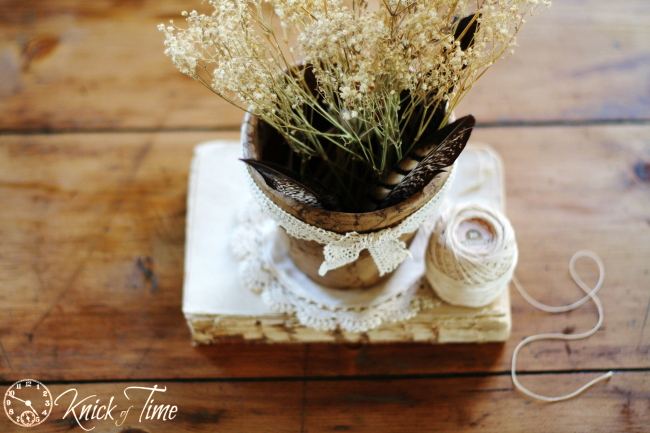
Waiting for it to dry was the hardest part, but it was worth the wait. The paper looked just as pretty on the pot as it did on my floor.

After photographing it, I decided to add a bit of lace, as a feminine accent against the rustic brown paper. I think that was the finishing touch it needed.

Since I’ll be using my pot for decorative purposes only, I didn’t seal the inside, but if you were using it to hold a plant, you’d need to do that.
I think a set of these would look so cute as desk organizers, to hold pens, scissors, scrap paper, etc.

I’ve been on a brown paper kick the last few weeks. Before Christmas, I shared a brown paper bow, then I shared a brown paper gift card holder. For Christmas, we bought our oldest two kids kayaks, which we wrapped in brown paper. It took a LOT of brown paper to wrap those two kayaks, so I saved it all for future projects. Don’t be surprised if you see a lot more brown paper projects in 2015!

More easy DIY Projects can be found HERE.

HAPPY NEW YEAR!!


Love the floor and the pots! Great ideas.
Oh yes! Brown paper kick for sure.
I had no idea that your bathroom floor was brown paper! Mine is too. I love it.
I love it so much… I just spent the last week of 2014 brown papering my kitchen.
I’m hoping to put up the FULL POST this weekend.
Your little pot is so cute.
I remember seeing in BHG ( i think) YEARS ago… A BROWN PAPER GLASS JAR.
Way back then… the jar made to look leathery, intrigued me. Your little pot– does the same thing. I think something like this would make a sweet teacher gift– especially filled with ink pens with the little flower toppers! 😉
I love the floors and the flower pot. I papered walls like that in a bathroom for a client years ago and loved how they turned out. It took forever so I don’t think I’ll ever do that big of a space again. I’ll stick to smaller projects like the flower pot! Happy New Year!
This is adorable! I love it!! I would not have the patience to do a floor, but this project is right up my alley – great idea Angie!
Very rich with texture-love it!
Gorgeous pot! I love the idea!
What a great idea,did not know you could do so much with brown paper. Thanks
What a cute idea! I’m gathering potential projects for Christmas 2015 and would like to pick up on Patricia’s idea for teacher gifts…but I’m new to all this and have a question. When you “decoupage”, do you put Mod Podge on first, then paper, then Mod Podge again?
Gosh I just love them, they have such great character!
Great idea Angie. Love your floor also but doubt that I would ever dare to do that.
Keep the great ideas coming.
Hugs,
Audrey Z. @ Timeless Treasures
They did the brown paper floors at the Gallery where I have my art displayed…boy was that labor intensive and more expensive than other readily available floor finishes. You really will have to want that finish to put that much work into it and expense. But it has been an interesting conversation piece for the gallery. My kids and I did this on some tin cans way back when, I think we got the idea from BHG and it was called a faux leather finish, I hadn’t thought to do it on pots. Great idea. My kids are grown and flew the nest so maybe I will do it with my little nephews.
Hi Angie
I love the look of the pots, especially with the lace. I want to try this, but what goo did you use to stick the paper to the pots?
Thank you for all these wonder projects!
Kim, I just used school glue mixed with a little water.