Recently, I showed you the makeover I gave the outside of my front door (seen here), and I finally got around to doing the inside of it this week, but the red color I choose for the outside was not going to work for the inside of the door. Do people usually have 2-color doors? I don’t know if that’s the norm, but I have one now! After painting the front side, I learned a few things. First of all, don’t paint a door while it’s still on the hinges. You’ll be battling paint drips the whole time. This time, I had my husband take the door down, and I put it on the kitchen table to paint it laying flat.
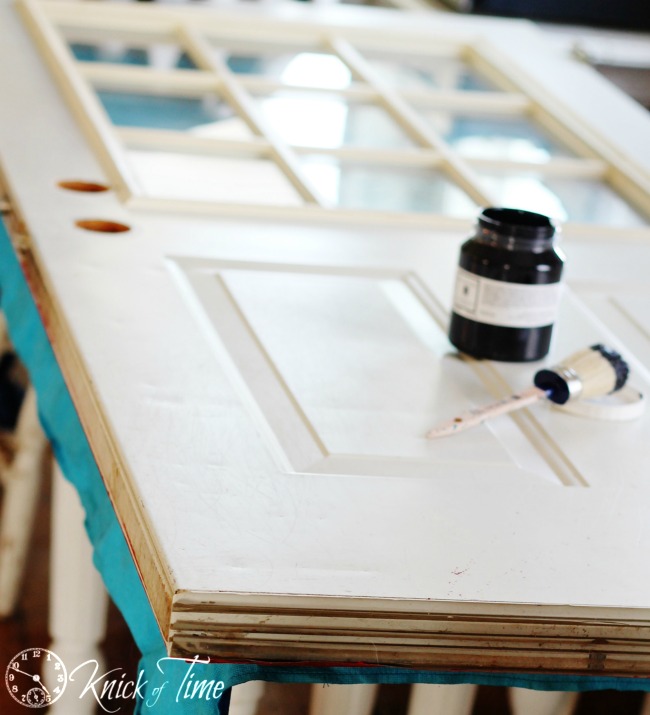
It was SO much easier this way. I used Coal Black Fusion Paint from Homestead House. I wanted a totally matte black, and this color was perfect. I never bother taping off the glass around windows, because it takes less time to use a razor to scrape the paint off the glass that it does to tape all the corners, and since painter’s tape isn’t cheap, I’m not wasting it either.

Here it is, back on the hinges from the inside of my entryway. Sorry the photo is so lousy. It is nearly impossible (for me) to photograph a black door, with light coming through the windows. The camera sensor will either pick up the light, and make the door too dark, or it won’t show any detail in the door at all, so this was the best shot I could get.
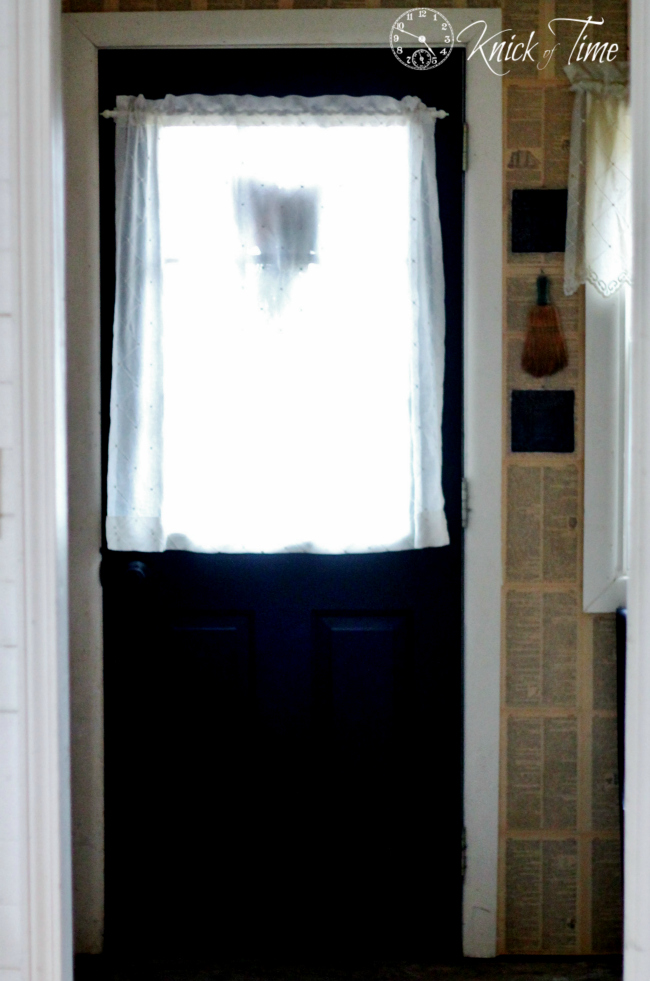
You can see the detail on the door a bit better here. I had to brighten the photo quite a bit to show the detail, so the photo looks grainy, but you get the idea. It looks better to the naked eye.
After getting both sides of the front door finished, my husband did bring home another front door…the one he said we’d have MONTHS ago. It was a display model, and would also need to be painted before we can use it, but I’m in no hurry. I really like how my front door looks now, although I didn’t seal either side after painting it, because I knew it would be temporary.

While I had the black paint out, I decided to give the gossip bench in my entryway a makeover…again. I first gave this bench a new look several years ago. You can see it in progress here.
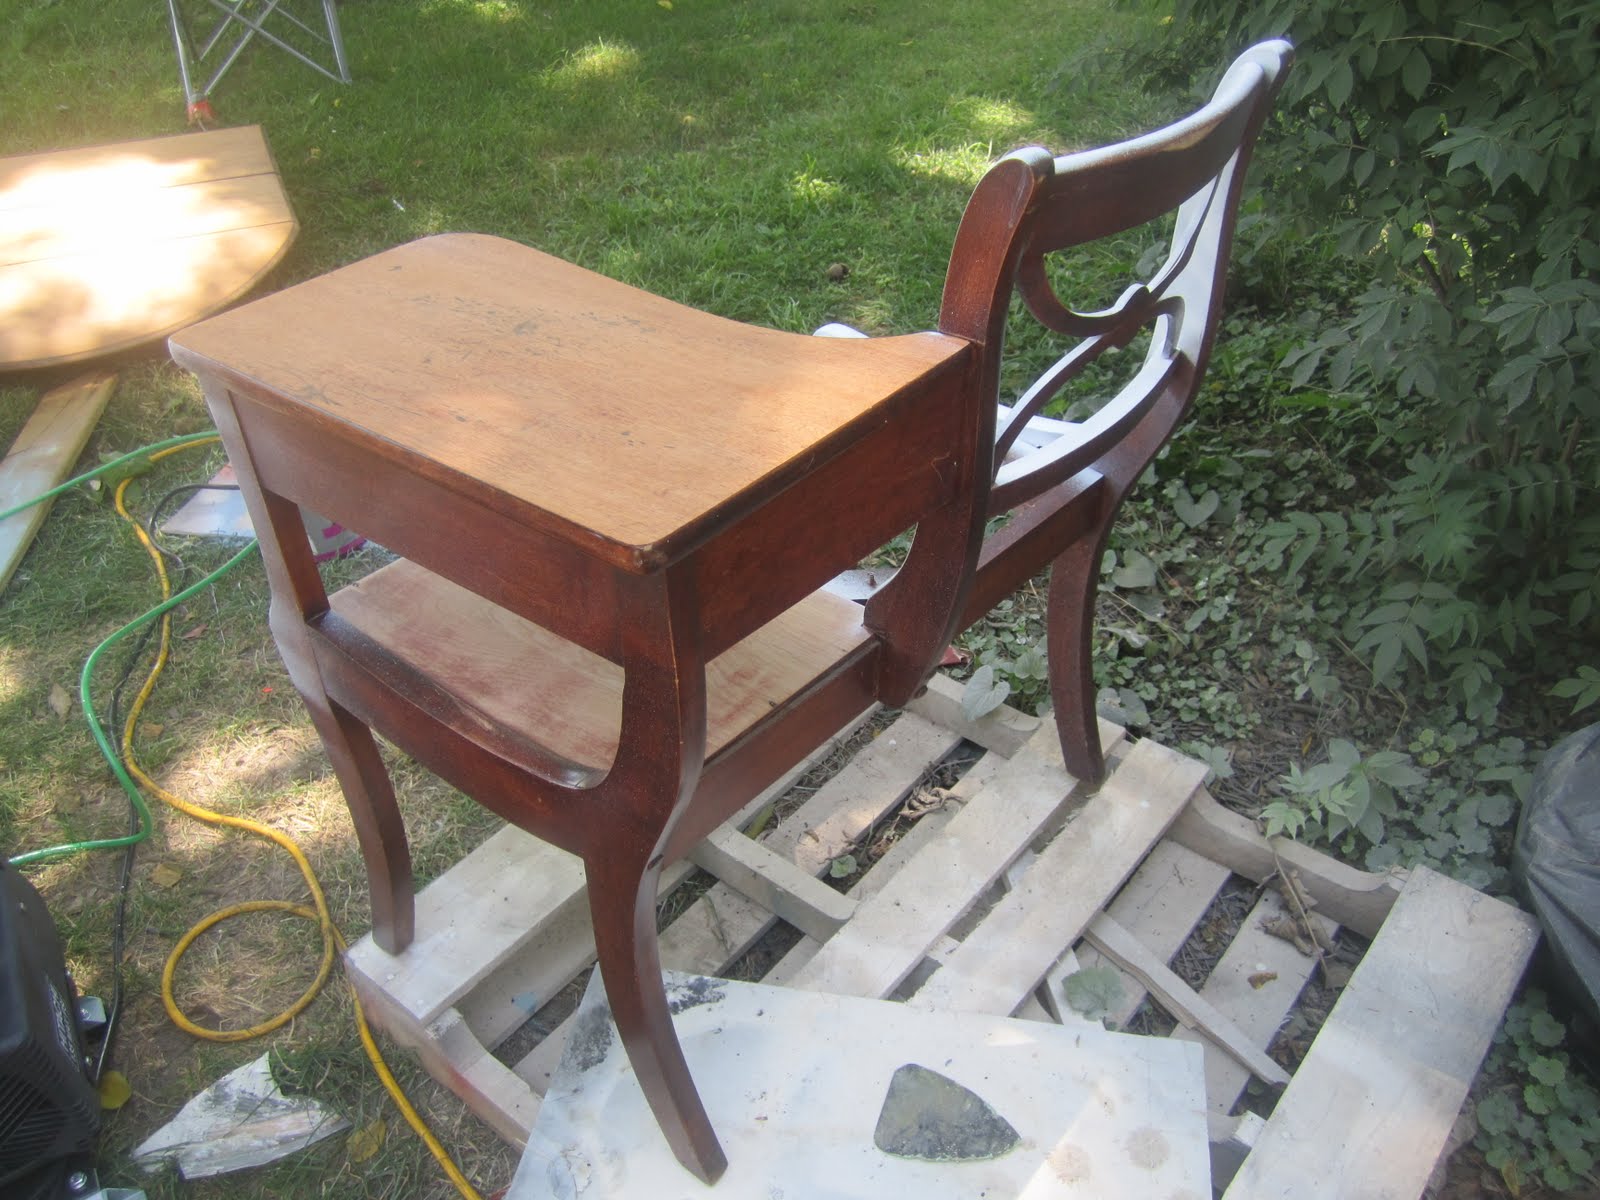
I can’t remember what shade of white I used to paint it, but I decoupaged some antique pages to the tape parts of the bench. It’s been in my entryway (see entryway makeover here) for the last 3 years, but unfortunately, water from a plant leaked on the desk top, leaving marks on the antique book pages, so it was due for another makeover.

The cushion under the fabric wasn’t damaged, so I was able to reuse it. I liked the look of the canvas I used the first time, so I picked one of my old seed bags made of canvas to recover the seat. The numbers at the bottom of the bag were a bonus.

The bag was just wide enough, that I was able to slip it over the cushion and wood. I pulled the fabric tight on the underside, and stapled it around the edges.

I trimmed away the excess fabric to remove the bulk before attaching back onto the bench.

I thought about painting some kind of graphic on the top of the desk, or doing decoupage again, but after putting it back in its place, I ended up liking the basic black, without anything special done to it, and since I usually put a plant on it, there seemed no point in doing anything that would just be covered up anyway. Here it is, all finished.

Although hard to photograph, black was the perfect color choice for both the front door and the gossip bench. It connects with the black print in the dictionary pages I “wallpapered” the entryway in, and the chalkboard wall (that makeover was shown here). It’s been a few years since then, and the chalkboard wall has gotten a little dinged up, so I need to repaint it soon, but I still absolutely love it. The dictionary pages were used as a cheap way to hide some flimsy and ugly wall paneling, but someday we’ll need to pull it all down, and replace the paneling with something sturdier. When we do replace it, I will probably use book pages again, because I still love how it looks.
This entryway was the very first room we worked on when we moved into our house, and I regret to say, it still isn’t finished. We still need to do something with the concrete floor, and I never did get around to painting the ceiling. Ceilings are just about the least fun thing to paint though, so I haven’t been terribly motivated. I’ve ignored it long enough though, so I hope to knock that project off my list soon. We’ve batted around ideas for the concrete floor, but haven’t decided on anything yet, so I need to come up with a plan soon, so we can finally get this room finished.
My husband has started working on our bedroom remodel (my design inspiration is here), but it’s going to be a big job, so don’t expect to see that room reveal anytime soon. I can’t wait though, now that I have the new (antique) dressing table to put it in. I bought paint and have started on its makeover! I should be showing it to you soon!
Blessings & Happy New Year!

Take a look at the rest of my furniture makeovers HERE.


Angie, Merry Christmas! Thanks for a lot of wonderful inspiration this year. Peace and Blessings to you and your family.
Merry Christmas to you as well, Nancy!
Dear Angie,
You totally inspire me, I have a whole 6 room bungalow to do, (ground floor home). So I’m searching your idea’s, hope you don’t mind.
Kind regards,
Rachel
Hello, love this project. Have enjoyed your blog and all your wonderful ideas and projects.
Wishing you and yours a wonderful, Merry Christmas.
VERY cute idea with the bench! About the door and taking photos of a black item…..try taking the photo later in the day when it is closer to sunset. Not as much light coming in through the windows and your flash, set at the right angle, will not bounce as mush flash back on the photo. It might take a little practice to see when the sunlight/flash timing is best for you to get a clear photo but, it is well worth the effort. Works for me just fine.
Renee
Treasures by Renee
Thanks Renee – I took photos 3 different times of the day, and the final photos I did when it was rainy and overcast in the afternoon with no flash. Black indoors and direct light just don’t mix!
Love the new bench look, Angie! My front door is black on the front and white on the back…a girl’s gotta do what a girl’s gotta do. Merry Christmas, Angie!
Thanks for your great ideas. You inspired me to make a coat rack with an old piece of board from an outdoor planter and hooks from another coat rack. In between the large hooks I placed smaller ones, these were cheap brass ones which I painted with black acrylic paint. I will spray lacquer to protect them when I can open the windows and doors. I screwed the board to the wall studs. I will send you a photo of the finished project.
Merry Christmas!
I can’t wait to see yours Mary-Joan! Merry Christmas!
About to redo mine, what the trick of getting the snail mail slot area? For painting
Alison, my door doesn’t have a mail slot, so I can’t give you any advice there – sorry!
Hi Angie, can you tell me, where you bought your gossip bench from.
An auction Tommy.