We don’t have a Costco where I live, so when I get the chance to shop at one, I’m like a kid in a toy store. I want to taste all the samples, I want to stockpile commercial size containers of minced onions, and I get sucked in by cool things I don’t see in my local stores.
Normally I resist the urge, because I’m either traveling by train with limited luggage, or I’m traveling with my family, and there’s no extra space in the vehicle, but one one visit to Costco, I couldn’t resist myself.
I spotted a metal tote that had removable caddies that hung on the sides of it, and it had a little chalkboard to write on. It was instant love, and I had to have it.

I loved it so much, it was the inspiration for the Wooden Tote with a Built-In Paper Towel Holder.
My plan was to use it as a utensils carrier. It was big enough to not only hold all of our normal flatware, I could even put a crock inside it to hold spatulas, and put kitchen scissors and a can opener in the hanging caddy on the side.
It worked great, but when I moved my Antique Typewriter Charging Station onto the counter where it’s been sitting, the only other place to put the big utensils carrier was the kitchen table.
It takes up WAY to much space on the table, and is heavy to move around, so I’ve been looking for a smaller utensil carrier that could fit on the table and could easily be moved.
I found one in a thrift store last week, and it was like a blank slate, just waiting for a little makeover. Here’s how it looked when I bought it.

And here it is after a quick makeover as my new flatware carrier!
It does the job I need it to do, and takes less than half the space of the metal tote. It doesn’t weigh a ton either!

I wanted it to look like I made it out of an old shipping crate, and it was so easy to do!

To make your own you’ll need: (affiliate links included to help you find the products you’ll need)
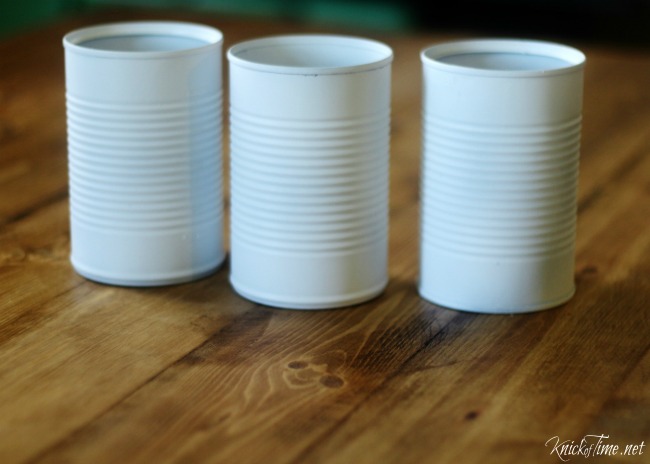
paint (black for words and another color for cans)
stencil brush
stencils ( I used the Feed Sack stencil
rusty metal “bling”, if desired
How to make a farmhouse utensils carrier
- Paint cans and set aside to dry.

- Stain your wood tote, if desired and set aside to dry.
- Spray sealer over cans to protect the finish, and let dry.
- Stencil design on tote.
Remember to load VERY little paint on your brush, and dab most of it off on a rag, so you don’t get bleed under the stencil.
5. Add rusty “bling”.
I had these two metal corner brackets and rusty screws that were perfect. The screws were removed from the piano when we made my Piano Desk. There were tons of them, and I’ve used them for so many projects.

It’s small and light enough that I can easily move it where needed. I love it!

I’ll find a new use for the big boy metal one, but it won’t be in my kitchen!
Yesterday, I was a guest blogger at Debbie Doo’s, so be sure to pop over and say “hello” there, and check out my post!
I’m sharing this week at the Weekend Retreat Party
Vaya con Dios,


Your so cleaver, I love it !
Aww – thanks Sandy!
What a great idea and I love it!
Thanks so much, Marlene!
Hi Angie, old crates and cans are always a friend of mine! I love how you painted the cans white. Also , what a huge surprise to see my blog featured at TALK OF THE TOWN today!!!! WOWSER’s!!! Thanks so much for the honor girls! Christine from Little Brags
Thanks Christine and we’re glad to feature your blog – it’s awesome!
Angie,
I love the Farmhouse update you gave your silverware tote. The piano parts are a perfect touch to your project.
Happy Creating,
Karen Marie
Thanks Karen! My family likes it too, since we have room to actually eat at the kitchen table without the big metal tote on it! 🙂
I love that carrier. I have a plain wood one somewhere around here. I think I may stain and stencil. I love it. Thanks for being a guest.
Thanks Debbie!