I just finished a new project, and while I’m sharing it, I thought I’d give some tips on how to spray paint a design on glass with stencils, because it opens up so many more possibilities of ways to use your stencils.
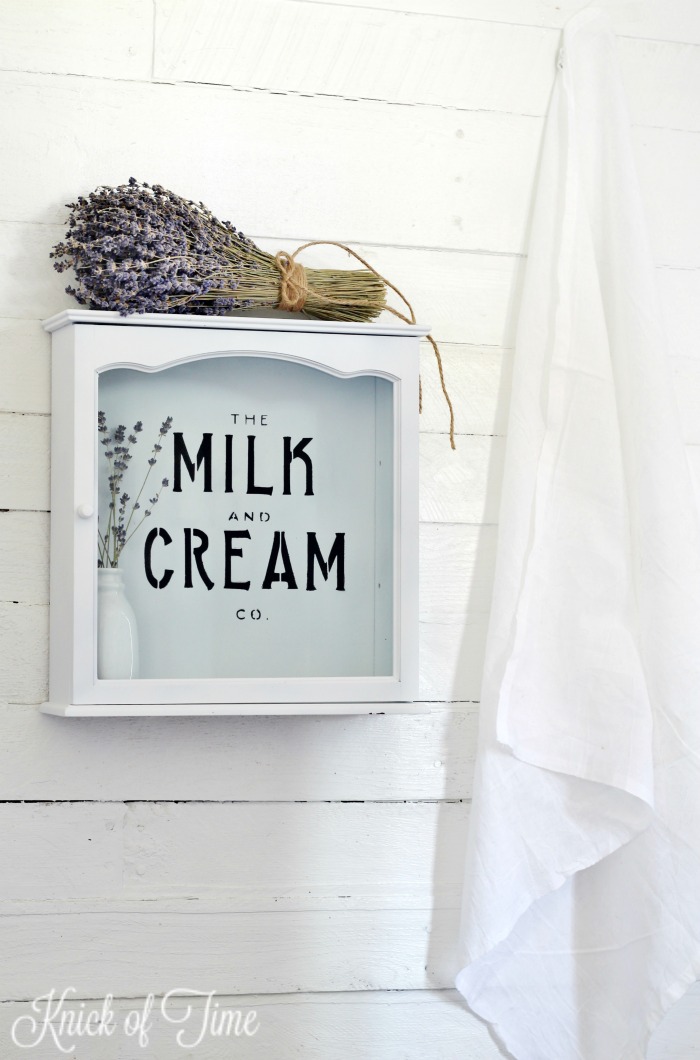
A few weeks ago, my husband and I went to a neighborhood yard sale, where I picked up this little cute little cabinet. I found it at the first stop we made, and loved the curved top around the glass door. I didn’t see much else at the rest of the stops, so this was my one good find.

There was nothing wrong with it, but it had a dark, glossy finish and it was a bit dinged up, so of course I painted it white. Every once in a while, I’ll use another color (like this time), but I just thought this cabinet needed to be white.
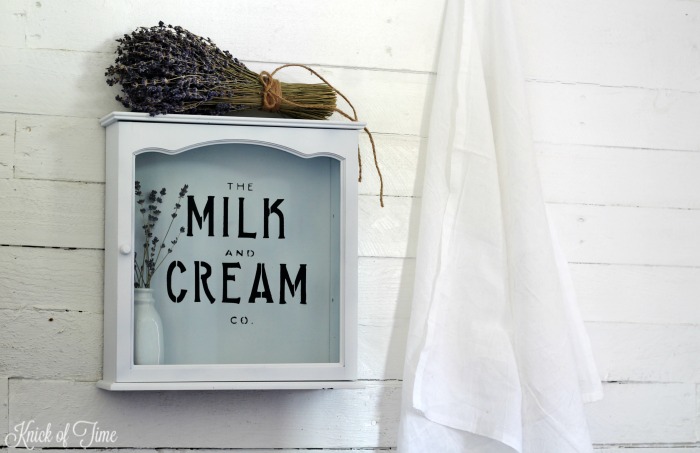
It’s been a quite awhile since I “retired” the Milk & Cream Co. signs I used to make, but I thought it was time to do again, except this time using one of my stencils on the glass cabinet door.

In the past I’ve always used adhesive vinyl when spray painting on glass, so I was worried the paint would bleed underneath a regular stencil, but I was really happy with how well it turned out.
There are a few things you should know when using spray paint with a stencil to get the best results
SPRAY PAINTING ON GLASS TIPS:
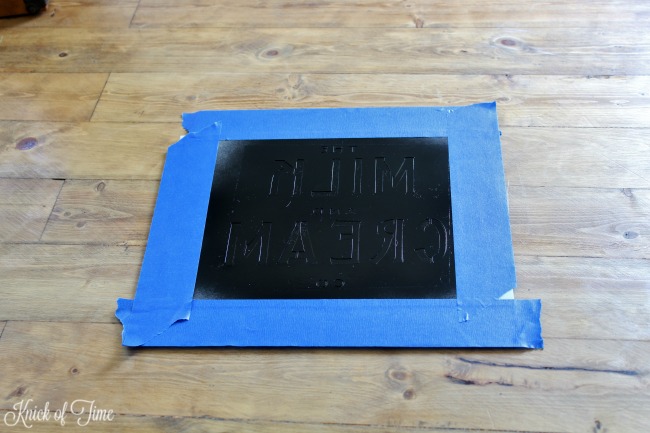
~ Spray a light coat of stencil adhesive spray (affiliate link) on the FRONT of the stencil, and allow it to dry.
~Position your stencil backwards, so that the dfront of the glass won’t have any paint on it. This keeps the painted design safe from damage when you clean the the glass.
~ Once you have the stencil centered, tape off the rest of the exposed glass with painter’s tape. This protects the rest of the glass from paint over spray.
~ Make sure to shake the spray paint can really well, and hold the can 9-12 inches away from the stencil, then spray with light, even coats until you have covered the stencil area.
~ Carefully remove the tape and stencil while the paint is still wet. Don’t wait for the paint to dry, or removing the stencil could pull up your painted stencil design also.

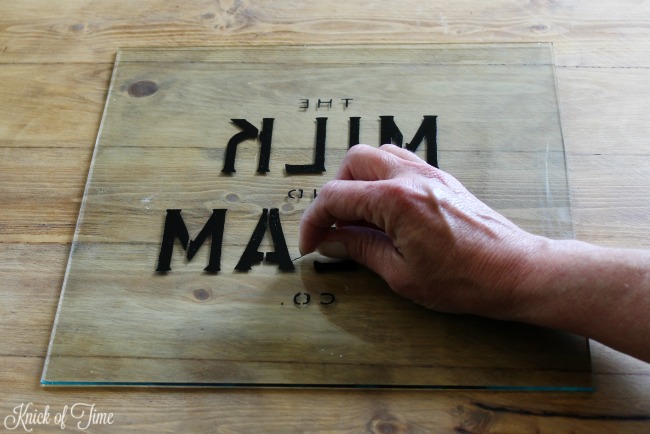
~If you do happen to get some paint bleed under the stencil, I use the sharp tip of a needle to carefully pick it off.

I think I may start making more Milk and Cream signs, now that I know I can use regular stencils over and over, and not have to cut adhesive vinyl for each one I make.

Vaya con Dios,


Love it! You are so inspiring!
Great improvement on your cupboard. Love the stencil.
Like always looks great, thanks Angie and Happy Mothers Day.
HAPPY MOTHER’S DAY TO A WONDERFUL LADY FROM WHOM I HAVE LEARNED SO MUCH!!!! I SIMPLY ADORE THE “NEW” CABINET AND STENCILED WORDS! SO FARMHOUSE STYLE!!
I really love this, eons ago we bought a really beat up cabinet and made it into a bathroom cabinet after staining it ebony. The decals on the glass are so great! I might be trying that on our cabinet now 😀
I love this project, Angie! It turned out beautiful. I hope you had a wonderful mother’s day!
Thanks so much, Meg!
so cool! The Milk & Cream graphic is so cool – I’m glad you un-retired it. And now I want to find a glass fronted cabinet to work on…..
This is so beautiful, Angie! It really reminds me of an apothecary case… I want a glass cab now, you have my mind screaming with ideas! This is one of my fav stencils of yours… it’s become your trademark! Featured you on Party Junk this weekend, thanks or linking up!
Thanks Donna!
I Love these items in milk and cream. I have several items around our place that i would love to put some signage on our Barn and Tack Room and the corrals. My daughter is a graphic artist and can make the signs for us but we can’t seem to find the font you used for the “Milk and Cream”. Do you by chance have the name of the font?
Larry, My Milk & Cream Co. stencils are ready-made, so it’s easy to paint the wording as signage on anything you want! It’s available here – https://www.etsy.com/listing/235943253/milk-and-cream-co-dairy-sign-stencil?ref=shop_home_feat_1
Wow, I’m in love!❤