Phases of the Moon Sign
If you love the night sky, learn how to create a beautiful Phases of the Moon sign with this step-by-step tutorial and free printable.
My daughter and I love viewing the night sky.
On our bucket list is to travel where the Northern Lights can be seen; probably in Canada.
Until then, we love viewing the stars and moon here at home.
So, I decided to come up with a way to make a sign showing the phases of the moon to bring the night sky indoors!
A trip to Home Depot was a must!

PHOTO
My vision was a sign that could be made for me to keep and be easily reproduced to sell in my Etsy shop.
This post contains some Amazon affiliate links in which I earn a small percentage from qualifying purchases through these links, at no extra cost to you. Thank you for helping to support my blog!
DIY Phases of the Moon Sign
Supplies I used:
Wax – I like using Dixie Belle Spray Wax because it’s odor-free and dries quickly.
Clear Spray Sealer – Matte, Satin, or Glossy finish – your choice.
Automotive Sponge for smooth application of paint – no brush strokes!
Phases of the Moon printable (below)
Ikonart Stencil Maker. Get 15% off with code KNICKOFTIME.
Printer Film (necessary to make a silk screen stencil)
How to make a Phases of the Moon Sign:
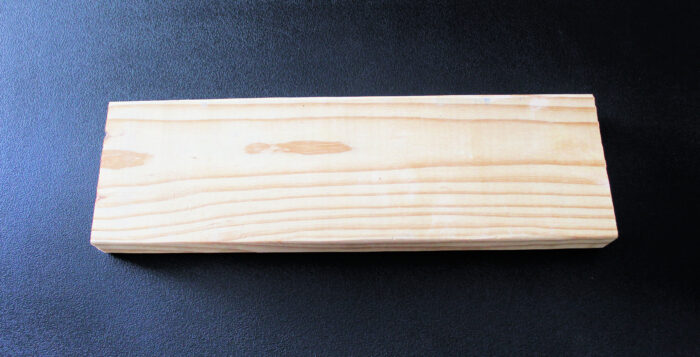
*Buy 2″x 6″ x 4′ wood
I often get this size wood to make long signs because it’s deep enough to stand on its own and be stable for a shelf sign, but a hanger can also be added to turn it into wall decor.
Home Depot cut it in half for me.
Each measured about 18″ long, with a little extra for a smaller sign. For less than $6, I can get 2 long signs and 2 small signs.
I use these all the time to make signs like this one.
The Dishes Are Looking at Me Dirty Again Sign
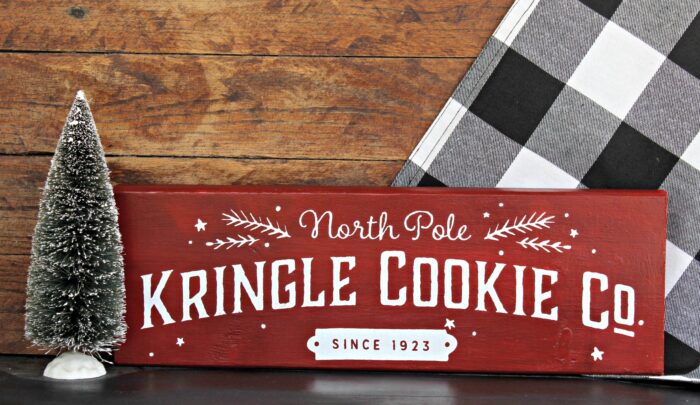
And this one.
North Pole Kringle Cookie Co. Sign
The benefit of using wood like this is I can make each sign double-sided!
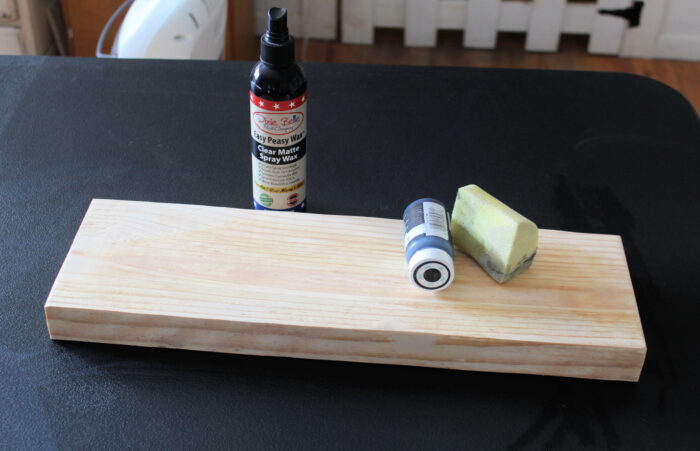
*Sand any rough areas out. I use 220 grit sandpaper for the smoothest finish, then paint the wood.
*Paint the front, back, and sides for a finished professional look in Ink Black so it’s dark like the night sky.
*While it dries, print the phases of the moon image on Printer Film. If you don’t have a printer that prints on large paper, take the saved image and transparency paper to Staples or somewhere like that. They do it very inexpensively.
I added an extra image to make full use of the stencil film. You’ll see why shortly!
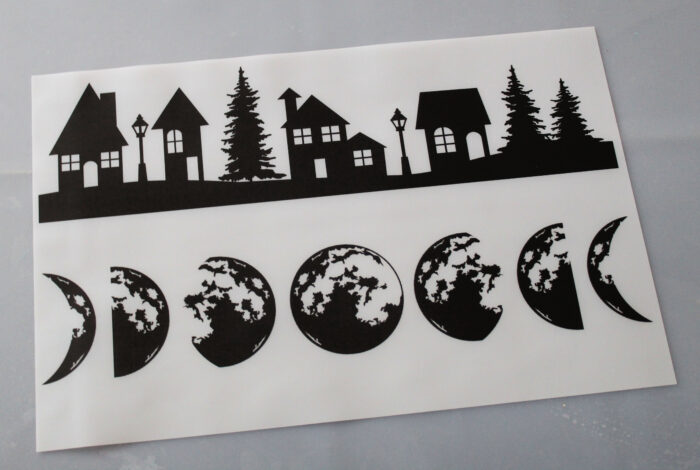
This design is free for you to use! It has amazing realistic detail.

*Wax the board. This protects your stencil from the base coat of paint.
*Create a silkscreen stencil. See how to HERE.

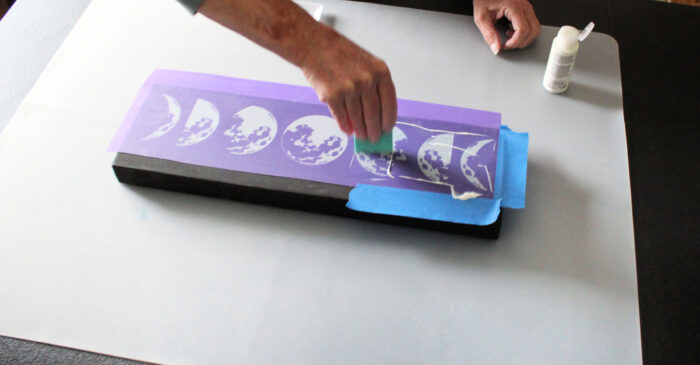
*Cut the stencil in half and position it on one side of the painted board.

*Stencil the image with yellow or white chalk paint. I chose white.
So overjoyed with how it turned out!
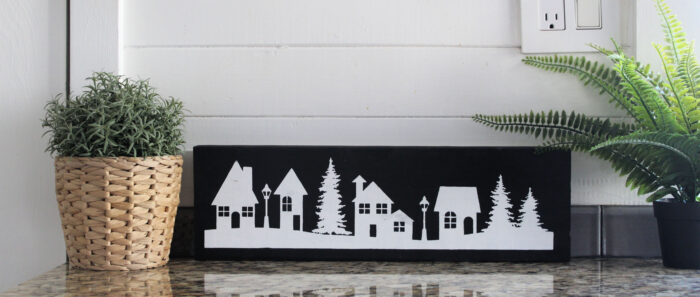
And on the back side I used the winter village image for a double-sided sign. Super cute as well!
It’s available in my Etsy shop HERE.
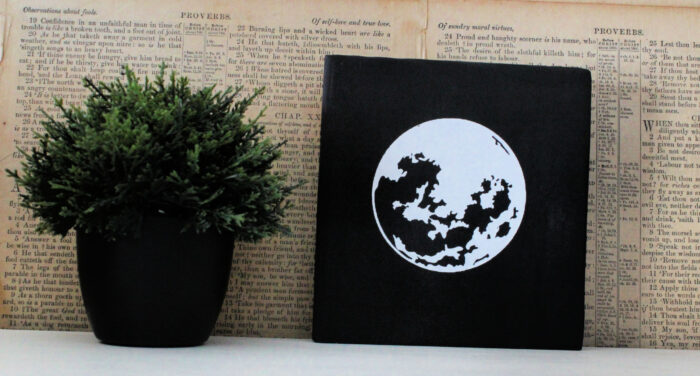
Never one to waste wood scraps, I used just the full moon portion of the stencil to create a smaller shelf sign.
PIN IT!
 Use my discount code KNICKOFTIME for 15% off your entire Ikonart order HERE. The machine kit includes everything you need to make your own silkscreen stencils.
Don’t forget to sign up to receive my free posts so you don’t miss any upcoming projects!
Vaya con Dios,
Angie





Speak Your Mind