Some of my best memories are memories made outdoors – camping, fishing and bike riding with my parents and sister, and then with my husband and kids when I had my own family.

Since the weather is warming up, I’m thinking about all the outdoors activities I hope to do with my family this summer, and my planning to the form of two brand new Vintage Sign stencils!
With the Get Outdoors stencil, you can create LOTS of different signs – all with one stencil!

Take a look at all the options:
Bike
Hiking
Camping
Fishing
Swimming
Bike+ Trail = Bike Trail
Hiking + Trail = Biking Trail
Bike + “S” (from Swimming) = Bikes
Plus two Mini Words – The Great Outdoors and Adventure Awaits

The second new design is the Arrows Stencil.

How to create your own Rustic Outdoors Directional Signs
- Cut rustic wood to your desired length for each sign. If you plan to have both arrows and words, make sure to allow room for both.
TIP: I usually use pallet wood, but I didn’t have enough of them, so my signs were all created on fence pickets.
The great thing about using fence pickets is you don’t have to chop apart any pallets, and they are cheap! I paid less than $2 each and made several signs from each picket.
- Paint the arrows at the edge of the wood. If your arrows will be pointing at something real – make sure they are pointing the right direction!
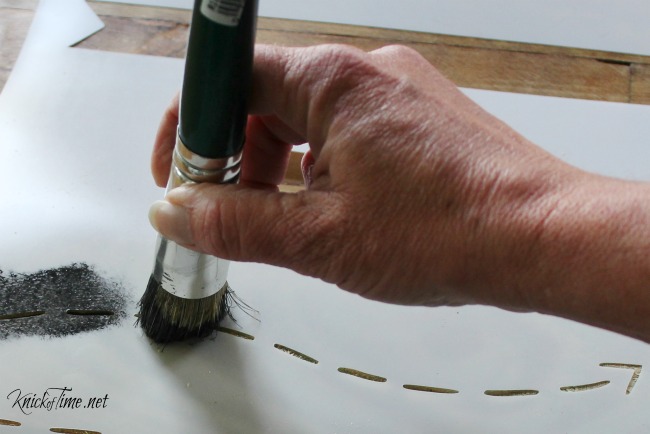
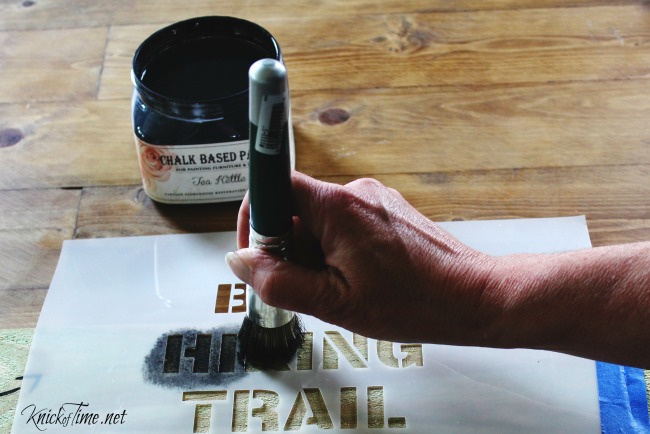
- Next, paint the word stencils. You can see through Vintage Sign Stencils, so that helps with placement of the words next to the arrows.
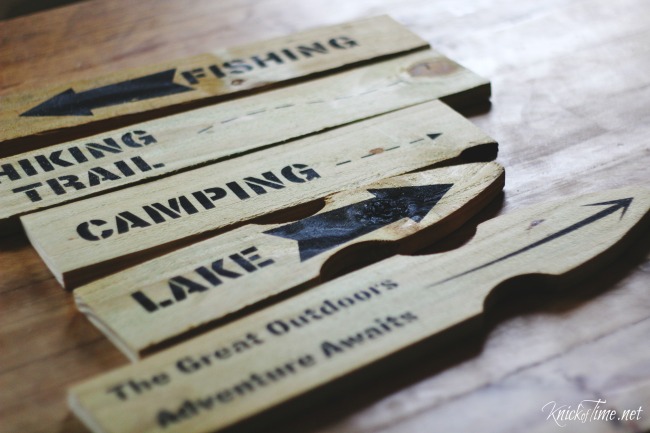
Here’s all the directional signs I finished.
Can you see my goof-up?
The arrows on Fishing and Lake are pointing different directions, so I didn’t end up using the Lake sign.
- attach hangers
I found this rusty chain in my stash, but rusty wire (affiliate link) would look great too.

You can hang them as signs in your house, but I wanted to make mine to look like directional signs you’d see at a park, so I used this wooden stand my husband made last year. We used it as a stage prop for my church’s VBS program.

And here it is all put together!

You can see the top sign was made with the pointed tip of a fence picket, and I used the two mini word stencils on it.
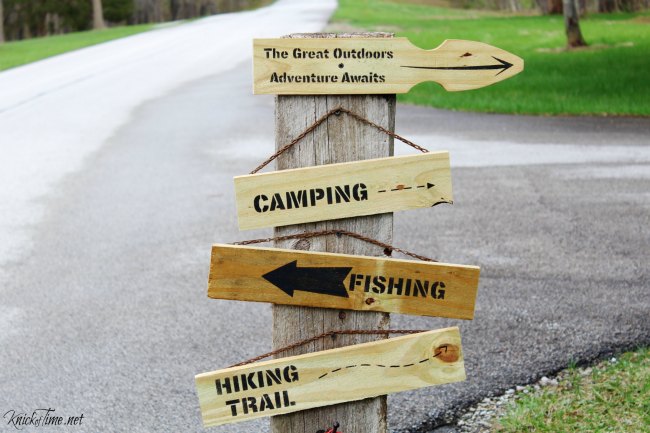
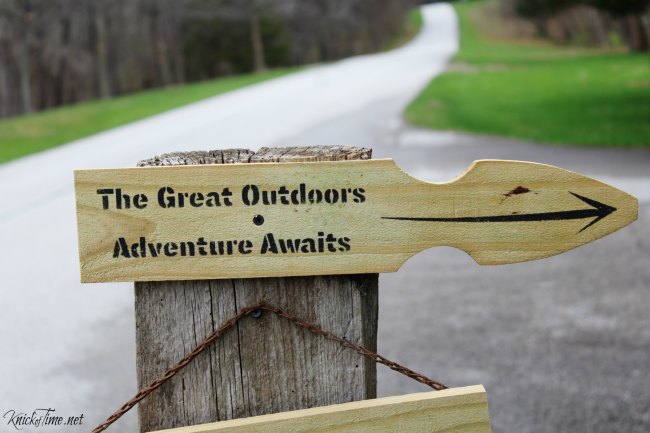
It was a bit chilly, but my oldest so wanted to go fishing, so we headed out to the state park where I could shoot my photos while he fished.
This is the same park where I shot my middle son’s Graduation Photos, and also my Wicker Sofa Makeover.

The Get Outdoors stencil is available HERE.
The Arrows stencil is available HERE.
I can’t wait for the weather to get really warm, so our family can go on our yearly Kayaking Trip!
So, what outdoors activities do you have planned? I’d love to hear about them!
Vaya con Dios,


Welcome Home Summer Spaces Tour


I’ve seen something like this w/the signs on a 4 sided post (the signs pointing in different directions of course) and have long planned to make one. u could add the lake sign in this way OR add to the post you are using. maybe make another one i.e. porch;swing;ball field;picnic, ANYTHING and make that arrow direction different from the others too. The one u made is great and i’m inspired to tackle mine. Thanks for all you do making Knick of Time so great. love it.
Good luck making your own, Lesa!
So stinkin cute, you are my inspiration for so many projects but also for your faith in our good Lord?
Thanks so much, Judy!
You do such a good job with these, Angie…love the sign you made with the stencils! Have a wonderful weekend!
Wonderful job Angie! Love them all 🙂 Have a great weekend and soon you’ll be doing all those things!