Well, hello 2017. It’s so nice to meet you!
I’m kicking off 2017 with a super-duper easy project in my laundry room.
It’s been three and a half years since we remodeled our laundry room. I still love it today as much as I did when we finished it, but I realized the other day that I haven’t tweaked a single thing in the room since then.
I’m a tweakaholic, and that wasn’t like me at all, so I was ready to do some tweaking today.
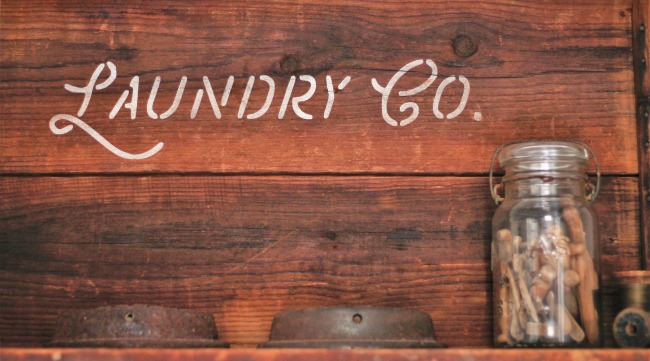
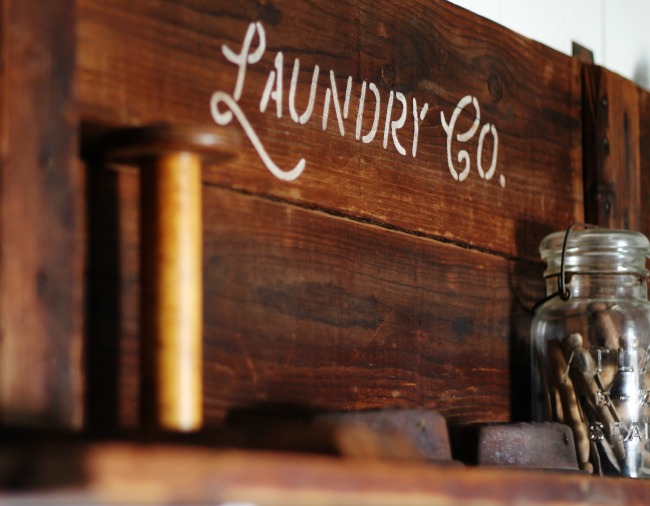
We made the shelf above our washer and dryer out of some amazingly aged old wood.
The upper part of the shelf was just begging to become a sign, and it seemed like the perfect candidate to introduce my newest LAUNDRY CO. stencil on.


Supplies Used (includes some affiliate links)
Pallet wood or salvaged wood boards
stencil of your choice
paint
corner braces (if you desire a shelf on your sign)
How to make your own vintage style LAUNDRY CO. sign or shelf:
1. Lay out pallet wood or old salvaged boards and connect together with wood braces on front or back of boards.
If you desire a shelf, use corner braces to attach an additional board under the sign boards. Select braces the correct length for your boards.
2. Position stencil on wood and secure with painter’s tape.
3. Load paint onto stencil brush, then wipe most of the paint off the brush onto a paper plate. I wipe more off onto napkins to make sure my brush is very dry and reduce the chance of paint bleeding under the stencil.
Use the remaining paint on the paper plate to reload your brush.
Note – Because my old wood is dark, I used white paint to stencil, but boards painted white and stenciled with dark paint would look wonderful too.


Five minutes later, my old wooden laundry room shelf was sporting a vintage style sign look.

Easiest tweak I’ve ever done!

Now I just need to get busy and tackle all the laundry that’s piling up.

Purchase LAUNDRY CO. stencil direct HERE.
This LAUNDRY CO. stencil is from Knick of Time’s Vintage Sign Stencils line HERE.
View all Vintage Sign Stencil Projects – VISIT HERE.
Vaya con Dios,

Click on the images below to see more farmhouse stencil projects.


I just live for the tweaking part! Can’t leave anything alone for long…maybe during really large projects, lol. Just finished planking my living room wall and now I’m going to tear my bedroom apart so I can plank the wall behind the bed. Oh the fun of moving furniture at 73! But I’m getting really good at using the air nailer which proves you are never, ever too old to learn!!
Love everything you do and I appreciate all you share.
Tweak away darlin’!!
Love it Angie! I’m hoping 2017 will be a wonderful year for you! You deserve it, hon 🙂 Have fun!!
I love your sign! My first stenciling project was with my five-year-old grandson, making a sign with his name stenciled on it. Well…even though I did the biggest share of the actual stenciling the sign didn’t turn out being up to my standards. He was fine with it, but I didn’t get clean edges to the letters at all, even though I tried to use very little paint on my brush. I was using a stenciling brush, too. Anyway, I have been anxious to try again, but also feel like I need a bit of guidance or a tutorial or something. I will probably just go at it again and see what happens. But the laundry room sign would look great in my laundry room on white boards in black paint. I think I’d better practice for a while before I try it, though!
I want to wish you a Happy New Year, too, Angie. I hope 2017 is full of good things for you and your family–some wonderful surprises and pleasures you haven’t even thought of yet! Your post is one of my very favorites, if I haven’t told you that before! You are so creative, sometimes I am amazed at what you come up with! So just keep doing what you’re doing!