How to Make a Rustic Pallet Wood Wedding Sign
We visited the wedding venue tonight for our son’s wedding, and it is amazing! It’s so beautiful, very little was needed for decor, but I wanted to share one project that I did make for them.
My daughter-in-law to be requested a pallet wood sign to display at the entrance of the venue, and my husband and I were happy to work on it together for them.
The basics of this sign really could be used for any event, not just a wedding, so I’m including the tutorial to show how we made it.
How to Make a Rustic Pallet Wood Wedding Sign

Supplies Needed (affiliate links included for your convenience):
Free pallet
Reciprocating saw (this is the saw we use)
Wood stain (this is my go-to color for most projects)
Silhouette Cameo (optional)
1. Remove boards from a pallet or buy boards.
Our preferred method is to leave the original nails in the wood, rather than prying them out. So we use a reciprocating saw that cuts through metal.
2. Decide what size you want your sign to be and cut the boards to the correct length. The we made was very large but yours can be smaller.
3. Line up the boards and attach them together on the back. You could use wood braces, but we used metal shelf brackets.
4. Add additional metal mending plates to stabilize any boards that wiggle.
5. Stain the sign and let it dry. Distress it, if desired.
6. Paint the lettering on the sign and let dry.
You can freehand paint the lettering, but I used my Silhouette Cameo. I’ve owned this thing for several years and have more than gotten my money’s worth from it.
See some of my Silhouette projects HERE.


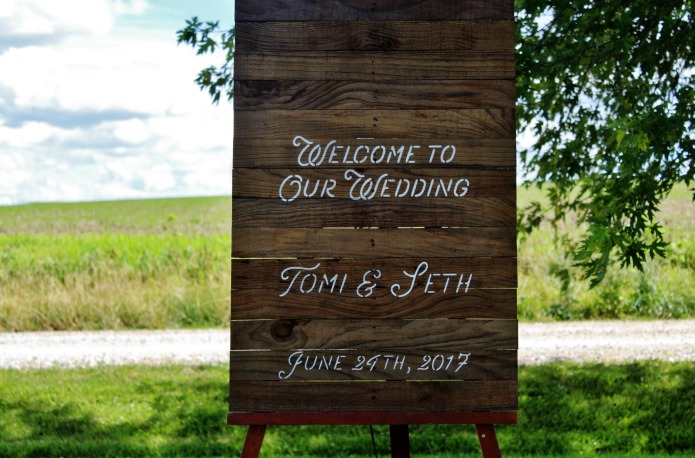
Here’s how it looks once it was painted.

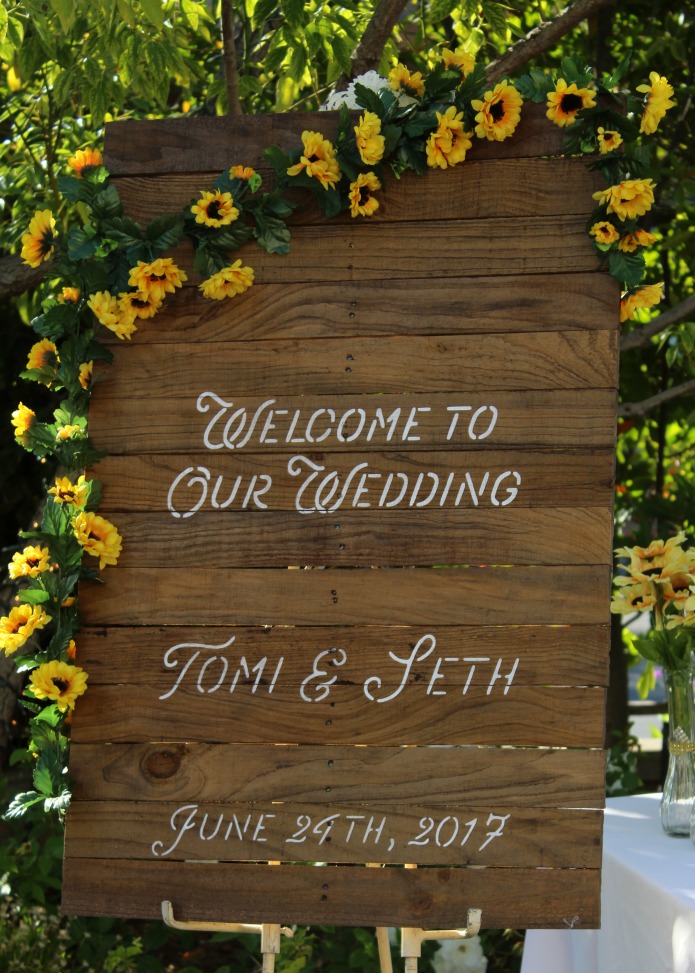
We brought a sunflower garland to attach with a staple gun. We didn’t want to attach it before traveling so the flowers wouldn’t get crushed.
Here’s how the sign looked at the venue after we attached the flowers.

I made signs for my niece’s wedding, my oldest son’s wedding, and have another one to make for my middle son’s wedding in October, so I’m getting this wedding sign making thing down pat!
Tomorrow is the big day. I’m so excited!! When you read my next blog post, I’ll be an official mother-in-law. 🙂

Vaya con Dios,


Can’t wait to see it with flowers, enjoy this special day ! Give everyone my love, congratulations to you all. Hugs
Thanks so much, Sandy! We’re heading over to the venue now to add the flowers.
Happy Wedding Day! Looking forward to seeing the finished product!
This is so pretty, Angie! Congratulations to all!
Thanks Linda. It was a beautiful wedding!