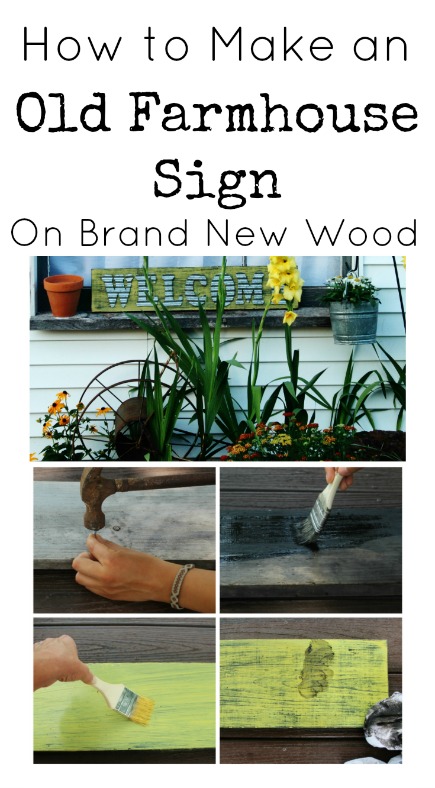
How to Make an Old Farmhouse Sign on New Wood
I forgot to ask the gal who took care of our animals while we were on vacation to water our flowers. The ones planted in the ground held up basically fine, but the flowers in hanging planters didn’t fair so well. 🙁
Since the flowers in my guest house window box were some that died and I didn’t want to replant them until fall, I decided to replace the window box with an old farmhouse sign.
I didn’t want to spend a lot of time making it, so I came up with a sign that was really easy.
I made it with wood that had been sitting in our barn. It had a bit of weathering to it, but it was brand new wood that had never been used.

If you love old farmhouse signs, and you love easy projects, then this project is for you!

How to Make an Old Farmhouse Sign on New Wood
Supplies Needed (affiliate links included for your convenience):
Pine board
Wood stain ( I’m loving this color right now.)
Wax brush
Hammer, nails, screwdriver (optional)
Fine grit sandpaper (I used 120.)
Directions:
- Cut wood to desired size.
- Add dents, dings, and worm holes as directed below.
- Apply wood stain.
- Add a little water to chalk style paint and apply it over the board.
- Lightly sand over the entire board to distress it.
- Rub antiquing wax into all the crevices in the wood, then wipe off the excess with a flour sack towel.
- Position the letters in place and attach them.
If you don’t have any old, salvaged wood, don’t worry. It’s easy to get the look on new wood with a few tools.

Use a hammer to add some dents on the edges of your board. To add worm holes, tap nails or a screw tip lightly and randomly all over the board with a hammer.

Here’s a closeup shot of the wood with some insect holes and gauges on it.

Apply the wood stain with a cheap chip brush, then wipe off the excess.
Tip: Wear latex or rubber gloves to protect hands from the stain.

Apply the watered down paint. Just a light coat is needed. Don’t apply it too thick or you’ll fill the tiny holes.

Distress the edges of the board and lightly over the top of it.

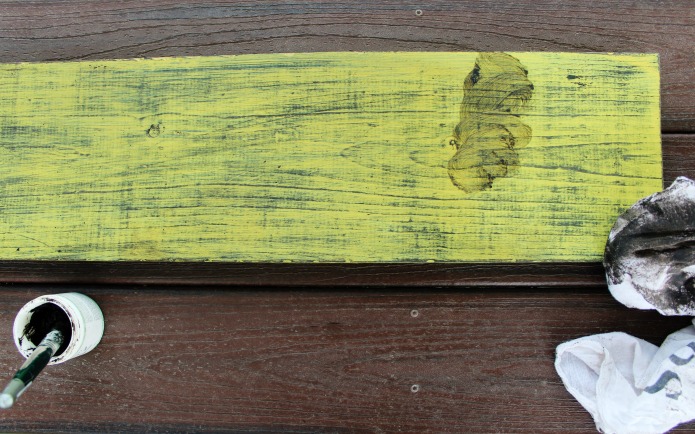
Use a small amount of antiquing wax and really brush it in well so it fills in all the holes and dents, then wipe it off with the flour sack towel and buff it.

I placed tape at the top of the wood to give myself an alignment guide for the letters and used E6000 to glue them on.

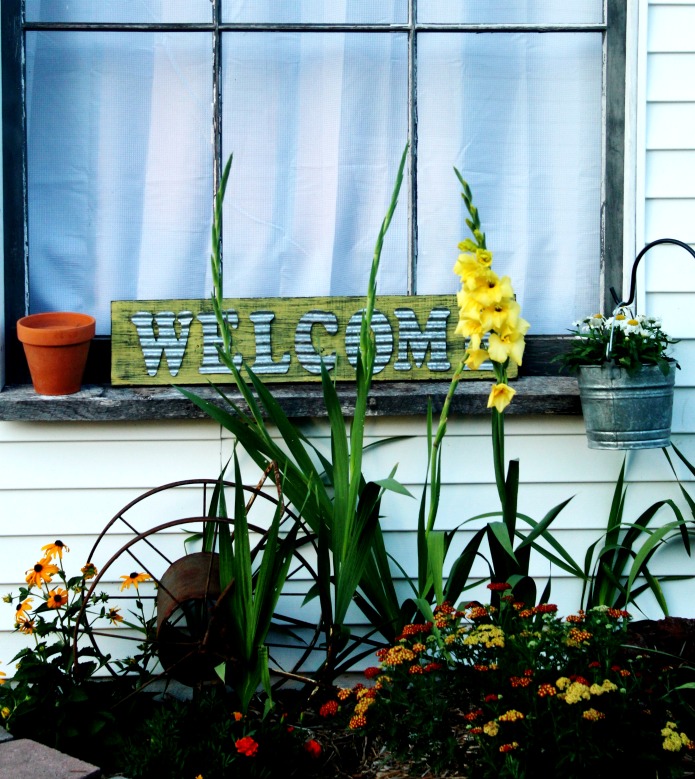
There you have it! An aged looking sign that is so easy to make.

PIN IT 🙂

CLICK HERE TO SEE MORE DIY SIGNS!
Vaya con Dios,


Did you make or buy the corrugated letters? I have plans to make signs as I love them – just need my son to cut the wood for me – I am 67 and have hand and balance issues and he does it all the time. I love this sign!!
I bought the letters, Carol (the link is in the post). Much easier than cutting each one out!
awesome. creative idea. very inspiring…