Farmhouse Bathroom Wood Plank Walls & Ceiling
Tips, tricks, and a supplies list to install wood plank walls the easy way!
The first project we worked on in the master bathroom remodel was planking the walls.
Because the bathroom is near the living room and kitchen, I wanted to have a cohesive look. So we decided to use the same wood planking that we have in the other two rooms (seen here and here).
I’ll show how we did it!

Planked walls are a bit different from shiplap walls. First of all, you don’t do the nickel spacing between each plank. Tongue and groove planks already have a groove.
V-groove wood has a smooth side and a rough side. You can use either one depending on the look you are going for. We used the smooth side.
How to Wood Plank Walls and Ceiling
You’ll Need:
*Affiliate links included for your convenience.
Nail gun and nails
Hammer
Primer and paint
Paint brush (for touch ups)
- Locate the studs
Use a stud finder or knock or drill holes until you find the studs at the top and bottom of the portion of wall you are going to install your planks on.
Because we were installing the planks over the old wood wall we were able to skip this step.
- Use a straight edge and mark a line so you know where to put your planks.
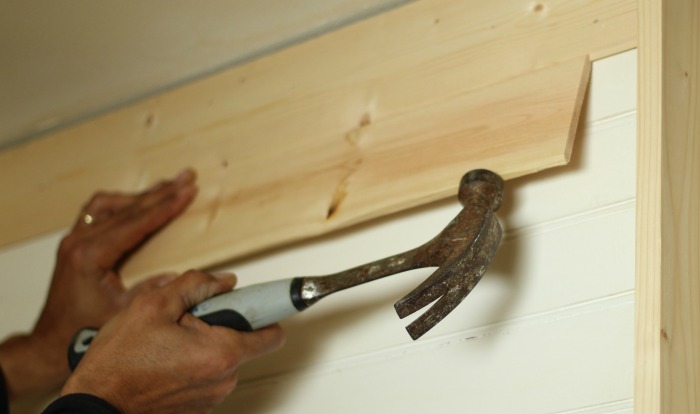
- Cut boards to desired length, then nail into wall.
TIP: Use a scrap piece of V-groove to tap each board in place with a hammer or rubber mallet.

- Fill nail holes and gaps.
There are often knots that need to be filled. We waited until the planks were on the wall to do that. We used wood filler for the nail holes and white caulk for the holes and gaps.

- Trim around windows, if you have any.
We put farmhouse style trim around ours by using 1 x 2, 1 x 3, and 1 x 4 pine finish boards.

We also added 1 x 3 for the crown molding.

- Cover toilet, sink, and bathtub
TIP: Tape and Drape is your best friend to protect everything from overspray. It’s inexpensive and covers a lot. Use painter’s tape to cover outlets and light switches.

- Paint with paint sprayer
The paint sprayer we used has a pressure control switch which can be adjusted according to the thickness of the paint.


Here’s just a glimpse of how the bathroom looks painted.

There’s still a lot more work to do, so until next week!
Vaya con Dios,


It is looking beautiful, Angie! Love what you are doing!
Thanks Linda. I’ll be so happy when it’s all done!
I can’t wait to see it all done! (I’ll bet you can’t wait, too!) 😉
You’re right, Claudine! My husband is working out of town this week so I’m plugging away at some projects by myself.
It looks so nice and know you are going to love it. can’t wait for the finish, exciting, you too?
Thank Marlene!
Could you please share with me what brand and color white paint you used for this project?
Love this look, we are doing something like this but for a bunkhouse.
Thanks!
Kathy, it’s Valspar Bright White