What’s more fun than making your own Christmas Sign? Learn how to make a vintage style ‘Twas the night before Christmas sign two ways!
See the amazing Black Friday deal below!
Supplies you will need:
‘Twas the night before Christmas printable found below.
Wood – I bought a 1 in. x 10 in. x 6 ft. board so I could get multiple signs out of it for $13.
Pine Lath – optional to make wood frame
Paints of choice for base color – I like using Waverly Chalk Paint because it comes in many colors and dries fast, at an affordable price.
Speedball Ink for words – The ink works better than the paint, which can dry in the screen while working and is harder to remove from the screen afterward.
Wax – I like using Dixie Belle Spray Wax because it’s odor-free and dries quickly.
Clear Spray Sealer – Matte, Satin, or Glossy finish – your choice.
Automotive Sponge for smooth application of paint – no brush strokes!
Frame if using the printable.
Silkscreen Stencil Maker (optional but highly recommended and needed for wood sign).
Use code KNICKOFTIME for 15% off your entire first order.
We are doing a “Free Gift with Purchase” from Ikonart for five special days!
All five free gifts can be earned in combination with my coupon code (KNICKOFTIME). We have a limited quantity of each gift, so it will be first come first serve.

MONDAY: Free Beastron Remote
TUESDAY: Free Torch Paste Duo
WEDNESDAY: Free Ikonart Stencil Glaze
FRIDAY: Free Ikonart Mistletoe Stencil
MONDAY: Free Ikonart Hot Cocoa Stencil
.


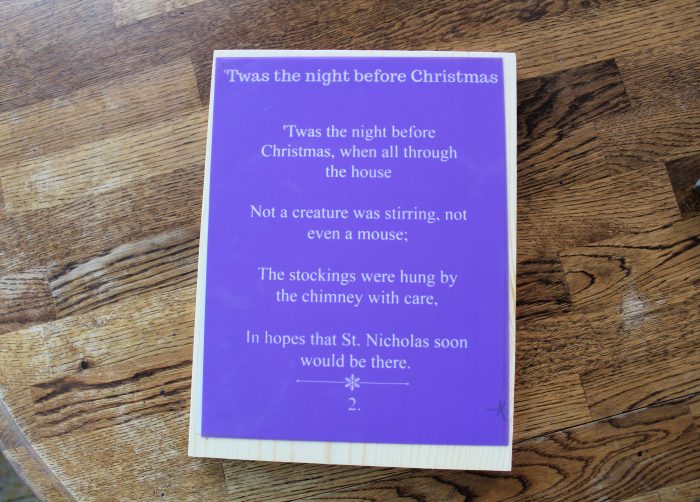
Here’s the stencil I made.

How to make ‘Twas the night before Christmas wood sign
Cut the sponge in smaller pieces to use for painting.
Cut the board to 12″ length. You’ll have leftover for more signs.
Sand the board until as smooth as possible.
Mist water on the board before applying paint. It glides more smoothly and won’t dry while painting.
Paint the board and allow to dry fully.
Rinse the sponge. They can be reused several times.
Wax and buff the board to protect the stencil.
Adhere silkscreen stencil to the wood.
Apply your choice of ink colors and remove the stencil.
Let dry fully, apply sealer, and embellish with evergreen, mistletoe, berries, or jingle bells if desired.
Attach a hanger on the back.


Preparing to Stencil
Wax the surface to protect the sticky stencil from pulling up the paint.

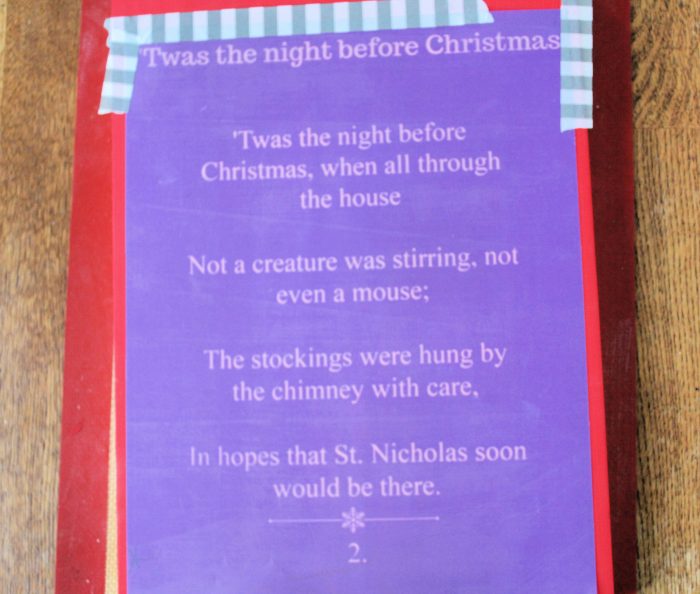
Tape off any sides that come close the board so no ink gets where you don’t want it.

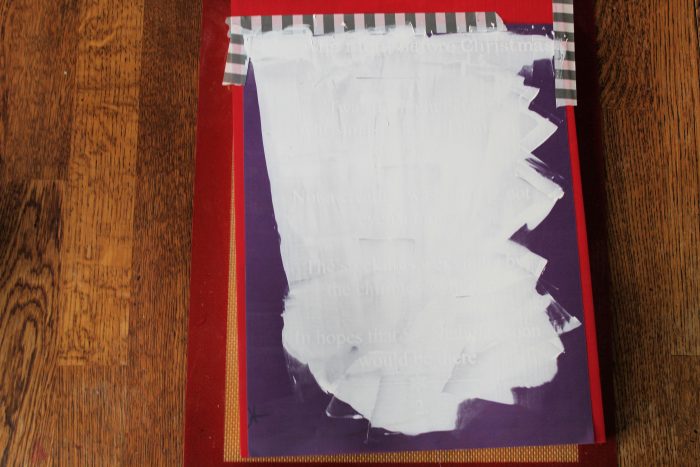
Completely cover all the mesh silkscreen and remove any lines of ink.

Now for the exciting part!
Peel and reveal your creation. Silkscreen stencils are amazing!

Here it is all framed with the pine lath (also known as furring strip).

It’s available in my Etsy shop HERE.
I have the sign below available HERE.

Important Tips About Silkscreen Stencils
Directions for stencil-making are HERE.
Silkscreens will last many uses if cared for.
- Once you create a silkscreen stencil, write “BACK” on the reverse side.
- Immediately wash after use and replace while still wet onto the carrier sheet.
- Store when dry.
Free Printables
There are two versions; black and white and red and white below for you to print. Both are sized at 8.5″ x 11″ but could be printed smaller and would make a beautiful gift when printed on high-quality cardstock and framed.
No need to download. Just save the images to your computer and then print.
How easy is that!
PIN IT AND PRINT ME!

More free printables HERE.
If you’d like to see all my new projects, you’ll need to subscribe below. You’ll be glad you did because I have tons of new ideas!
Vaya con Dios,
Angie


This is a beautiful Christmas DIY! Thanks for sharing!