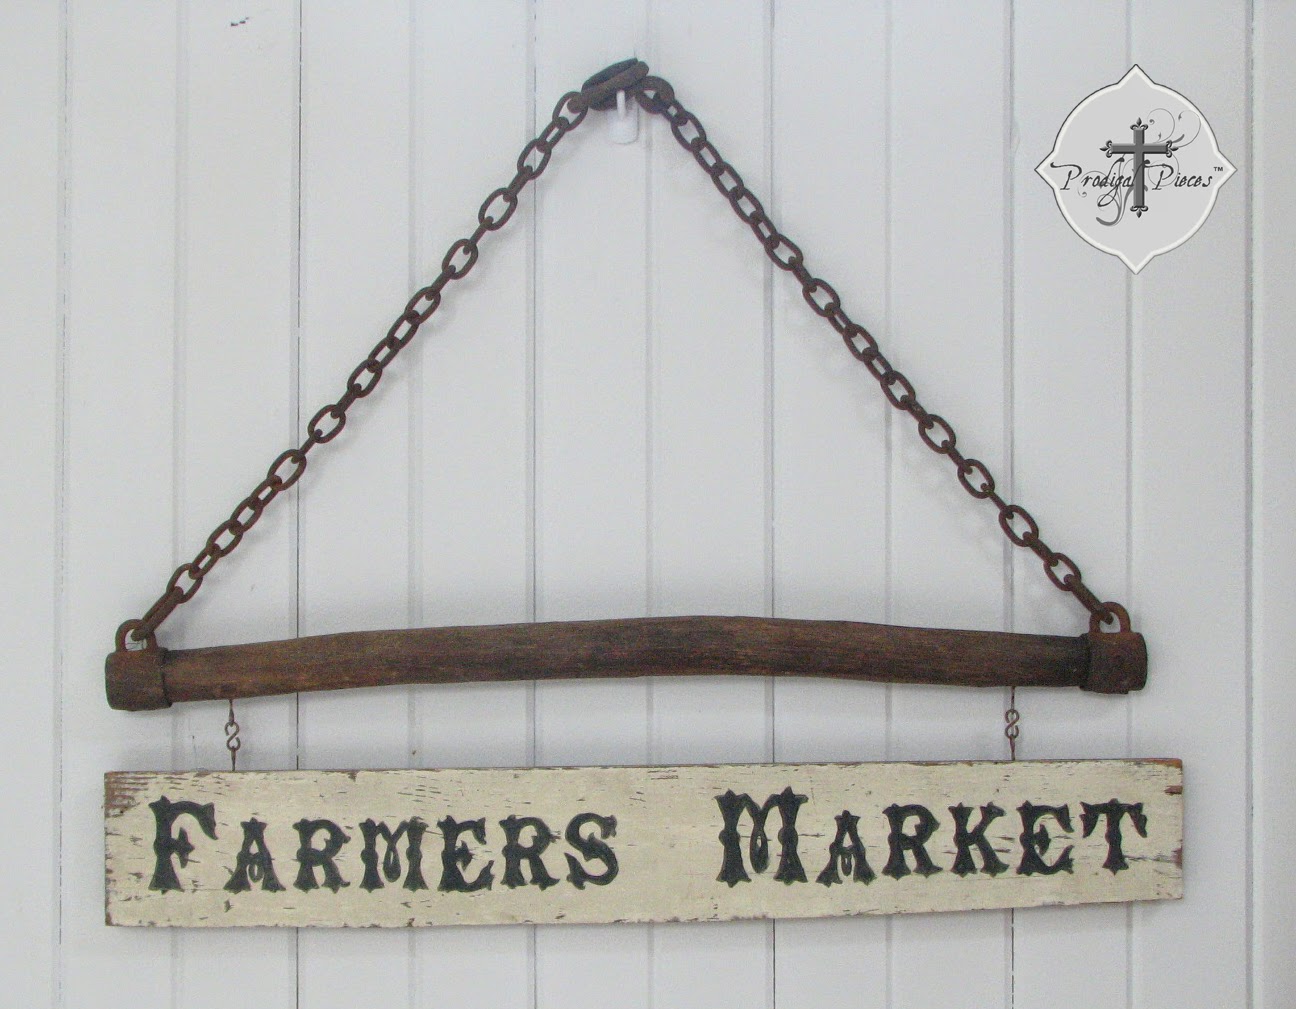
I’m back home from vacation, but am a little buried under luggage and “stuff” I brought home. I love going on trips, but always feel like a need a week of at-home vacation to recuperate from traveling. Next week, I’ll be back in full swing, but I invited Larissa @ Prodigal Pieces to share with you how she made her hand-painted “Farmer’s Market” sign. She linked it up at last week’s Knick of Time Tuesday party, and I thought it was such a great repurpose of an old piece of wood and the old horse single tree.
Welcome Larissa!

Hello!
Welcome Larissa!

Hello!
I am so excited to help Angie take a much needed break and hop over here from my blog, Prodigal Pieces, where I have a blast redeeming furniture, hunting vintage finds, and creating handmade goods for you.
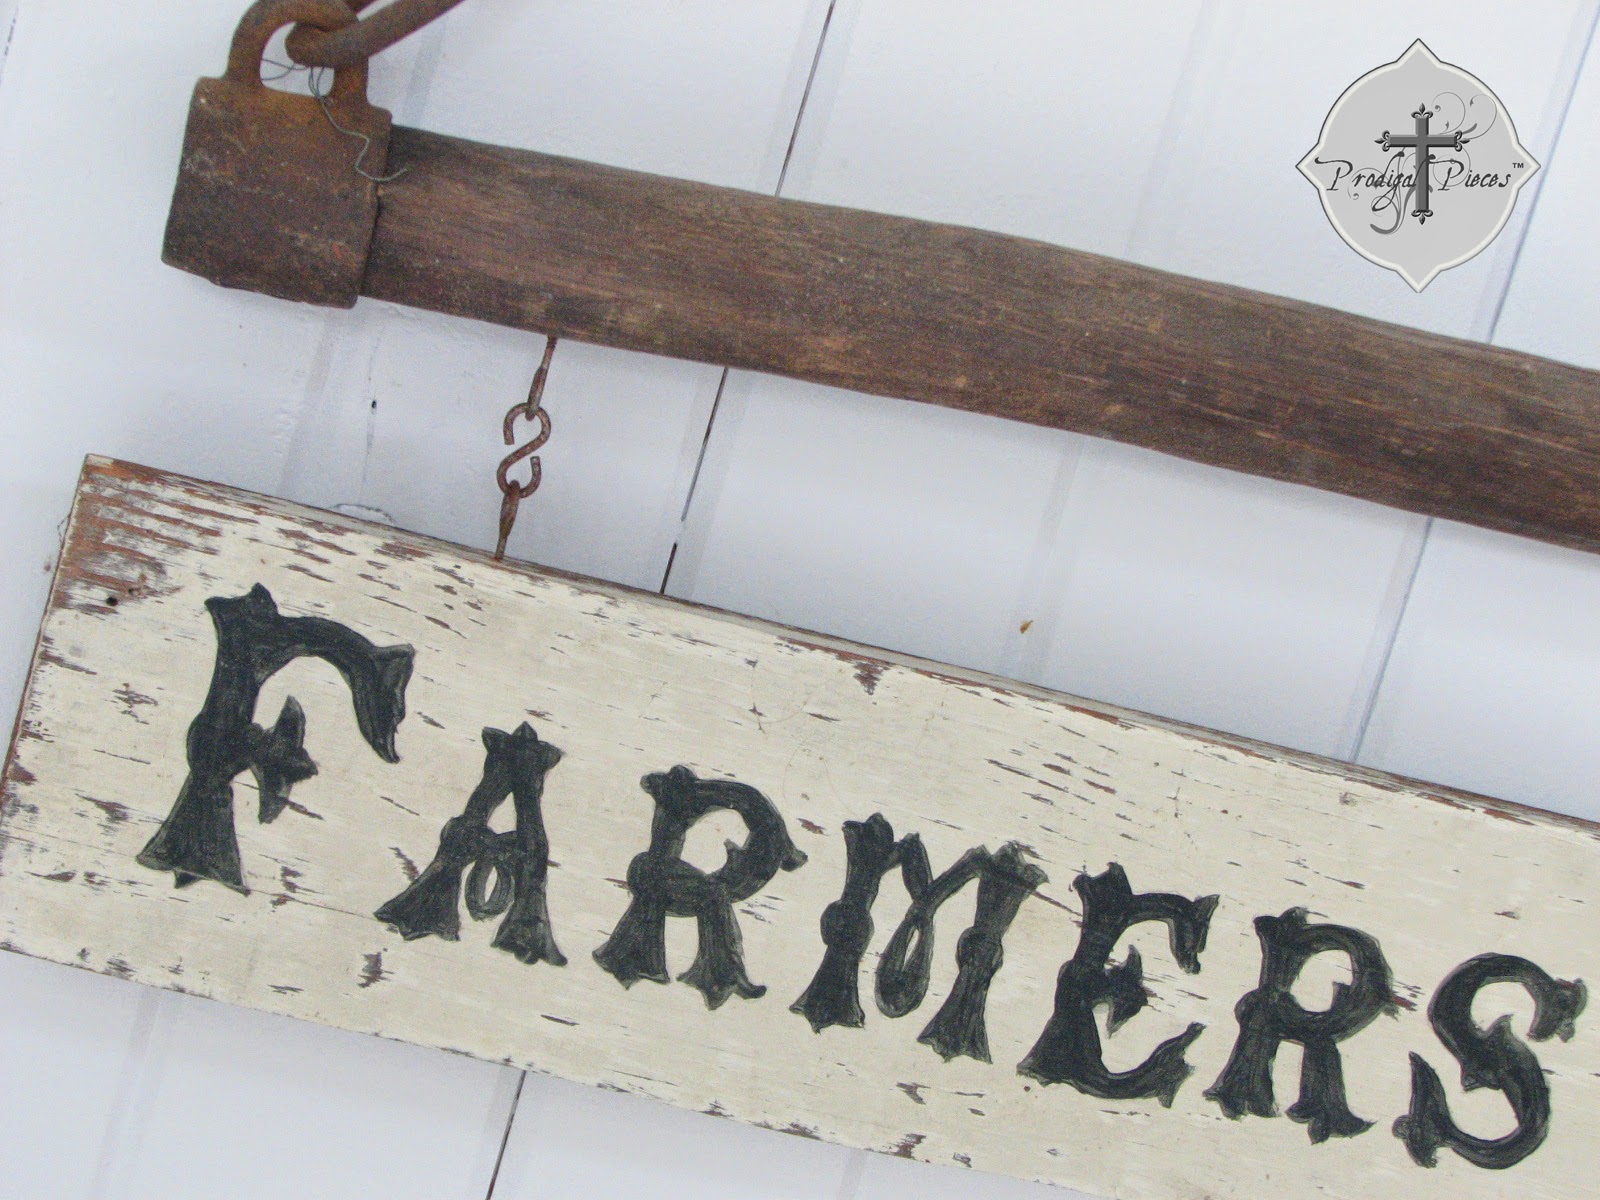
Angie is known for her love of signs and I have the same passion as well because I love to hand paint – especially on cast-off wood…
…especially paired with antique treasures like this single tree!
Who can resist the time-worn wear and chippy paint, all telling a story of days gone by?
I’d like to show you the transfer method I use to create signs. Only a couple items needed besides your wood (and antique if you have one!).
- Oil Pastels – I mainly use kids pastels (cheap & work just as well), but any will do.
- Colored pencil – in a bright color
- Acrylic craft paint – in color desired
- #5 or #6 Round paint brush – you could use any on hand, I prefer these.
- Paint tray or plastic lid
- Microsoft Word, Photoshop, or similar program
- A printer
- masking tape, painters tape, or similar
First, measure the wood you’re using to get the parameters you need your graphic to fit into. I typically leave about an inch allowance or greater, depending on the design.
Next, I lay out my graphic (you can also use a pre-made design or clip art) in a software program. I used to use Microsoft Word, but now love to use Photoshop. Here is a handy tutorial on how to print enlarged graphics in Photoshop. No need to reverse the image, just print it out as you read it, and tape it together, if needed.
Once your graphic is printed, grab your oil pastel (I like to use the same color as the paint I’m using), and rub the reverse side of the graphic everywhere you want to show up. To be able to see where to rub, a light box is great (I have a homemade one), but I always use my window since I’m too lazy to drag out my light box. ahem.
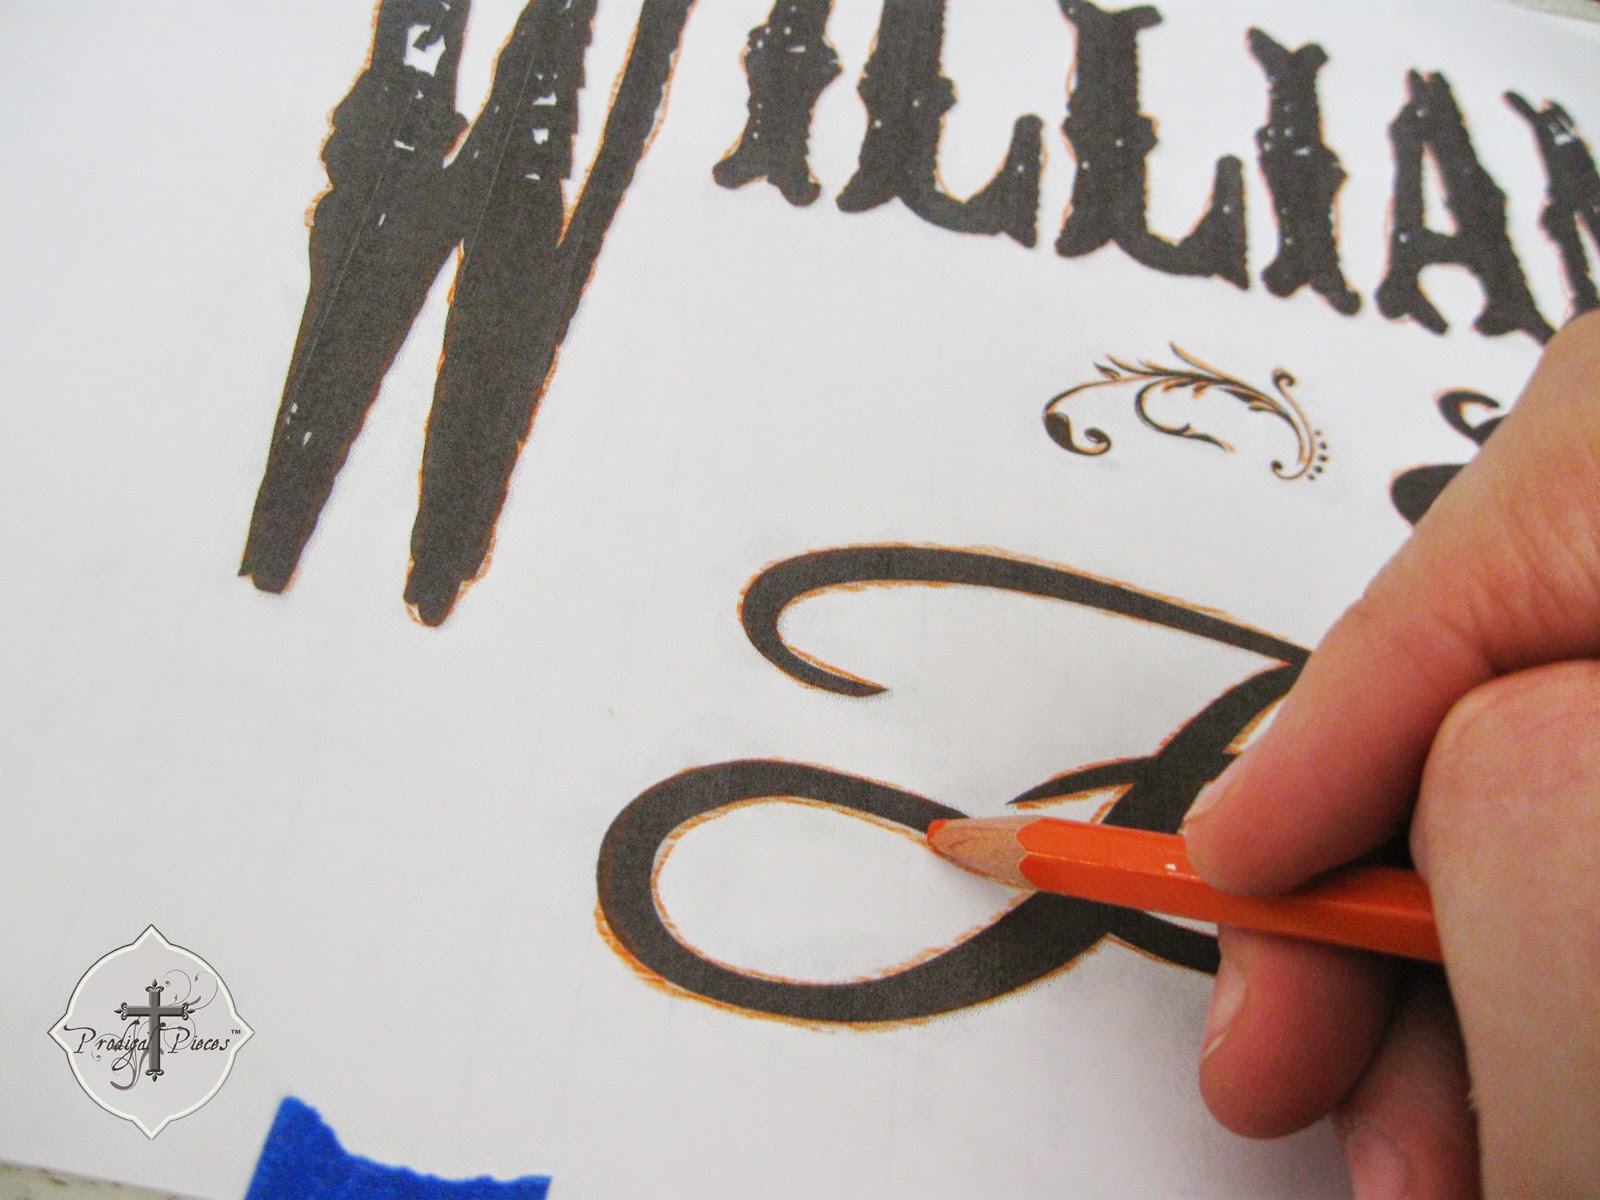
Last, center and tape in place your graphic with the right side facing you. Then, take your colored pencil and trace firmly all the parts you coated with the pastel.
Before completely removing the paper after you’re done tracing, gently lift up a side to see if you’ve traced every part and make any necessary adjustments.
It should look like this…
Now you’re ready to paint! I think you can figure this part out, so I won’t elaborate on this part.
Seriously, any old wood will do. Here’s a part of my stash…
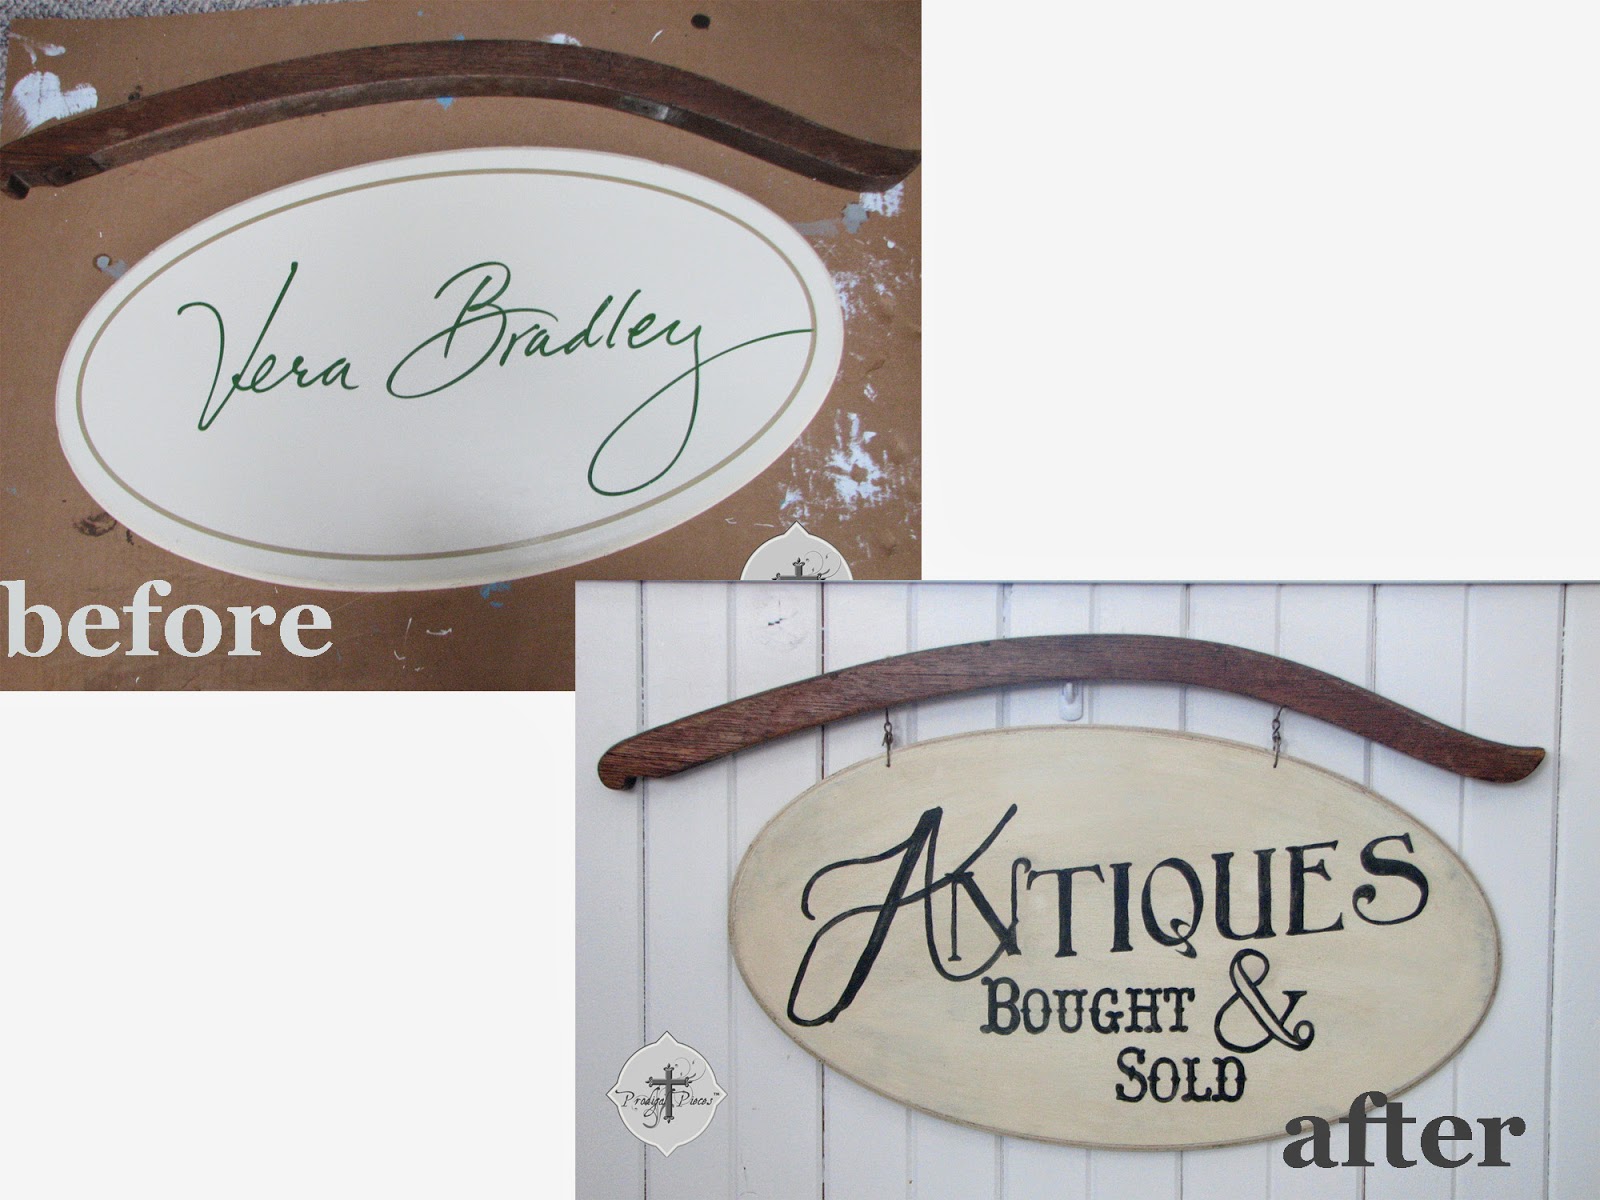
…and another sign using a vintage Morris rocking chair part and a thrown out Vera Bradley sign made of foam board. (it doesn’t even have to be wood!)
Got questions? Just let me know: larissa@prodigalpieces.com or I’d love to see you at my blog, Prodigal Pieces. You can also find me on Facebook, Hometalk, Pinterest, Twitter, & Google +.
Thank you, Angie, for allowing me to share with your readers!
Due to unethical websites stealing content, I can no longer provide a full RSS feed. I work too hard to produce original and inspiring content to have it stolen by others. Thank you for your understanding – I appreciate each one of you that take time out of your day to visit Knick of Time!!









I love her signs and her work. Thanks for having her share Angie. I have a few antique weathered pieces I want to hang signs from very similar to these, I just need to find some weathered boards now! Rest up!
Adina @ Simply Country Life
So glad I had the opportunity to share, Angie! I hope you get that vacation from your vacation. :o)
I LOVE that you used the old horse tree beyond words! I have horses and my stash of recycled wood and barnboard includes old harness trees and yokes. I have a porch display of a set of old harness blinker bridle set wired with mesh nose bags burlaped to hold plants and your idea has sparked big time! Along with the usual here is the materials list and easy peasey instructions, I know I can do this! Thanks for the inspiriation Larissa
I love the idea of using the oil pastels. I will definitely try this technique for making signs.
I love all of them! I want to look through your stash of goodies!