Remember when there were lots of blogs offering
giveaways for the old style enamel signs by Ramsign?
Did win one? Drat…me neither!
I even hosted a giveaway for Ramsign, but never did win any that I entered.
If you search eBay and Etsy, there are also some antique enamel signs available.
Can you afford them? Drat…me either!
Long story short, I want an “antique enamel” sign,
And have had it in my head to figure out a way to make one myself.
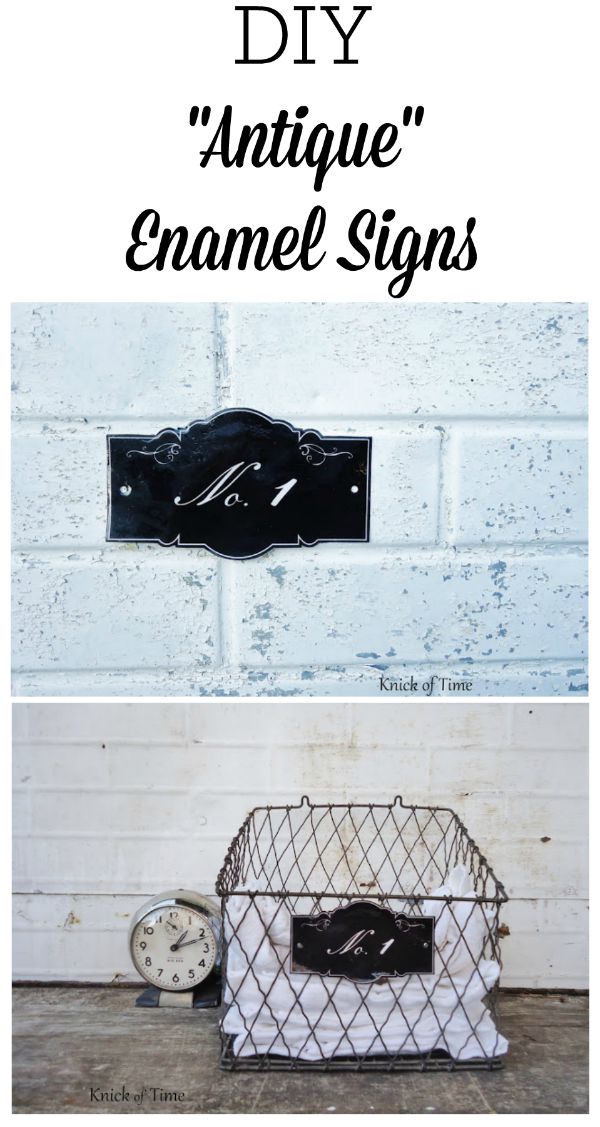
It took me a while to figure it out, but I finally came up with my version and I must say, I kinda love it!
I knew I wasn’t going to be able to truly create an enamel sign, but I wanted it to look like enamel, so I used dimensional glaze glue. The glaze glue would give them a strong, shiny surface, similar to enamel.
I used Picmonkey to design my signs.

Then I started coming up with word variations for my sign.
I printed out the “Eggs” one first because I loved
the way the lettering looked. If you plan to try this project,
you can save my base image,
then go to Picmonkey to add your own lettering,
You’ll also need scissors, a hole punch,
I printed my image on cardstock so it would be stiff, then carefully cut it out.
Don’t forget to punch a hole on each side if you plan to hang or mount it.
Start squeezing on the glass glaze on your “sign”, without stopping and starting a lot – that creates air bubbles.
Go easy on the glaze – a lighter coat than what you see here is better.
Let dry in an undisturbed spot for about 24 hours.

So far, so good, right?
Seriously, at this point in the project, I’ll admit
I was loving how it looked and was patting myself on the back,
seeing my dream of having an “antique enamel” sign come true.

There are several reasons why
I work on projects such as this in the middle of the night.
One of those reasons is a 12-year-old boy.
I didn’t want to disturb it, so I left it sitting on the kitchen table to dry.
You can see where this is going, right?
My son wakes me up later in the morning with,
“Mom, we have a little problem.”
Short story – he bumped it, messed up the glaze
and my genius of a project, now looked less than stellar.
Second time’s a charm, right?
This time I printed out a No. 1 image and I printed
it smaller, because I didn’t have a lot of glass glaze left
in my bottle after using so much on the first one.
This time I took it to my bedroom to dry.
I kept checking on it all day and just
wanted to wrap my arms around myself
for a big hug…I was thrilled with the results I was seeing.

These aren’t waterproof because the backside is still card stock paper, but I really wanted to use mine to embellish things inside the house.
You could also coat the back as well, to make them more durable.
You could also coat the back as well, to make them more durable.
The little white “flecks” you see
are actually tiny little air bubbles
that aren’t nearly that visible in real life.

The camera picks them up as white spots.
This is why you don’t want to stop and start
a lot once you start squeezing the bottle.
If you do get bubbles, use a sharp needle to pop
them, but wait until you have covered the whole thing
with glaze first. My bubbles were really tiny, so
I skipped popping them, but next time I would do it.
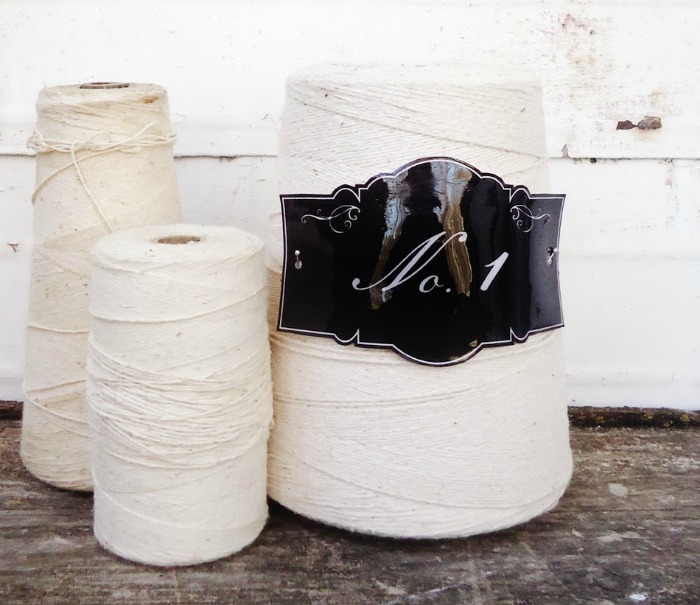
What I love about my version is that
it ends up being like flexible plastic, so I
can mold them around rounded objects,
like this spool of thread.

Here are some variations for you.


If you prefer to add your own words,
or change the font style, just go to Picmonkey
and use my base image up above, then add your own text.
I hope you enjoyed this project.
It’s very inexpensive and easy to do…as long as you protect it from 12-year-old boys!
Click HERE to see more easy DIY projects!
Blessings,
Angie


Hi Angie; your posts are always fascinating, you create such great ideas. Love the faux enamel sign(s) and thank you for adding the templates to your post.
Joy
How creative! I tried making enamel tags with embossing powder, but it was a total disaster. This i may be able to do! Did you announce the winner of the Chickydoddle giveaway? I probably missed it.
Joy!
I think you are so clever and industrious…seriously!
I really like this idea…makes me want to make one.
If I do…I’ll be sure and show it.
–Pat
Angie, you are genius once again. Wow!
Angie this is a-ma-zing! I really wanted to win one of those signs too, and now I can make one. Thank you again
xoxo, Tanya
twelveOeight
These are really great! Keep up the good work!
Very interesting and very kind of you to offer us the template! Your sign is just beautiful!!!! I will certainly give it a try myself. If it turns out OK, I will let you know!
Thank you!
Marie-Anne
Angie, You are so great. I love this idea. Nancy
Carr nancythedove@aol.com
thanks so much for sharing!! those look awesome!! love this idea- and so wanted one of those signs.
That shape would be nice to use to cut out of wood for a larger sign than the ones you’ve made. Thanks!
Okay, you accused me of giving you credit for being more infinitely clever than you are….um….I don’t think so! You’re brilliant! I’m pinning this!
You are so creative!!!!! That is a really cool project, I hope to try! Thank you for sharing all the details with us!
What a great project. Thanks so much for sharing.
So Cool! Love this idea!
Very creative. Great tutorial and so pretty.
This is so super amazing and I am so gonna try this! I have everything I need, even just put a black cartridge in the printer, so off to picmonkey I go! Thanks for the idea, instructions and the image.
Crafty Hugs,
Pendra
Great looking! Thanks for doing all the hard work, and for the tutorial!
-Revi
wonderful.. thanks for figuring it out for us.
blessings
barb =)
oh Angie … I love these. You are just so amazing. Thanks for sharing. If I can get the glass glaze, I will try my luck with them.
Hugs,
Audrey Z. http://audreyzumwalt.blogspot.com/
Timeless Treasures
Angie, loved how this turned out. Genius are you! I was lucky enough to win one, but heck I’d like more, more, more! Thanks for sharing this with Share Your Cup.
Hugs,
Jann
Angie, very creative!! I love the graphics you used.
I wonder if you glued your graphic to wood.
Then painted the entire piece with varithane. Wonder if that would give the
same effect……
That way you could use it outside….
An amazing project. Thanks for sharing such a wonderful idea! Cheers.
Angie, this is such an awesome project! Thanks so much for the tutorial and printables! Loved the feature over at Knock Off Decor! I love the winter header, too!
Very, very cute! Visiting from Knock Off Decor. What font did you use?
Angie I love these! Thank you so much for tutorial! I love the font too!
Susan
One question… the glaze didn’t make the ink run at all… what kind of printer do you use? Inkjet or cartridge?
Susan
These will look perfect on the storage boxes when I start re-organizing in my craft room.
Thanks =]
Chris
Thank you for sharing this! I’m going to give it a try! I also have tried to win those cute signs from Ramsign with no luck!
Whoa, I love those signs! When I first saw your post I thought “there’s a lot of painting to be done there” but was pleasantly surprised to find they are just printed out!!! I need a new printer!!!
Tania
Just pinned so I can do this later, thank you!
What an awesome post! I just found you through Knock Off Decor! I love these! You are brilliant!
Love this idea and the tag styles that you have made. They turned out gorgeous. I am pinning this to try later. Thanks for sharing!
This is sooooooooooooooooooooooooooooooo awesome!!!! Thanks so much for sharing!!! Sending hugs and hope to see you again SOON! : )
I forgot about this wonderful project!!
So, what is actual size of signs, and how many can you do with one bottle of ‘stuf’?
thanks and blessings
barb
Thank You! So many places I can use these.
Oh angie, this is GREAT!!!
I’m late to the party, but after seeing this on Pinterest, I had to thank you for the inspiration. What fun. You are a kind and generous girl to share this ‘invention’ of yours. ~Andrea
Just found you. I have been searching for the right tag to use on the 8 baskets I am utilizing in my remodeled utility room. This is more than perfect! Thanks so much.
This idea is amazing. i had to make one as soon as i saw it. thank you for posting such a unique idea. ours turned out beautifully
Thanks Angie! they are fantastic! I’ve used the glaze on little tags before so the chances of them getting bumped were less LOL
Have you tried this on tin? sheet metal etc.
I love it! I just pinned it 🙂
I didn’t win one either, but I just came across this and pinned to two of my boards. Definitely going to try this out. Funny, I have a 12 year old boy, and girl. Twins!! Yes, accidents with projects happen around here, especially because my garage is my work area. Thanks for sharing!
What a great solution for making signs that don’t require you to sign away your first born child…
Love, love, love this, you clever girl! I was lucky enough to win one but one is never enough. Pinning.
Always amazed at your creativity. I love these!
Oooh, I hope to get out and find some of this glaze, soon…..this is a great post,,,thanks for sharing it, Angie!
Have fun, JP – I need to buy more glaze and make some more!
Still love this project as much as the first time I saw it Angie! These tags just look so authentic!
I’m featuring this on DIY Salvaged Junk Projects 512 this weekend. Thanks for linking it up!
Ooh! I love this idea! I can’t wait to give it a try. Thanks for posting.