
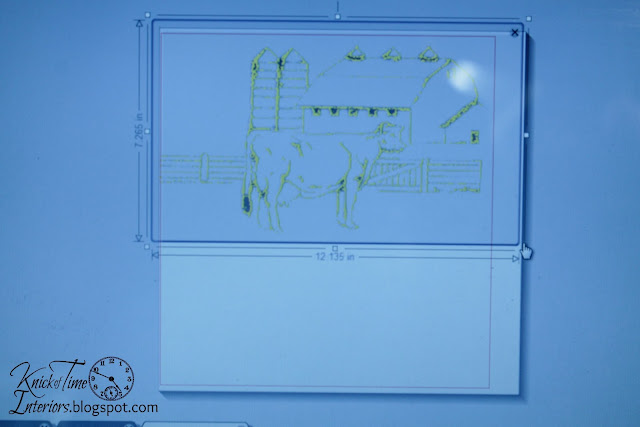
Click on the button where the arrow is pointing, then click on the words below that say, “Select Trace Area”.
Position your mouse on one corner of the image, and drag it to the opposite corner. You’ll notice the lines become yellow – those are the lines the Silhouette “read” from the image and will be the cutting lines.
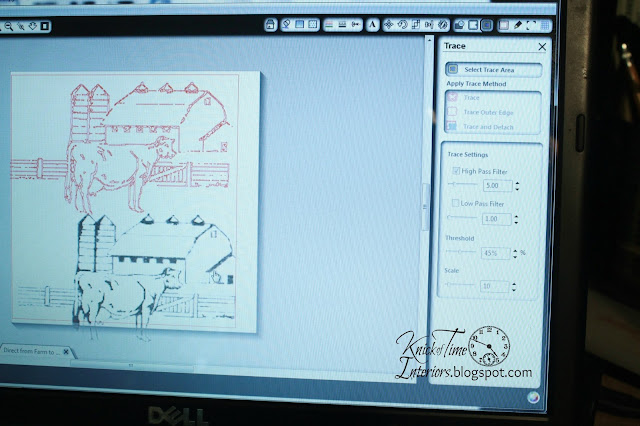
When you move that image, you’ll see the original image, and the red lines of the new image you can now cut with.
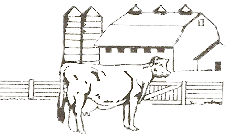
I didn’t duplicate the words from the original ad, so I just selected fonts I wanted and created them at that point – using the text function on the Silhouette. You could enlarge the cow graphic bigger, as I wanted it a little larger than the 12 inches width that the Silhouette Cameo can cut, but you could also place your words directly over the image. I just separated those two parts when I cut the vinyl out and positioned them correctly on my wood.
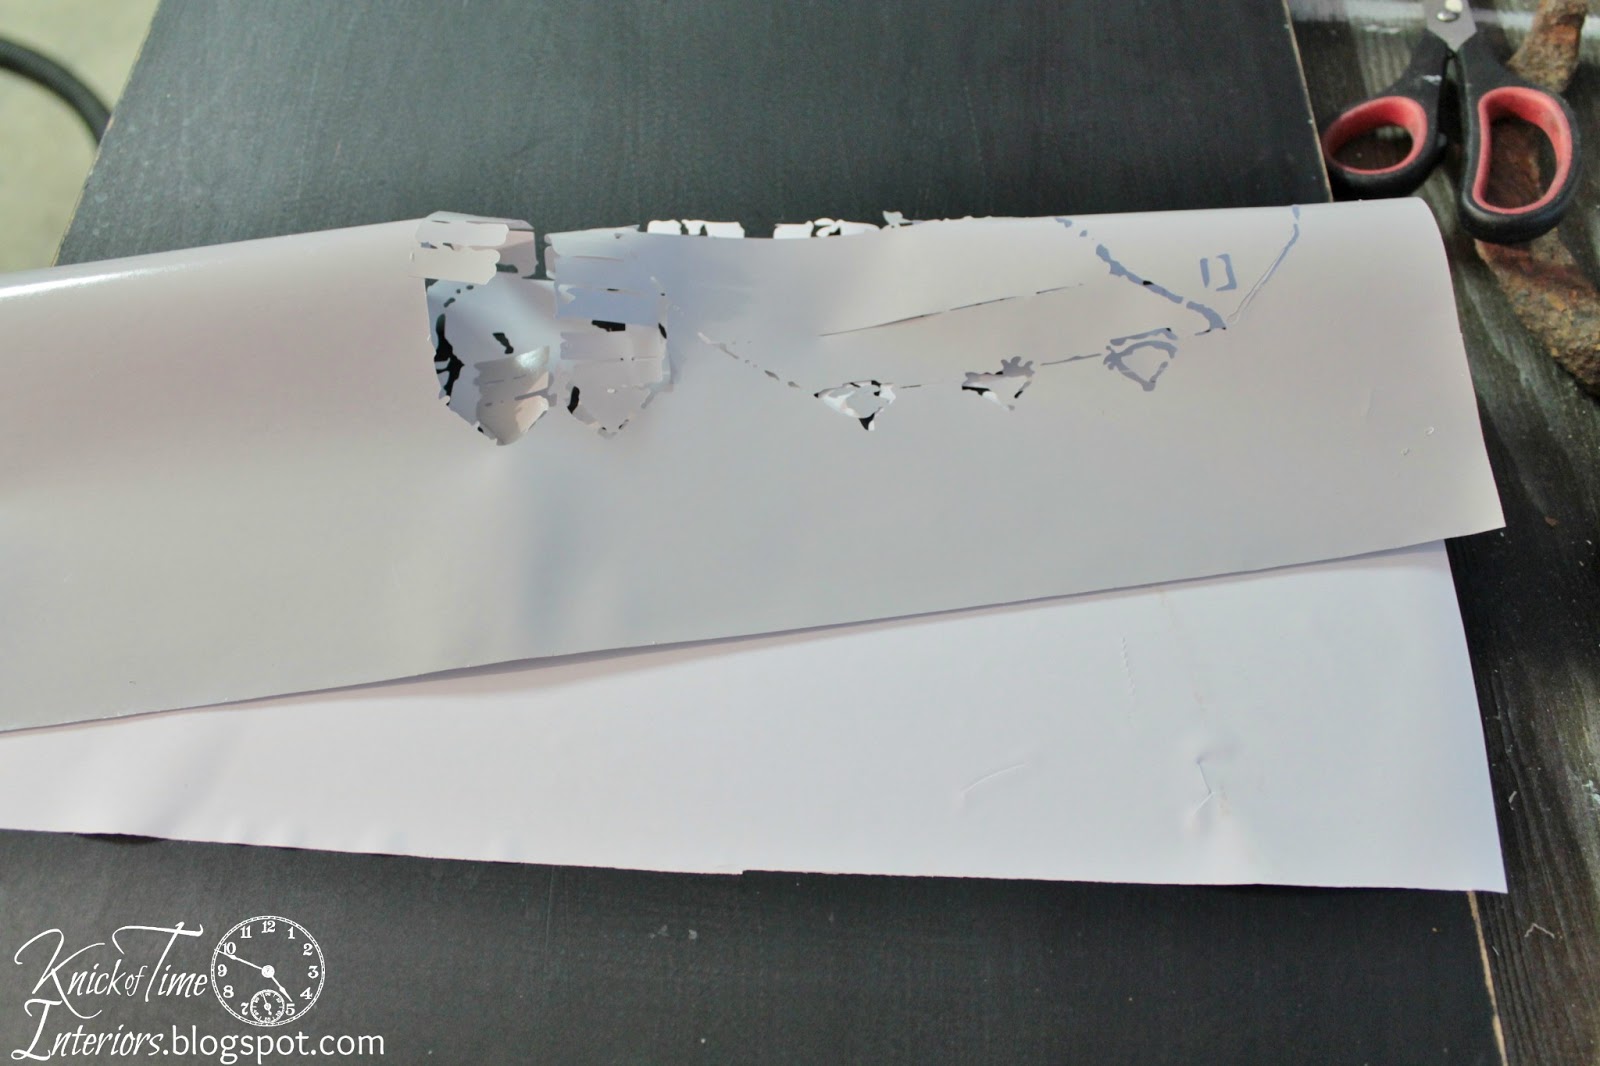
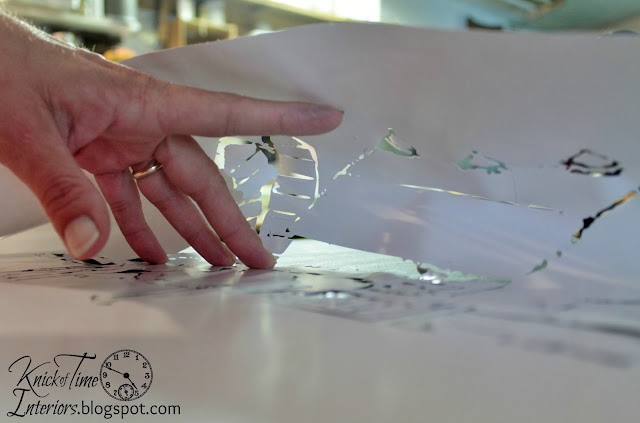
Now, I’m not gonna lie – the next part is kinda tricky. It’s not really difficult, it’s just tedious and requires some patience. After you’ve cut the image out on your vinyl, you’ll notice it has TONS of itty, bitty pieces. I recommend removing as many of those as possible now. Pull the vinyl away from the backing paper (slowly and carefully) and place your vinyl sticky side upon your work surface. I pushed my finger around the image, so many of the little pieces would stick to my finger. Once you have all those removed, you are ready to place it on your wood. Again, this requires patience. Fold the vinyl in half and position one edge (centered correctly) on your wood. Make sure you have it straight, so you don’t have to pull it all off and start over.
By the way, rather than try to get all those tiny sticky pieces in the trash while I’m working, I stick them on my shirt – it’s close and quick. Just don’t forget to remove them before leaving the house.
Slowly start smoothing down the vinyl working your way from left to right and back, a section at a time. If you see something is getting crooked, pull the vinyl up a little and fix it right away, because it just gets more crooked as you go if you don’t.
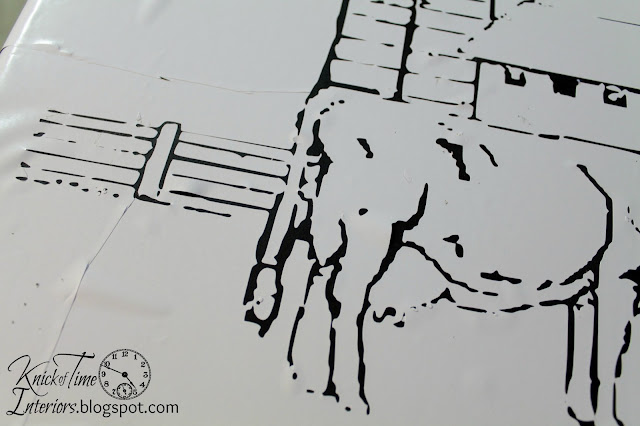
There were a few areas that wanted to bubble up, no matter how I repositioned, so I cut the edge of the vinyl, then smoothed them back in place. You don’t want to do that too much, but it can be helpful if a section just doesn’t want to lay correctly.
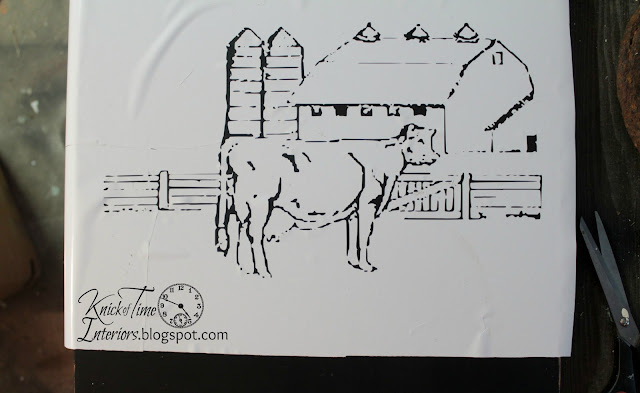
Here’s my vinyl – all placed on the wood and ready to paint.
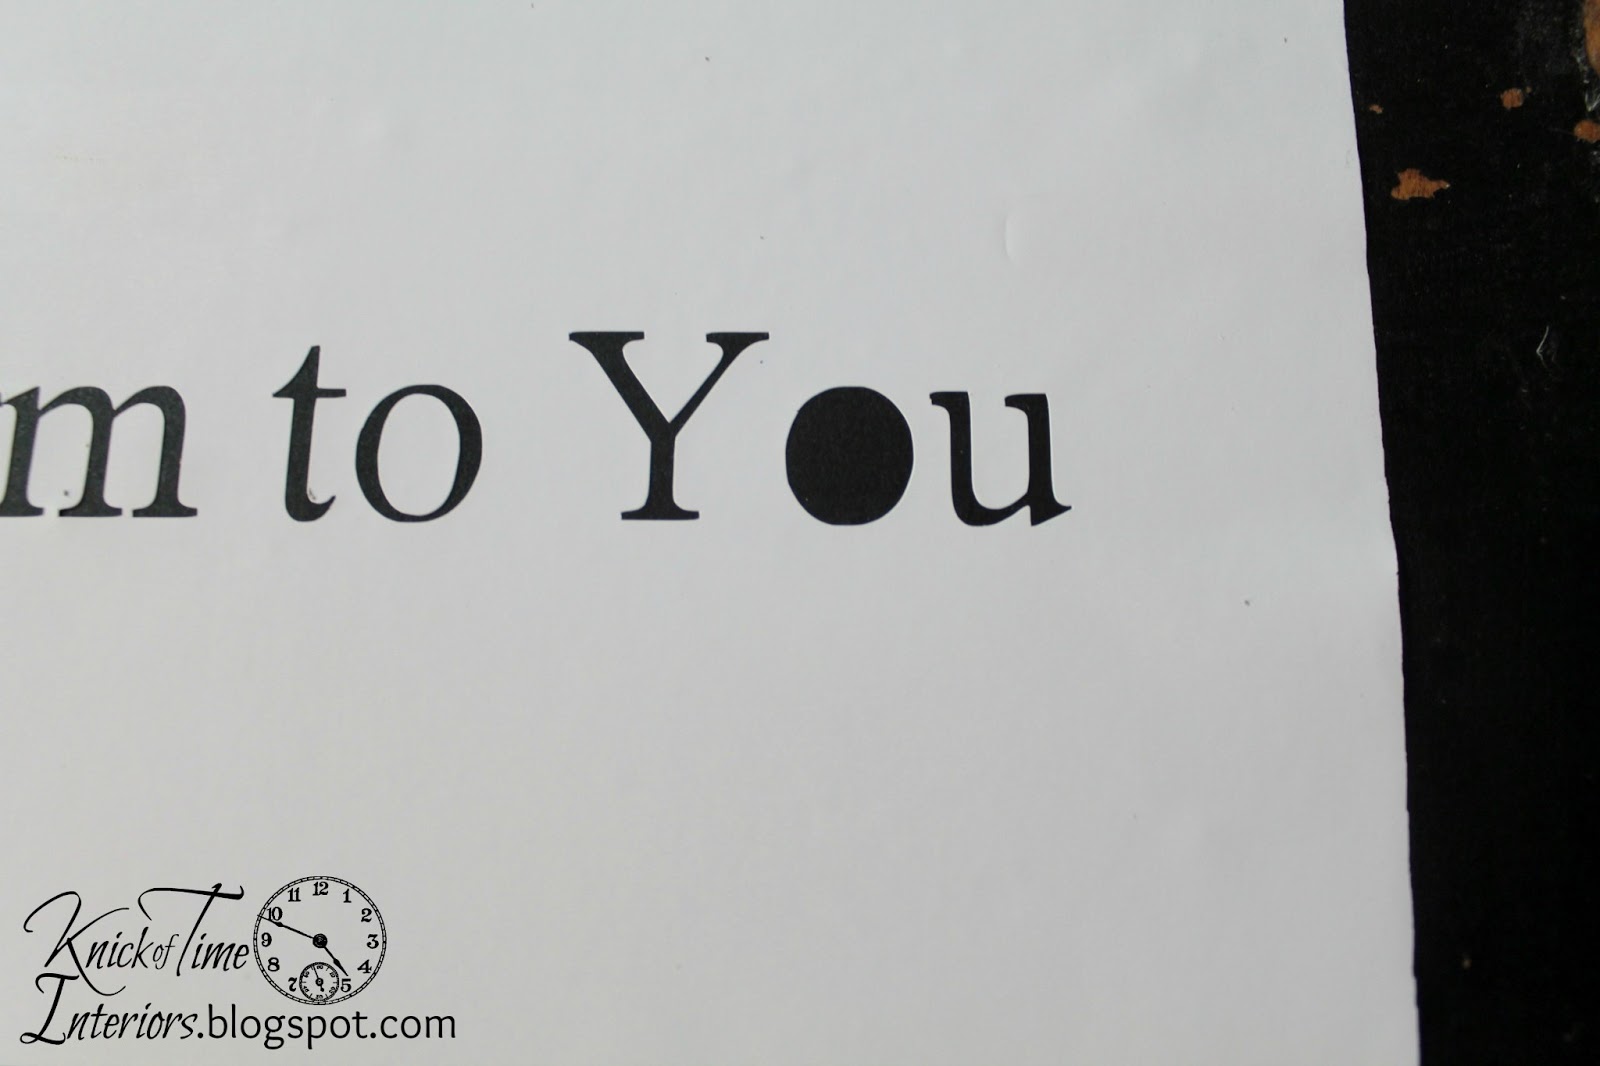
Don’t forget that you need to add the centers back into the letters before you paint them.
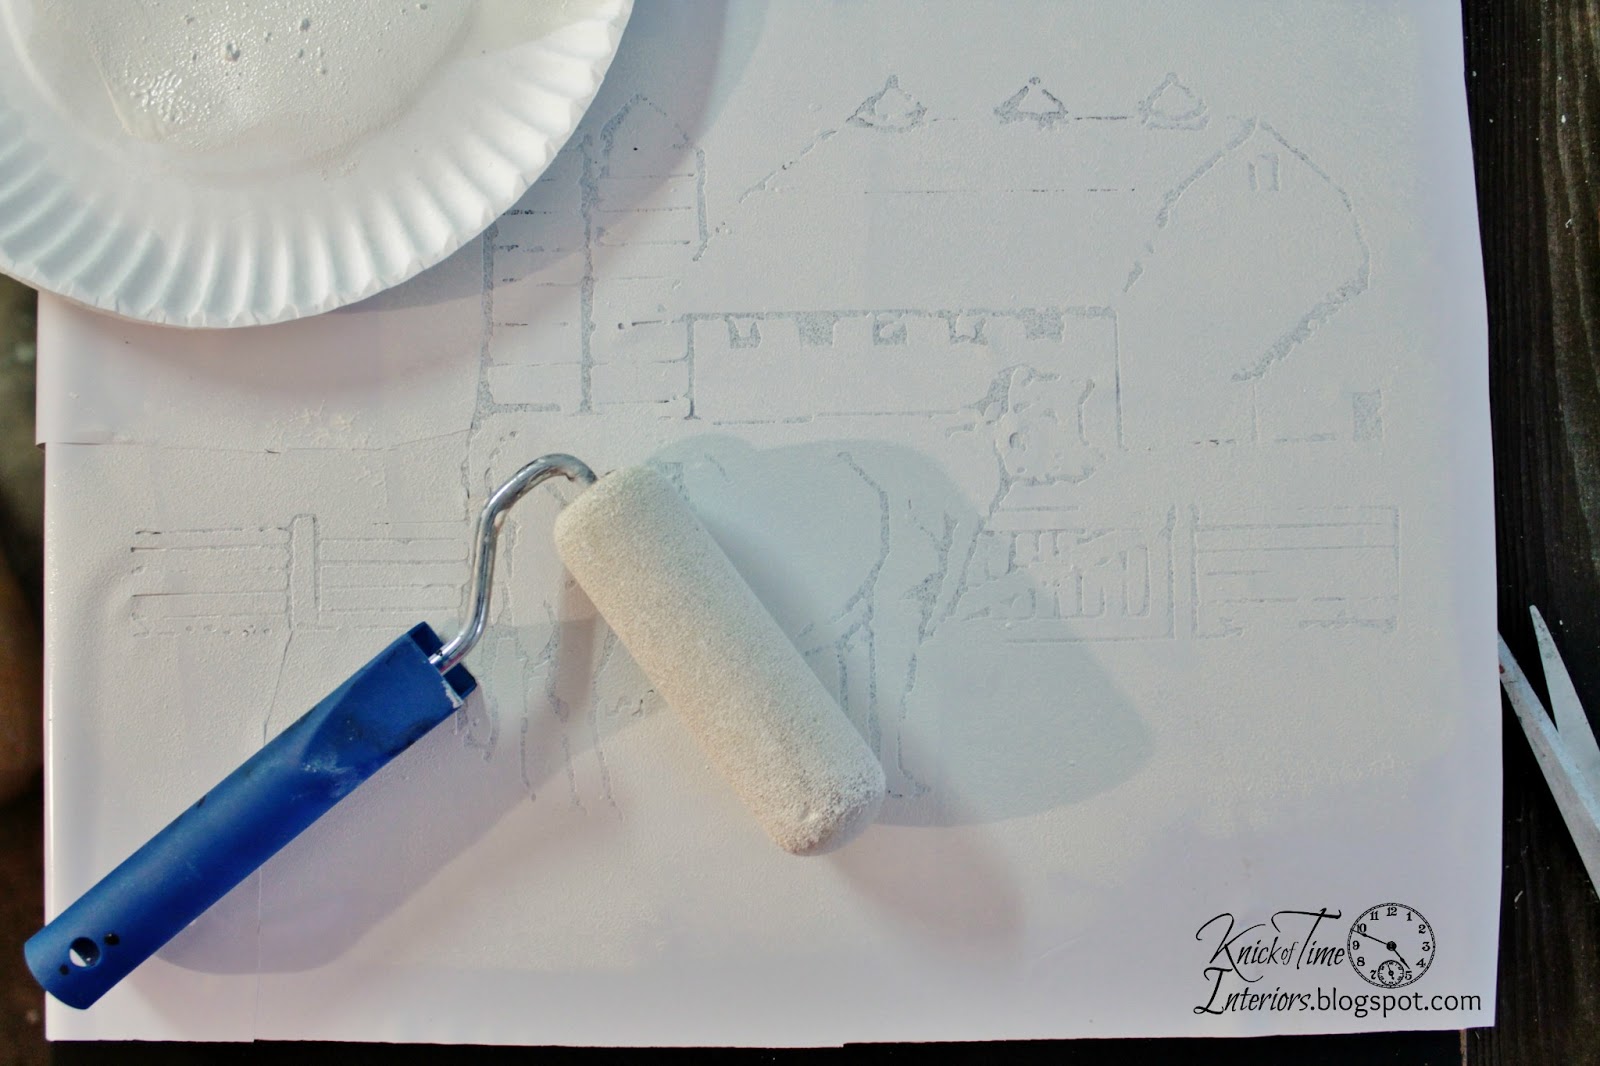
I squirt some paint on a paper plate and use a foam roller. It works SO much better than a paintbrush. If you have the vinyl stuck REALLY well to your board, without any bubbles around the image, then you can use spray paint also, but spray paint will find any little gap and get under it, which messes up your image. Make sure to have very little paint on your foam roller so it won’t bleed under, then add a little more to go over it additional times to fully cover the image.
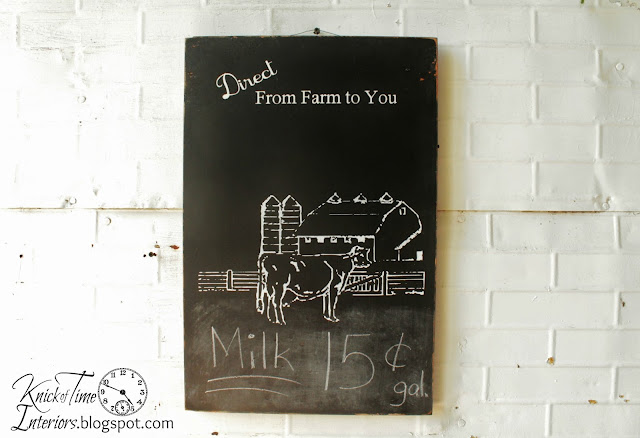
Here’s the completed image on the board! I didn’t get any bleed and it turned out great!
I painted this image on an oak cabinet door that was salvaged from a friend’s old house that they were getting ready to tear down. I used chalkboard paint, so the lower portion of the sign could actually be used as a chalkboard to write messages.
Well, I hope you found some helpful tips to use on your Silhouette machine. Let me know if you decide to try this project yourself. You are welcome to use the image to make a sign for yourself or for a gift, but the design itself is copyrighted, so please don’t create signs with it to sell. It’s a little challenging, but totally doable and didn’t take me more than 1-1/2 hours to do everything (not including drying time).
For the record, after taking those photos, I was curious how much milk did cost in 1949 and it wasn’t 15 cents – it was around 80 cents!
Blessings,
Angie
.jpg)
.jpg)
.jpg)
.jpg)
.jpg)






Love, love, love this! You made it extra special by painting the board with chalkboard paint. Very clever, I just might have to try this one. You’re brave to mess with the vinyl without transfer paper, but you pulled it off…no pun intended.
What a great tutorial! A lot of steps in there. I’ve lost my blog and am starting over. Would love to have you come visit!
Brenda
Funny thing–I stick those little vinyl scraps on my pant leg 😉
I used your Milk & Cream graphic yesterday…I’ll show you what I did with it someday soon!
This is so stinking cute, I have to make one now. I am sharing your talent on my FB page today:)
LOVE it!! One of these days I WILL get mine out of the box…maybe when the kids go back to school?? Thanks 🙂
Pinned it to my Silhouette board. I really have to try making something with more than just letters. Not sure I can be trusted to stick pieces to my shirt though.
Bliss
I wish I hadn’t read this post – now I need a Silhouette!! Lusting after that sign! xx Michelle
great tutorial! I love my Silhouette! 🙂
gail