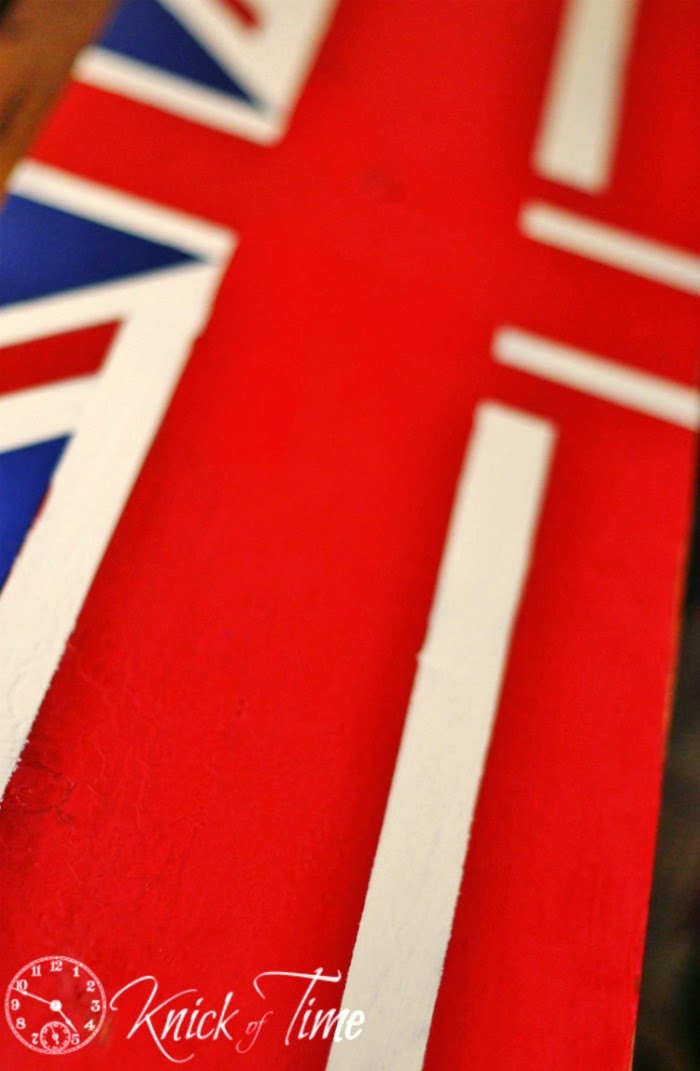
There’s the easy way to make a Union Jack sign…and then there’s my way. If any of you plan to make one of your own, I just thought I would show you the way not to do it, and save you the trouble.
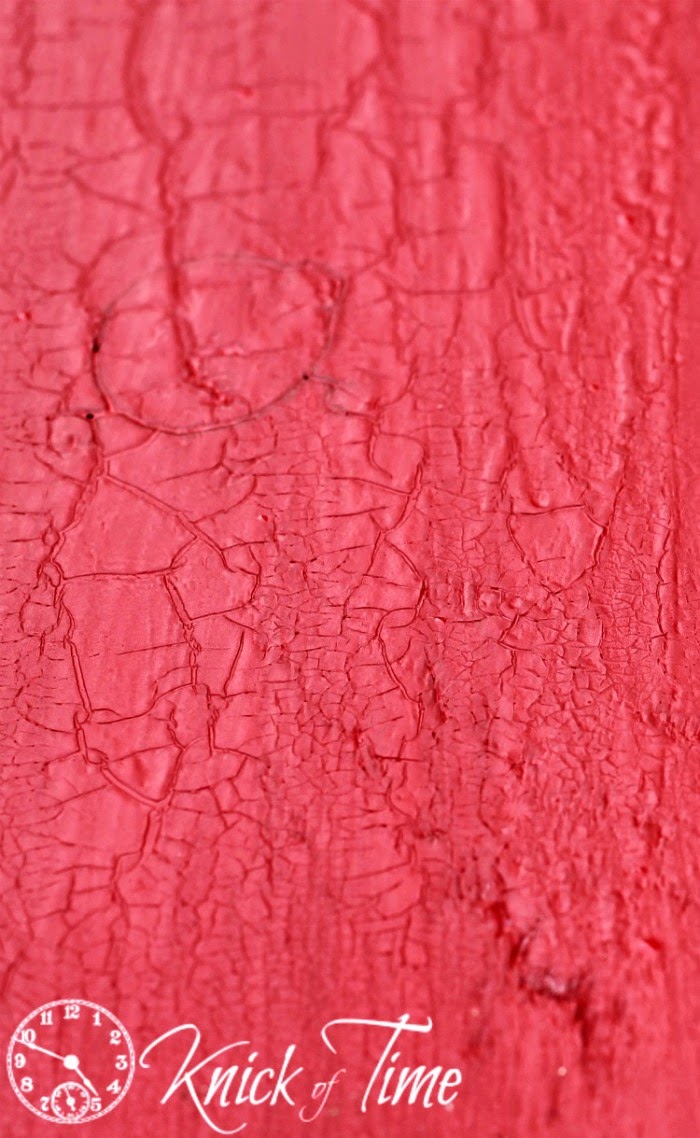
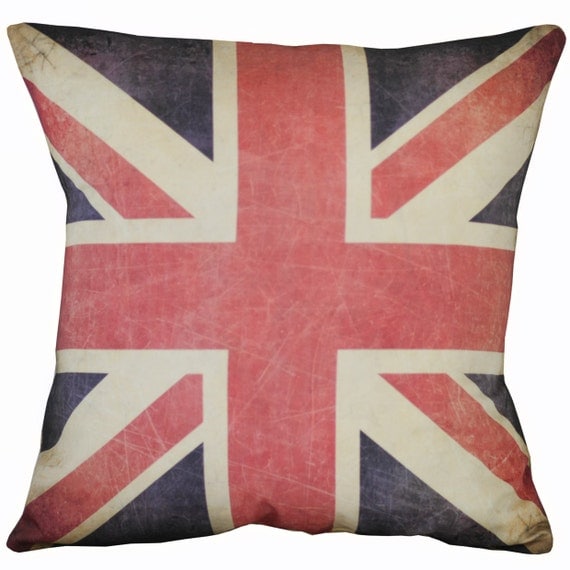
Remember last week, when I showed you how to create an aged crackled paint look? Well, I had every intention of turning this board into a sign for Christmas, but my son saw a Union Jack pillow I got for my daughter (ssshh…don’t tell her!) from Elliott-Heath Designs, and said he wanted one too.
When he said that, I realized that the crumpled look of the red stripes on the fabric, looked similar to the crackled paint on my old board. He was leaving that day to go to church camp, so I decided to surprise him with a Union Jack sign when he got home.
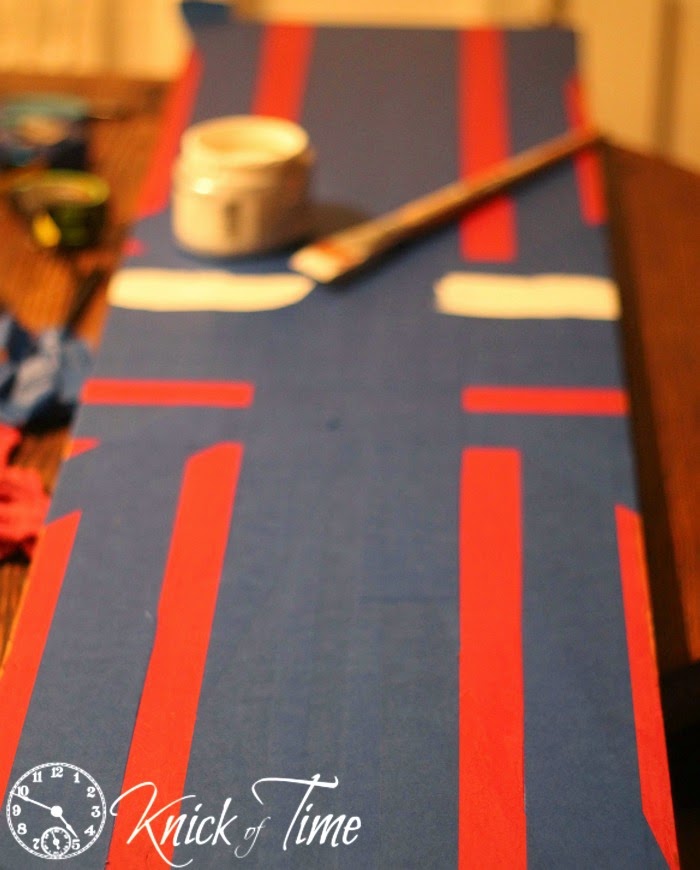
Seriously, I thought it would be so easy – it’s nothing but a bunch of straight lines. If I had stopped for a minute to recollect the difficult time I had in Geometry class, I would have realized straight lines would be a problem for me, but I didn’t. Armed with a roll of painter’s tape, I figured I’d have that flag sign whipped up in no time. I studied images from a Google search, and started taping away at the board. Immediately though, I started having trouble trying to figure out where the tape should stop and start for the 3 colors. The more I taped, the more confused I got.
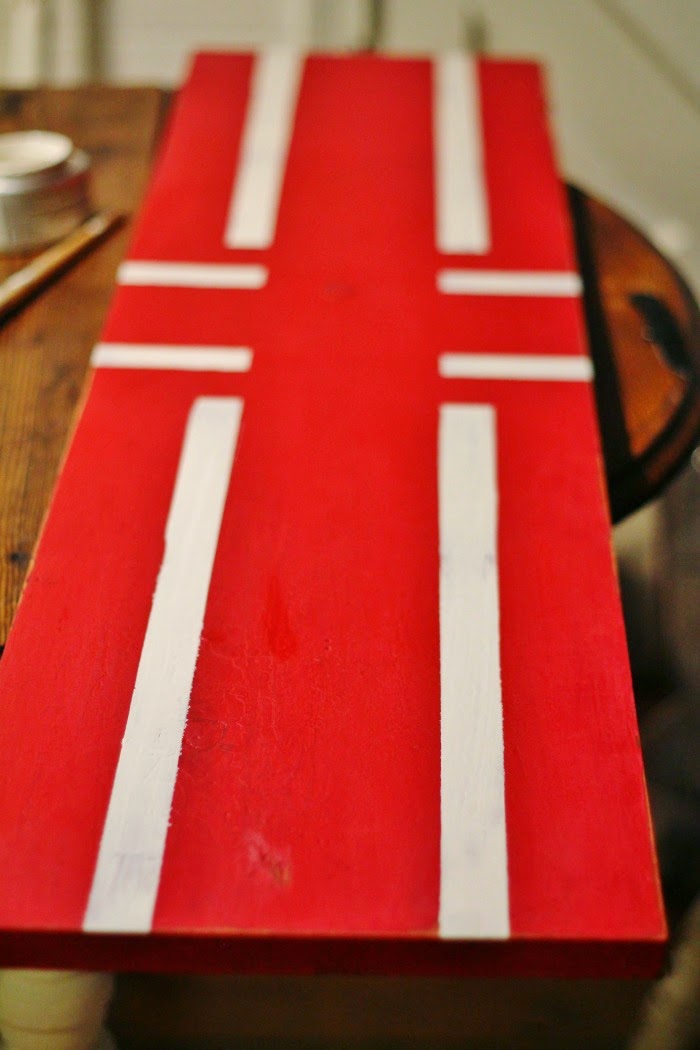
Rather than tape it so all the colors could be painted at one time,I decided to work on it section by section, so I painted the white stripes first.
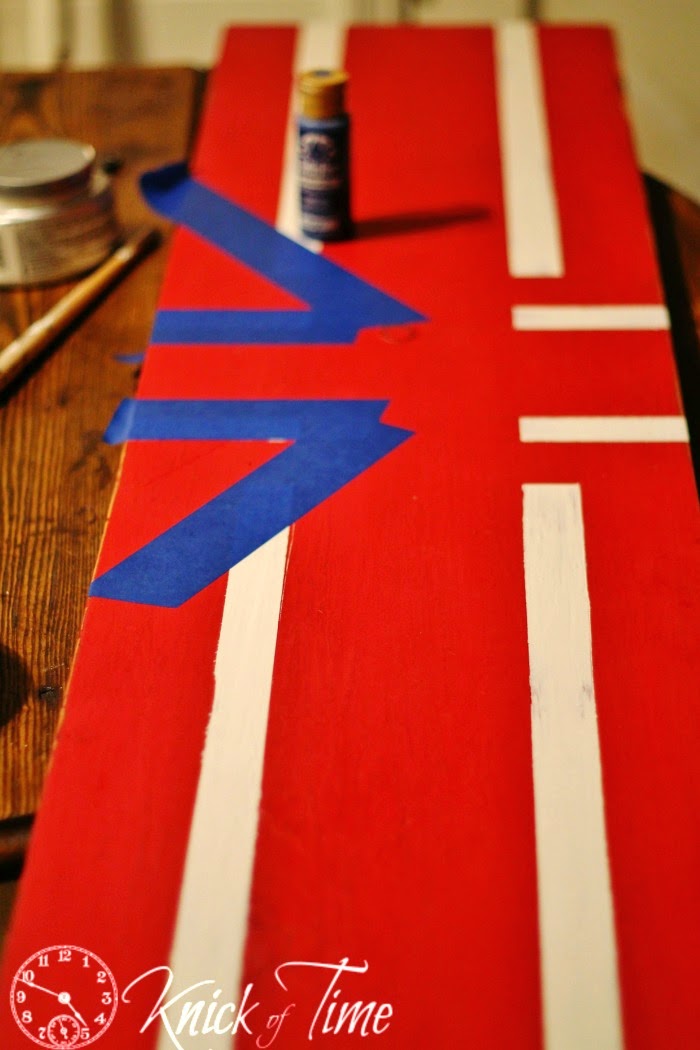
Once that was dry, I taped off the next section where blue paint would go.
It took a lot longer than it should have, because I had to dry each section of paint before I could tape up the next section, but I was really happy with how it was looking. There was one mistake I made that might make a British person flinch. See that white line? It was supposed to extend over to the white line going up and down, and the blue triangle shouldn’t have been part of that line. I didn’t even realize it, until it was too late to do anything about it, so I hope all the British people in the world will forgive me.
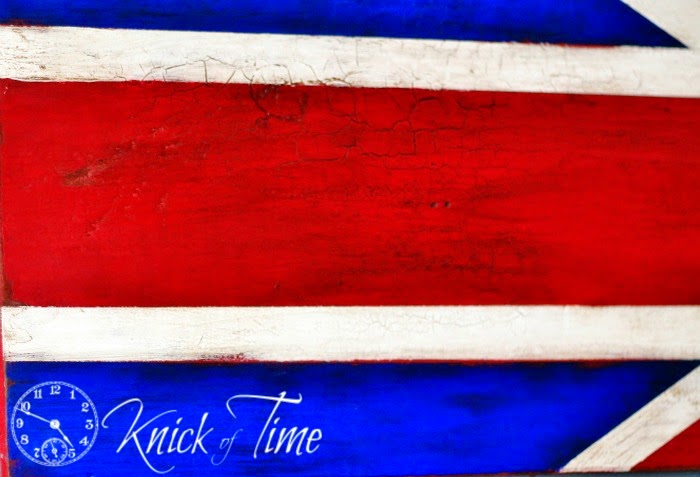
I wanted to accent that beautiful crackled paint, so I used Blue Minerals Antiquing Powder, (color – wrought iron). I waxed it, and while the wax was still “damp”, used a brush to work the powder into the cracks, then used a cloth to wipe away the excess. It really gave it the aged look I wanted the sign to have.
My son got home from camp and loved the sign. This was huge, because he rarely likes anything I make. I scored some good mom points!
If you like this project, you might also like these. Click HERE to see more.
Blessings,



Speak Your Mind