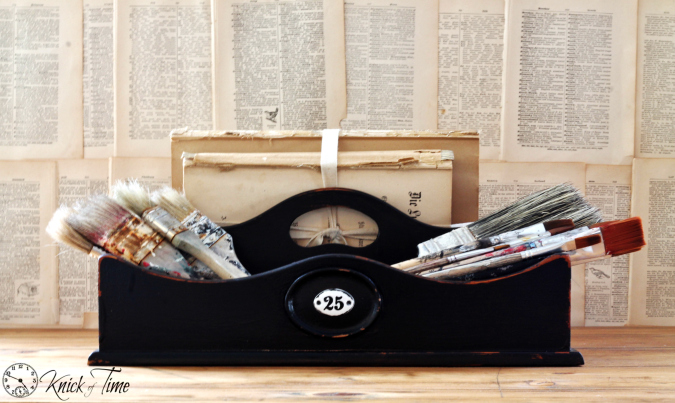
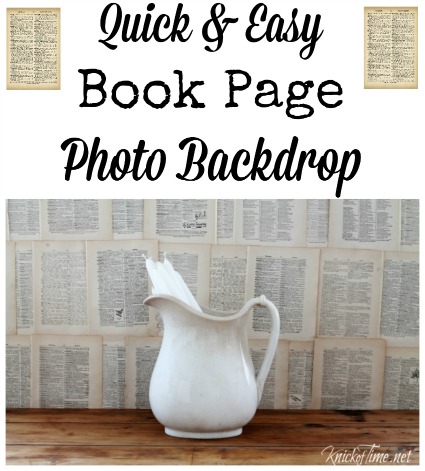
I like to have a variety of photo backdrops to use, and one of my favorite backdrops has always been the Bible page walls in my living room, seen above my favorite wooden table.
We rearranged our living room some time ago, and my piano desk now sits in front of that wall, and I’ve missed being able to use those pages as a photo backdrop, so I decided to make one that is easy to pull out when I need it.
To make it, I used a large piece of white foam board, and some vintage dictionary pages. I’ve had this foam board for quite awhile,so it’s pretty dinged up, but that doesn’t matter.
It only took about 15 minutes to make. I just used my hot glue gun, and dabbed a bit of glue on the corners of each page, and stuck them on the board. I left a gap between the pages for the first layer, then put another page over the gap for the second layer, rather than lining them up side by side, as I did on my wall. If you want the pages to lie perfectly flat, you can decoupage them onto the foam board, but I wanted a looser look to my pages this time.
I flipped it over and glued the ends of a piece of cotton twine on the two top sides, so I can hang it on the wall in my kitchen, where I take a lot of photos, but you could also just prop it on a table.
It’s very lightweight, and easy to stick behind a couch (or piano, in my case), and pull it out when needed.
Obviously, you couldn’t use this to take photos of large furniture, but it works well when photographing things aren’t huge.
The nice thing about using foam board , is you can flip it over and put a different kind of paper on the other side, for a totally different background. You could use sheet music, newspaper, wrapping paper, or even paint it, so you get two backdrops for the cost of one cheap foam board.
Even if you don’t need to take blog or product photos, a backdrop like this could even be used to take up-close, portrait style photos of people. I plan to make a few more variations for myself.
 See more Repurposed Book Projects HERE.
Free free to PIN it!


Love this backdrop Angie. Good that is it portable and you can use both sides.
What an awesome idea! I’m making one this weekend for my blog photos! I love book pages and found a great way to use them too. I covered a piece of foam core with book pages and use it on top of this huge picture that I have on my mantel. Then I hang wreaths on top of it. I was so tired of this picture but couldn’t find anything to replace it with. Now I just love it and can hang all kinds of things on it.
Fantastic idea! I have all I need to make this and I’ve been complaining this week that I need to up my game with photos, so this should do the trick! Thank you x
This is a wonderful idea. I am going to have to do this in my craft/sewing room. Thank you.
Hello
Thanks for your friendly answerand what good ideas you have
A bientôt
Kezako
That would make a great backdrop for my art! Thanks for sharing!
This is pretty just on its own! 🙂 What a fun idea!
You have the best ideas Angie. Thanks for sharing this one.
I did get around to making one of these and I have shared your tutorial on my ‘Five of the best’ feature at http://www.bigredbarn.co.uk/2015/02/five-of-the-best-no-5/
thank you x
Thank you for sharing, I am a novice photographer and I am looking for creative ways of making my photography more profitable.