Did you go to your state or county fair this summer?
I’ve always loved going to the fair!
I love people watching, I love all the yummy smells from the food vendors, I love watching little kids petting pigs and goats in the petting stalls, and I love looking at all the quilts, paintings and crafts entered into the competitions.
Last weekend my husband and I took my youngest son and his friend to the state fair. It was the last day of the fair, and there were several Christian bands playing that I knew they would want to see, so after church we headed over to make a day of it.
It was mid-afternoon by the time we arrived, and we soon discovered that most of the exhibits, and all of the animals were already packed up and gone. As my husband so aptly said it, “there’s nothing left except the smell!”
Smell or no – I was disappointed!
The next day, I decided to come up with some old-fashioned goin’ to the fair inspired projects to make myself feel better!
There are 3 different projects with instructions for each.
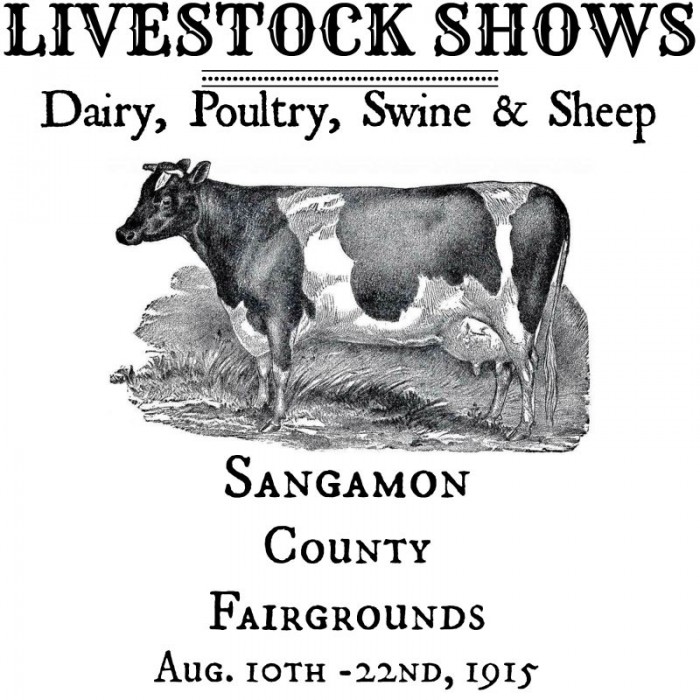
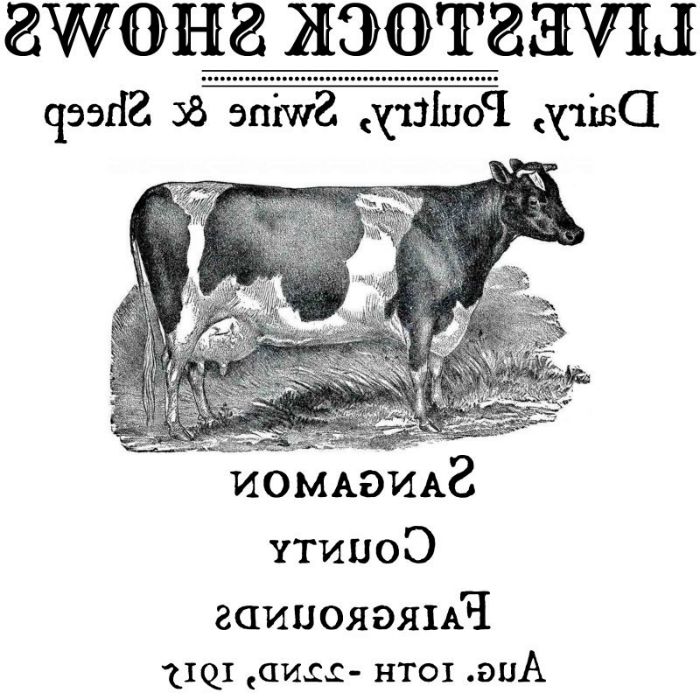
All 3 projects use this county fair printable that I created, so you’ll want to save it now. One of the projects requires the reversed image, so I’m including it as well.
{Reverse image printable}
The first project is a county fair pennant on drop cloth fabric.
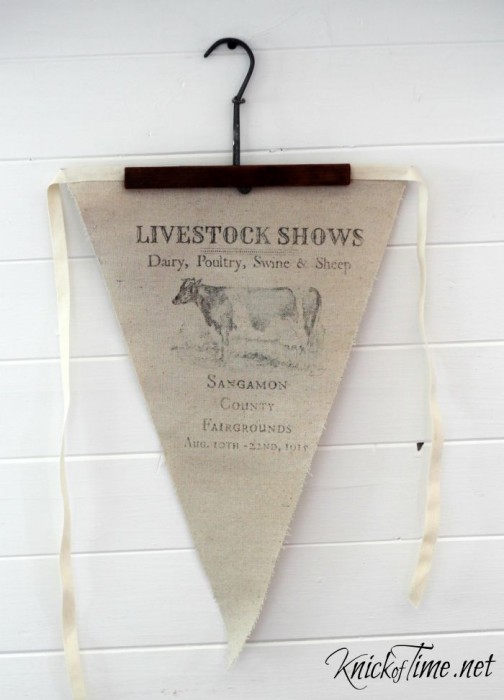
Supplies needed:
REVERSED County Fair Printable (printed as “8-1/2 x 11”)
Citrasolve ( affiliate link)
drop cloth or muslin fabric
First, you’ll need to print the reversed image as a full page size. It has to be a copy made with toner ink – not inkjet ink.
Next, cut a pattern for the pennant.
I made my pattern about 12″ wide x 18″ tall. I used a big piece of cardstock paper, but newspaper would work too.
Trace the pattern on drop cloth fabric and cut it out.
Tape both the fabric and the paper onto a firm surface. It’s important that the image not move around for the next step.
Pour a small amount of Citrasolve in a little bowl, and use a paintbrush to paint it over the back of the image.
Don’t saturate it – just make sure the whole image is covered.
Burnish the image using the back of s spoon. Use firm pressure and make sure you rub over the whole image well.
When you remove the paper, the ink will have transferred to the fabric! You can see mine is a little faint is some places, which means I didn’t rub enough in those places, but it still looks great. Press over the image with a hot iron to set the image on the fabric.
I hot glued some twill tape on the back, and it was done.
I’d rate this project very easy!
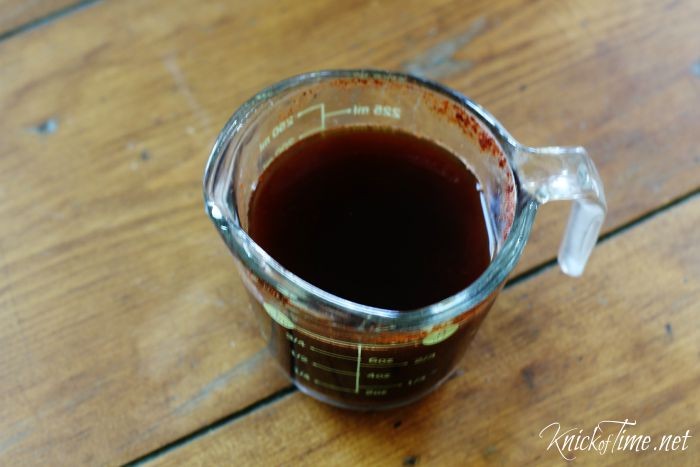
For the next project, I wanted to use the image to make a post on paper that looked old. Normally you’d use something like instant coffee to age paper, but I didn’t have any instant coffee, so I used ground chili pepper. I boiled water and added about a tablespoon of pepper, stirred it, and let it sit for about 10 minutes.
Put the printout on a nonstick baking pan, then use a paintbrush to apply the pepper water on the paper, and dab up excess puddles with a paper towel, then put it in a 200 degree over for about 7 minutes. Keep an eye on it, and pull it out once the paper is dry. I reached in and lifted it up a few times. to make sure the paper wasn’t getting stuck to the pan.
It gets a bit warped in the oven, so I brushed off the loose pieces of dried pepper, and ironed the page just a bit to flatten it out, but not too much so some of the wrinkles remained, as an old poster would have.
Instant antique county fair poster! I’m thrilled my chili pepper experiment worked so well!
I’d rate this project super-dooper easy!
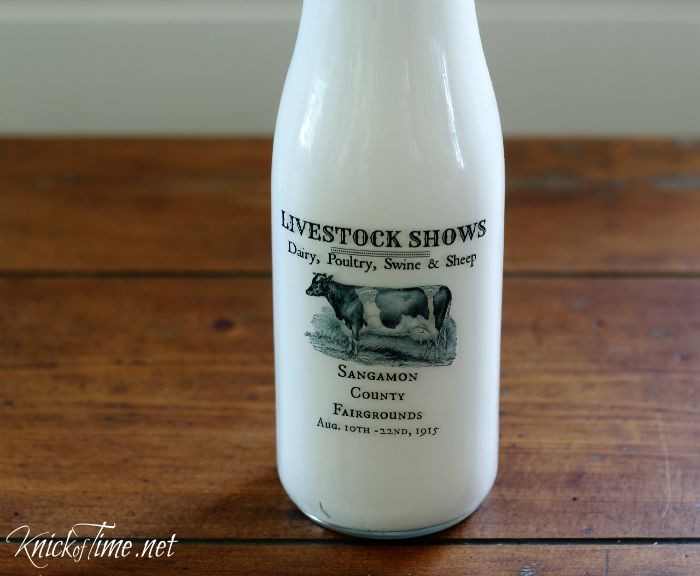
My son helped me with the last project, as he’s become a pro at making the vintage style milk bottles.
Since I’ve shared how to do this project in the past, I won’t repeat it, but if you missed it, the instructions are HERE.
This time though, you’ll need to print the image as wallet size, and paint the inside of a bottle, as I did on the bottles shown HERE.
Doesn’t the image just POP on the bottle?! I love it!
Remember, when you do bottles like this, you either need to coat the inside really well with some kind of waterproof sealer, or not put water in them, as water will make the paint pull away from the bottle.
I’d rate this project as easy, although it takes longer than the other two projects.
Let me know if you end up using the image to make any of your own projects – I’d love to see them!
My thanks to Karen @ The Graphics Fairy, for the cow image I used on the county fair design!






I love this graphic, Angie…thanks for sharing!
My pleasure Linda! Let me know if you think of a fun project to use it on!
I love them all, my favorite is the bottle though
Thanks Lisa – my son will be tickled to hear you love his bottles! 🙂
These are really GREAT!!! Thanks for sharing!! To protect the images on glass, could you spray it with a clear lacquer? Or paint a clear lacquer, very thin of course…..just a thought….have you tried it??
At 66 and 70 years young, my husband and I thought; “lets try it, and have some fun all at the same time.”
We entered the Ross County fair, Ohio. This fair is about as down home as your going to find in 2015. FFA and FH is the “in crowd” (clover leaves for 9 and under). in the surrounding area.
My husband’s maple syrup received a blue ribbon, and I took home a blue ribbon and a purple ribbon for “best in show “in my category.(a “living wreath” composed of a variety of succulents)
The last time we both felt this surprised and giddy was, after 25 years, when we met again and the true love story started…….
Awww…there’s nothing better than a love story, except one that includes blue ribbons! Thanks o sharing, Elaine! 🙂
I LOVE all of these projects! Thank you for the tutorials. I love Graphics Fairy too. Thanks for sharing. 🙂
As usual, your projects are awesome! And inspiring! Going to have to buy some citrasolve and give it a whirl! Who said you can’t teach an old dog new tricks!
Have fun Peg! These were all easy and fun projects!
Thank you very much for this great printable, Angie!
I almost forgot to say that all your three projects are beautiful. The chili pepper worked great to age the paper.
Angie,
You look on the bright side of things and look what you did. A beautiful time worn image turned a disappointment into three creative projects. Outstanding!
Happy Creating.
Karen Marie
Thank you! Love this image.
I spend hours everytime I come to this site…love everything about it!
Thanks so much – you made my day! 🙂
Just beautiful, Angie. I hope there’s another fair you can go to that’s not too far away.
Thanks Julie! Unfortunately, fair season is over here, but I’ll try again next year!
Love these ideas, Angie!
I haven’t even thought of our local country fair in years…we used to go as a family, but now everyone is grown, I haven’t kept up on it. I miss doing stuff like that as a family. I’m so sorry you and your family missed out this time…how disappointing! But I love seeing the wonderful projects that came of it…and three, no less…my golly, but you’ve got imagination to spare! I actually really love how the chili powder turned out on your poster…what a great aged patina it gave!
Thanks so much Susan!I used the chili powder “brew” or more blank pages yesterday, so I can tinker with them now.
Hi! I love these! Are these for personal use only or can they be used in a projects to sell? Thanks so much!
Jana, you are welcome to use them on projects you sell, as long as you don’t sell the image itself.
Thanks!
Loved all,these but my favorite was the milk bottles. Thanks for sharing. ?
Those projects are fabulous!! I have wanted to do something with starbucks bottles, can’t wait to try it!!
Hello! Do you think I could transfer this to a chair?
This is the perfect design!