DIY Cabinet Door Magnet Board
See my question and be sure to comment with your great ideas at the end of this post! 🙂

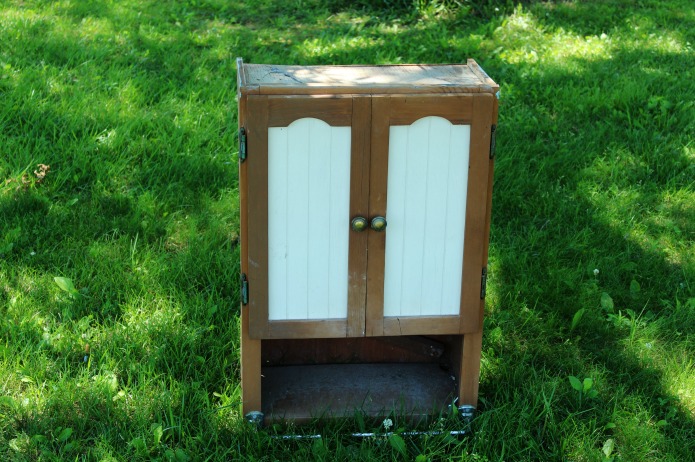
A week or so ago I made my repurposed cabinet door sign for my kitchen, but I still had the other door for the cabinet left. I didn’t want to put it in my workshop, because I knew it would become buried with hundreds of other things in there, so I figured I’d better make something with it quickly. Here’s how the doors on the cabinet originally looked.

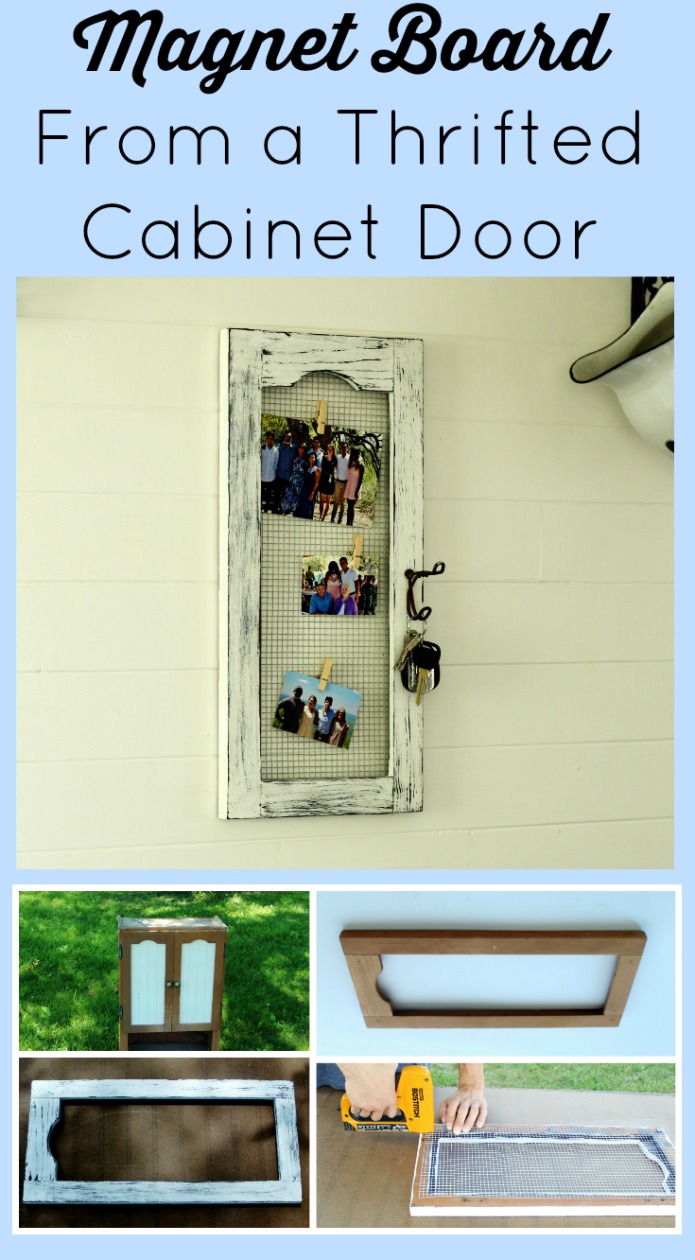
My refrigerator is maxed out with scraps of paper and photos held on with magnets, so I really need another magnet board. A cabinet door magnet board would come in very handy.
Supplies used (affiliate links included for your convenience):
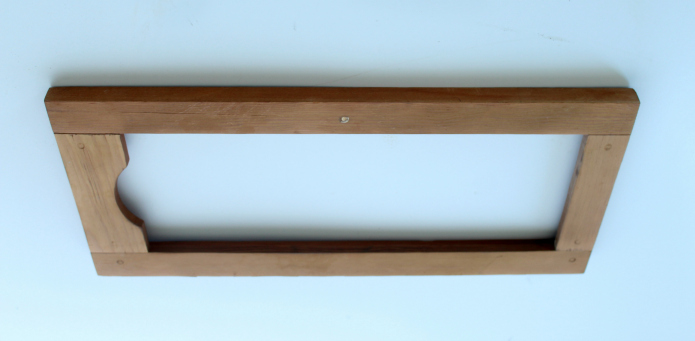
Salvaged cabinet door
Paint
Chip brush
Sandpaper
Staple gun (This is the one I use.)
Vintage schoolhouse coat hook (if desired)
How to Make a Cabinet Door Magnet Board
- Remove hardware and knob, fill the hole with wood filler, and let dry completely.
- Sand the wood filler with fine grit sandpaper and use a wet rag to wipe off any remaining filler.
- Stain the entire door, making sure to get the grooves inside where the panel was removed.
- Paint the cabinet door frame in the color of your choice (I used white.).
- Distress edges, if desired.
- Cut hardware mesh with wire cutters.
- Staple mesh to the back of the cabinet door.
- Attach coat hook.

After I added the wood filler, I sanded the entire frame down to the bare wood to remove the old finish and ensure the old stain wouldn’t resist the new color.

Here’s how it looked after I stained it the darker color, painted it white, and distressed it.

My camera tripod broke, so my son stapled the hardware cloth onto the back of the cabinet door while I took the photos.

The mini clothespins have a tiny magnet glued to the back and I added a rusty old school hook to hang keys on, so it’s a perfect spot for grocery lists, etc. to hang by the door.

I still have the main part of the cabinet left. It’s in pretty rough shape though.
Should I just use it as bonfire wood, or do you have another great idea to repurpose it?
I’d love to hear your ideas in the comments below! 🙂
PIN IT

Vaya con Dios,


It doesn’t look like you used magnets on this, but I can’t figure out how the clothespins fit through the tiny holes in the mesh in order to hold the photos.
Fonda, yes I glued magnets onto the back of mini clothespins.
I can see the cabinet used as part of a potting table so the supplies are handy but not on the work area itself. “Rough shape” means rustic in the right hands!
That’s a great idea, Derry!
Nifty, Angie. I like it. Do the clothes pins have magnets on the back?
Regarding the rest of the cabinet it seems like there should be some way you could transform it into something cool. But I guess I’d have to see just how rough it is to know for sure. You could practice making something really outrageous with it, just for fun. How about a necktie closet? Just kidding! I like the idea above to use it for holding things on a potting bench. Or stencil something on it and use it for a planter. Or not!
LOL at the necktie closet idea, Naomi! That’s a great idea to stencil something on it to use as a plant stand.
Oh, now I see from your answer to the other comment that you did use magnets on the clothes pins! Nevermind!
Love this, Angie. I wouldn’t have thought about using hardware mesh for a magnet board. Great idea!
Thanks Amy! It comes in a roll and I can make a lot of projects out of one roll.
thanks for sharing the informations..
I love the magnet board, Angie! How about making a dog bed out of the cabinet?
That is such a great idea, Julia! I’ve made one out of a drawer before, but our smaller dog doesn’t have her own bed (yet). Thanks for the idea!