Make a Repurposed Vintage Cutting Board Serving Tray
Some projects turn out great the first time, but this isn’t one of those projects. 🙂
I’m happy with the end result, but by showing you the problems I encountered getting to that point, I hope
you’ll be encouraged not to give up on a project that isn’t going as planned.
A few weeks ago, I picked up a vintage cutting board at an antique shop. I wasn’t sure what I was going to do with it, but when I spotted a lovely rustic cheese tray from Joss & Main (affiliate link) for over $30, it inspired me to create my own modified version, which was much less expensive and really easy to do.

Here’s their version …

And here’s how I made mine …
How to Make a Repurposed Vintage Cutting Board Serving Tray
Supplies needed (affiliate links included for your convenience):
Vintage cutting board or any piece of rustic wood
Gray chalk style paint
foam brush (wonderful price on set of 25)
Directions:
1. Paint the cutting board and let dry.
2. Apply three coats of polyurethane, letting it dry fully between coats.
3. Attach sash lifts on both sides of the cutting board.
4. Allow the polyurethane to cure at least 30 days before putting food on it.


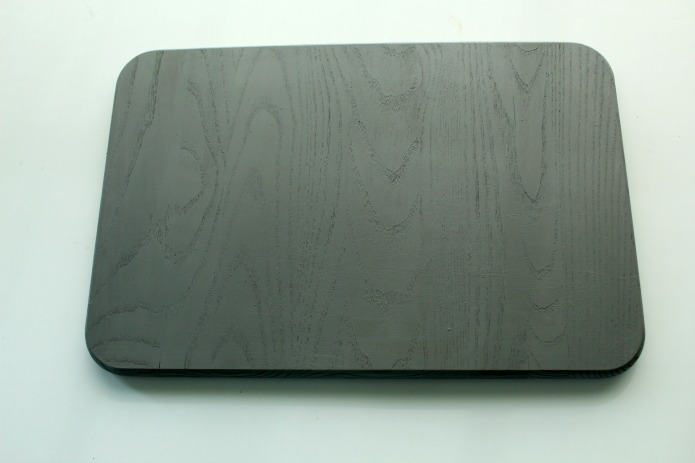
The paint is lighter gray in real life than it looks in the photo below.

I added antiquing wax over it, buffed it until really smooth … and didn’t like it at all!
I lightly sanded the board to remove the wax and repainted it. No big deal. It just took a little extra time.

Here’s my finished serving tray. Total cost – less than $15.
Even with the goof-ups and extra time spent, I still think it was worth doing and love the finished result.

I strategically placed the ramekin filled with preserves to hide a goof-up …

I over tightened one of the screws and the head broke off. The rest of the screw was still stuck in the wood, so I had to glue the head back on and it’s a bit crooked. Just keepin’ it real. 🙂

If you enjoyed this project, be sure to check out more of my cutting board projects HERE!
Vaya con Dios,


I love that you keep it real! It gives the rest of us confidence to try…we can see that everyone makes mistakes. 🙂 The tray looks beautiful. 🙂
Believe me, I make lots of mistakes, Claudine!
Just wondering, is the sealer food safe? And is chalk paint food safe?
From what I read online, as long as the sealer cures 30 days, it is food safe, Maggie.
Sometimes it just takes a little longer to get there…but all’s well that ends well! This is a great idea for using a cutting board and it turned out great! Happy weekend, Angie!
I often take the “scenic route” to get a project finished, Linda! 🙂