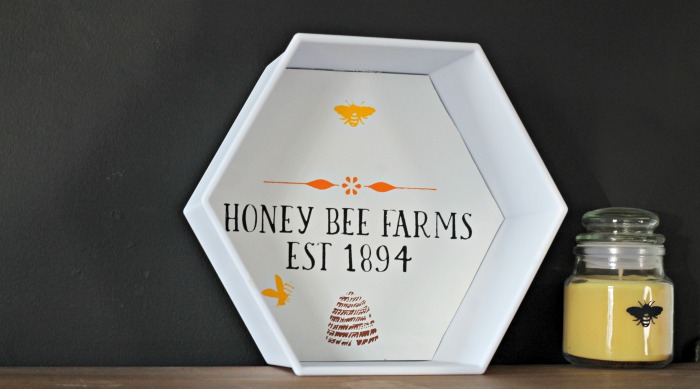
Bee Hive Wall Shelf
Hey, everyone! I’m back with a new Dollar Tree project. This time it’s a Dollar Tree modular wall shelf upcycle.

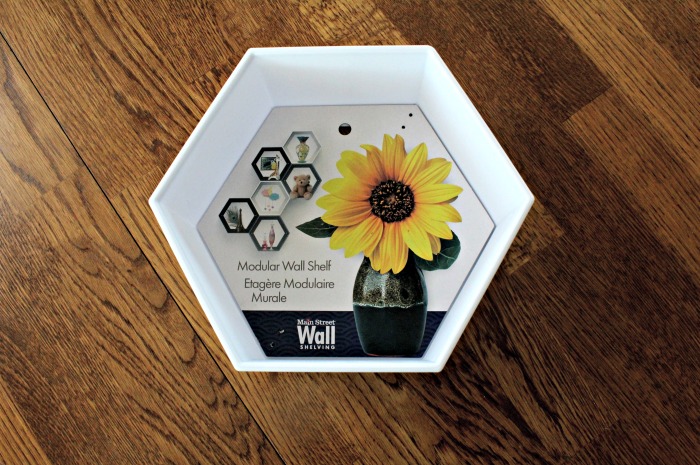
Last month I bought this modular wall shelf from Dollar Tree. I don’t know if they still have the, but I’m kicking myself that I didn’t buy more. I’ll check next time I’m there because I would love to do an arrangement as shown on the insert, but I had an idea for the one I bought.

Bee Hive Wall Shelf Supplies:
Dollar Tree modular wall shelf
Dollar Tree vinyl placemat
Scissors
Spray paint
Glue gun and glue sticks
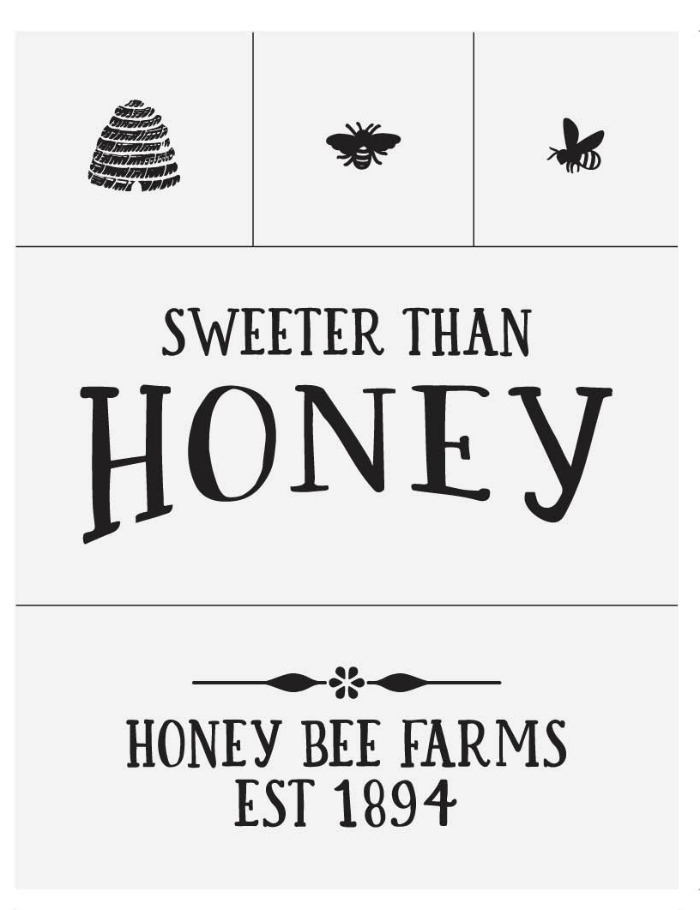
Sweeter Than Honey transfer
Bee Hive Wall Shelf Instructions:
- Remove the cardboard insert from the shelf.
- Use the insert to trace a pattern on the back of the placemat.
- Cut out that pattern.
- Spray paint the front using enough coats to fully cover the original design on the placemat. Allow it to dry completely.
- Lightly wax and buff with a cloth.
- Apply transfer and chalk with your chosen colors of chalk paste. Let dry.
- Apply hot glue on the back of placemat pattern and quickly press into shelf.

Step 1 – Cut beehive shape from placemat


Step 2 – Spray paint shape

Step 3 – Chalk

Step 4 – Hot glue and press into shelf.


Sweeter Than Honey is part of The Bee’s Knees Collection. It’s a great bargain for 5 transfers that can be used so many ways.
I also used it in the Recipe Box Makeover.

There are two other designs in the collection. I have the large Beehive but haven’t made a project with it yet.


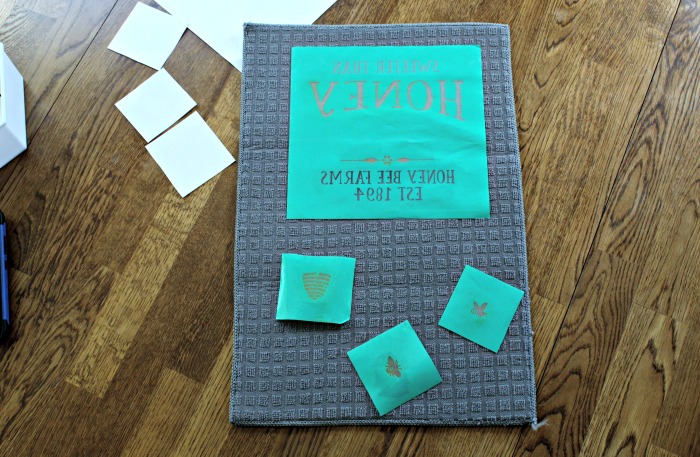
TIP – I use a Dollar Tree dish mat to let my transfers dry after cleaning, sticky side up.

PIN IT!

TRY IT!
If you have never tried Chalk Couture and want to try it out, I have put together these mini bundles with everything you need and ready to ship immediately. Just click on the Add to cart button below.
*US addresses only


Speak Your Mind