We don’t have recycling pickup, since we live outside the city limits, which is why you will frequently see projects created by me from things most people take to the recycling center – like tin cans and glass jars. That means I have lots of tin cans and jars to craft with…lots. If you save glass jars too, this Day 3 project for my 12 Days of Christmas celebration is for you!
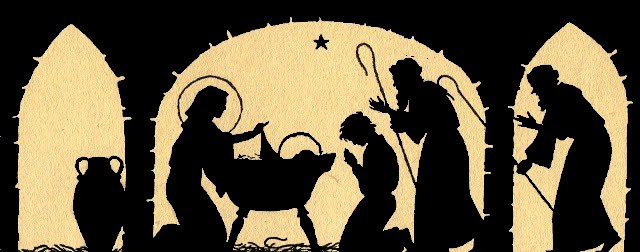
I almost feel guilty calling it a “project”, because making this nativity silhouette candle holder requires only 2 easy steps, and it looks so pretty when finished. Sounds good, right?
Okay, here are those 2 steps…
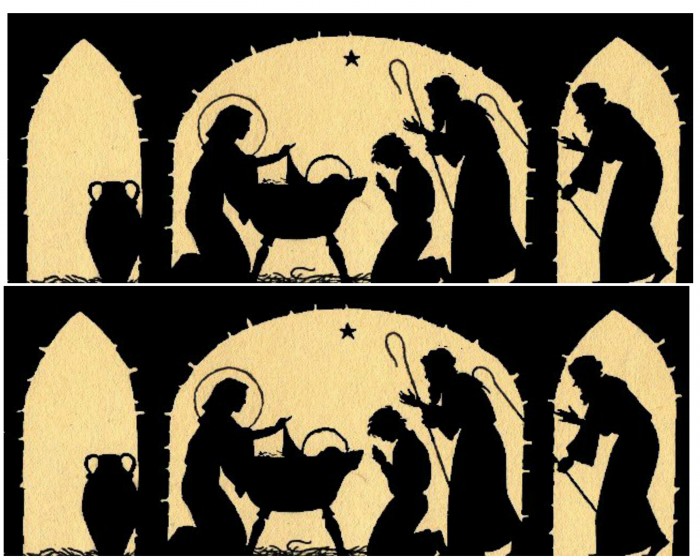
Step 1. Print one of the images below. You’ll get a much more vivid image if you print them with a laser printer. I bought mine very inexpensively on Amazon here). If you don’t have one, I recommend getting your print made someplace like Staples. Inkjet prints just don’t look so great.
{click on images to view full size and save}

I actually fit two of the images on 1 page, so I could make 2 candles with just one copy -what a deal!
I added a larger black border around the silhouette in this image, so that you can trim it to fit whatever size jar you have, so if you are making a trip to get a laser copy made, you may want to print both ways to be safe.

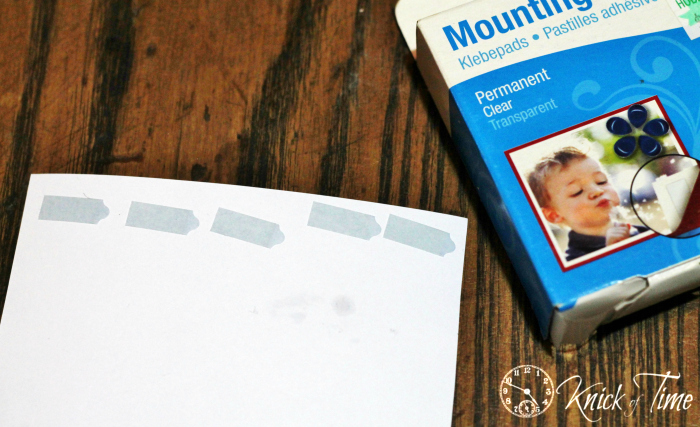
Step 2. Stick adhesive photo mounting squares along one of the short edges of the print, and wrap it around a jar or glass.
{finding a jar or glass makes that 4 steps, but if you just casually come across one while unloading the dishwasher, it’s also multi-tasking, and doesn’t technically count as another step.}

Put a candle inside your jar and light it. Done! {you wouldn’t call that a step, would you?}
This optional, so I didn’t count it as a step, but to finish off the top edge of the jar, I added some lace tape around the top. I bought the tape at the Dollar Tree, and they had several pretty styles available. Sooo…if you count adding the lace tape, that would be 5 steps, but who’s counting?!!
It looks so pretty, illuminated with a candle inside it. The original page had gotten a darkened color from age, which was perfect to give it that yellow glow.
This image came from an antique children’s song (see page with the music here)


Just lovely! Thanks for sharing this – pinning it so I can make one of my own!
Really cute Angie … love using candles this time of the year.
Hugs,
Audrey Z.
Oh so pretty, Angie! Thanks for sharing!
Great holiday projects. Thanks for all the great ideas already, can’t wait to see what you come up with for the rest of the days.
Lovely idea!. Thanks for sharing!
I love easy projects, and your Nativity scene turned out beautiful! I like the lace tape on top of the jar too. I haven’t seen lace tape before. Think I’m going to have to make a trip to Dollar Tree. Thank you for sharing!
Love the silhouette of the nativity. The lace tape is the perfect accent!
Hi Angie! Thanks for sharing this lovely idea! Blessings from Bama!
What kind of paper do you use for this? I would think it would need to be virtually transparent paper instead of plain copy paper so that you could see the light of the candle through the glass jar.
Jennifer, no I used plain copy paper (laser paper with laser ink). The candle light shines beautifully through the lighter areas of the silhouette.
I’m going to try using Vellum. It is used for projects that you want to show light through. Thank you Angie Chavez for sharing. I love this project and can’t wait to try it.