
I had a copy made of my “It is Well” photograph (in reverse). You can see the original photo HERE, but this is the reversed image I used for this project.


I lay a wet rag on top of the image until the paper is completely wet, then use the rag to gently wipe away the paper, revealing the image underneath.

You’ll notice the image looks a little cloudy after removing all the paper, but that’s okay – it will look darker after the last step.

This is where those brush lines come in handy. I use a very fine grit sandpaper over the image to distress it, and some of the brush strokes show in places, which I love.

I use my palm sander to do a heavier distressing around the edges, taking it down to the wood in some spots, so it looks really well-aged.
![]()
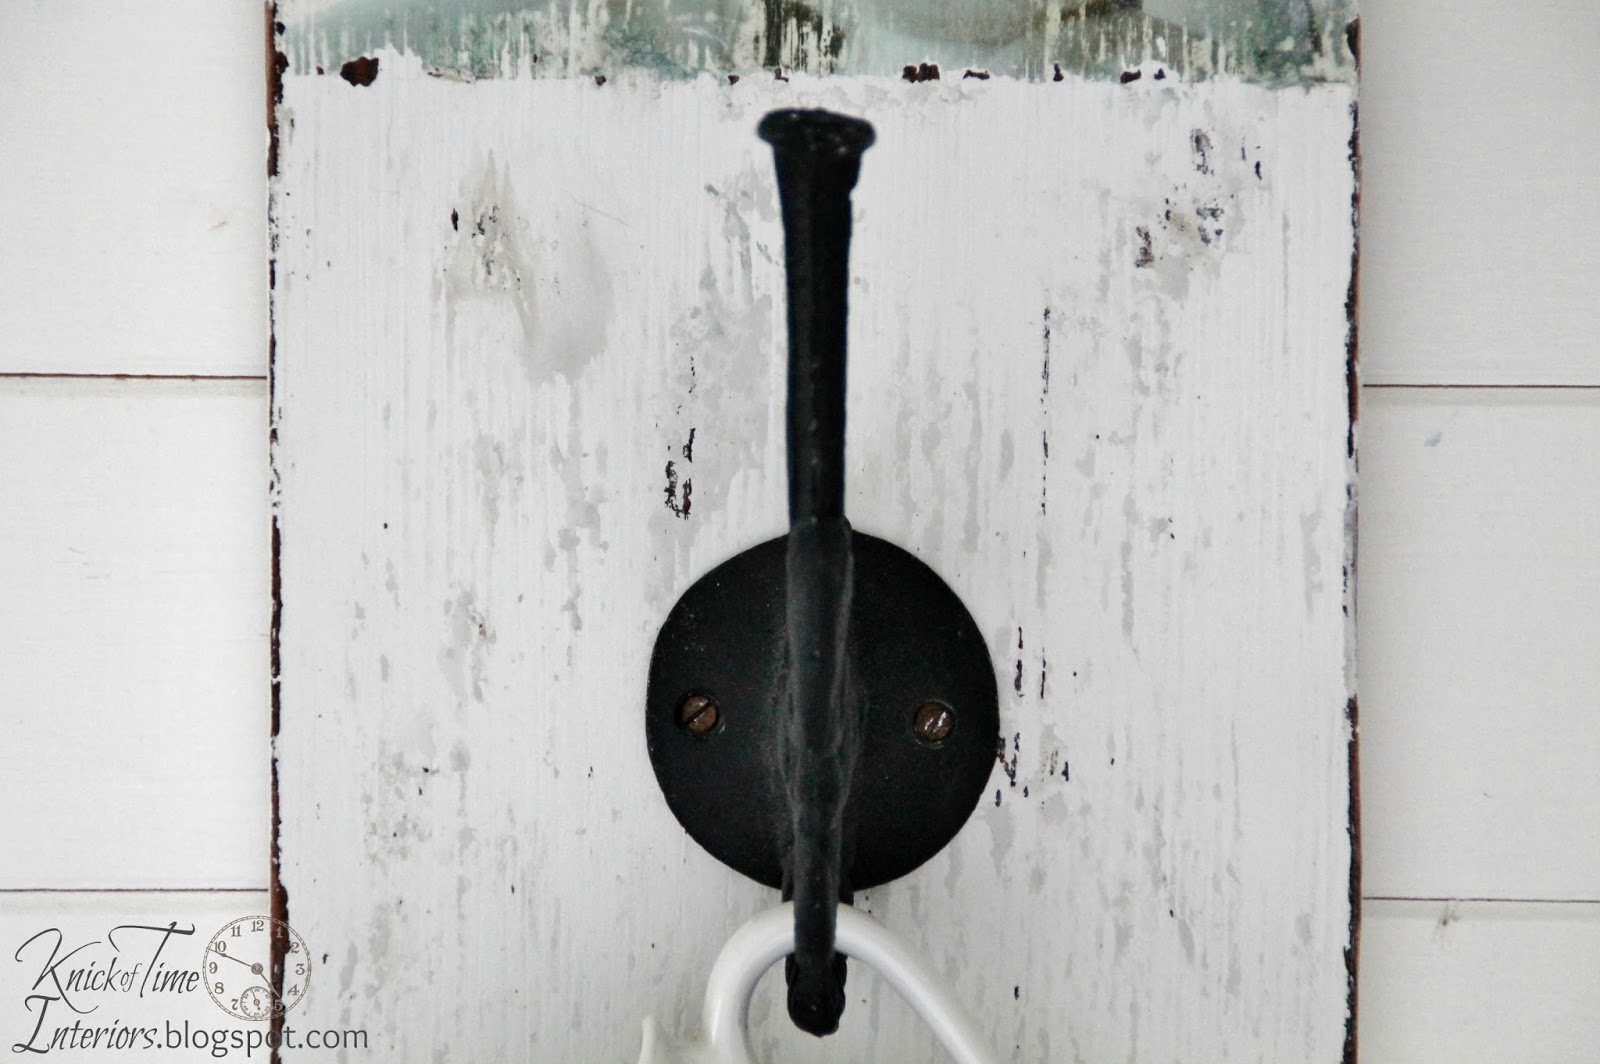
Under the coat hook, it looks like I did some kind of layered paint technique, but actually it’s more of a sanding “technique”. When I want this look, I use sandpaper that I’ve previously used with a different color paint. Some of the paint sticks to the sandpaper, so when I used it to distress the white paint, some of that residual paint gets sanded into the white. It gives it the appearance of an old piece of wood that has been painted multiple times.
{Feel free to Pin It!}

Blessings,
Angie


Beautiful transfer on wood project. Love that you used one of your own photos. It is perfectly distressed.
wow!
I’m really impressed with how great the photo looks after the distressing! Now I want to try too! 🙂
I love it!!
what form was your photo in when you took it to be copied?
I mean, a photograph, like any old photograph?
since I do all my photos on computer now, I do not even know how to get prints made. =/
silly, I know.
thanks for how to. I so love photo you used.
blessings
barb
That’s pretty awesome Love it!
I can see why you are obsessed with this. I love the look too and can’t wait to get my hands on the stuff to make my own. Thanks for showing us how to do it.
this is fabulous, angie! thanks for sharing with us:)
Looks great, Angie! Thanks for the instructions, it’s something I’d like to try someday.
Wow- That is a wonderful, wonderful project. I just love it- you did a beautiful job! xo Diana
Beautiful. I love it! Thanks for the tutorial. Since I have started blogging I have flitted from one project to another too. Isn’t it fun!
Love this Angie, can’t wait to try it, Thanks for sharing! Mary
Angie
This is amazing.
It’s so rustic and lovely!
This is so pretty. Thanks for the tutorial. When you reverse printed your photo, did you use photo paper, card stock? Thanks for sharing your talent.
Love it Angie. Several months ago, I did a copy-cat picture like yours using my old chippy enamel picture. Not as sweet as yours but this week was working on it to hang in my new bathroom shelf. Now I will copy-cat you again and transfer it to board and make a rack of some sort. Questions: did you paint the board white over black? Love the way it distressed. Also … my color printer is ink jet … I am sure that will bleed if I try to transfer that. Yes? Maybe I can find someone with a laser color. Do not have a Staples here. I really appreciate you sharing the things you make with us. You are so talented and inspiring.
Hugs,
Audrey Z. @ Timeless Treasures
Beautiful project, thanks for stopping by 🙂 Hugs, Biljana
I love this and can think of quite a few of my own photos to use if it would work, but how long did you leave the wet cloth on the reversed image before you started to rub the backing paper of ? Many thanks
Angie, this is so beautiful! It looks like something even a beginner can attempt… and yes, I am a beginner… and yes, I will attempt to do this! I LOVE your pic btw…this was my mom’s favorite hymn and since she died in 2010, these words have become even more precious. God has blessed you with an incredible gift. Thank you for sharing it with the rest of us. God bless you, sister.
I was wondering how long you let the gel medium dry before you place the damp towel on the back of transfer?
Linda, let it dry completely – either overnight, or speed it up with a blow dryer.
Angie I just love this project! Thank you for sharing. I have had a piece of wood from my Papa’s barn in Virginia for years and have always wanted to do something with it and this project is it! I have taken photos year after year when I went to visit and have some great photos, now to just chose the right one. Thanks again for sharing your wonderful projects. God Bless
stunning. I have been looking for a better way to transfer and this looks like the jackpot! thank you. You are amazingly creative. I just love your style.
Good luck Kim, and be sure to share a photo of your project if you try it! I love doing image transfers!
Absolutely love the image and distressing!! One question I can’t seem to get answered tho…is the image on regular paper or photo paper?
Holly, it’s regular paper. It’s the ink that is important. Make sure it’s laser ink.
Thanks for the tutorial, Angie! One question. Your “omni gel” link leads to a listing for mod podge. Is that a faulty link or is mod podge a type of omni gel?
Ashley I had problems with Omni Gel when I ordered it during the winter months (it turned into a hardened clump in the bottle), so I now use Modge Podge instead. They work exactly the same.
beautiful work. so i had a question on the wood. You used reclaimed wood, gave it a light sand as to not get splinters lol and then what kind of and color of paint did you brush stroke on before applying the gel medium and picture? thanks so much
How did you get your images to staples for them to print them out on the laser paper?
Helen, I usually save images on my memory card and take it to Staples, but you can also upload the image on their website, and pick it up in the store, or have it mailed to you.
I am having a very hard time getting my paper off the picture. I used poster paper from the photo place. I very bright colors in the pictures and I am unable to bring the color’s out. Please help me.
Troubled and Confused
Holly, I always get my prints made on regular paper, not heavy weight paper. You might try that and see if it helps. Prints made with toner ink (laser printers) are more vivid than ink jet.
Love Love Love it!!