Last Friday, I told you that I was going to get serious about learning how to use my DSLR camera, by taking online classes with Shoot Fly Shoot (see affiliate link on my sidebar). I hope that those of you who have DSLR cameras, but you haven’t learned to use them to their full potential, will be encouraged to learn as well. We can do this!

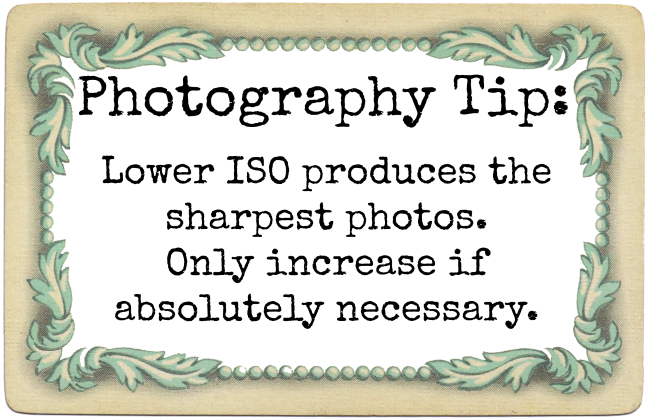
This week, I learned about Exposure, which just means how light or dark a photo looks. If you’ve seen a photo that is very dark, with very few details showing, that is an underexposed photo. If you’ve seen a photo that is too white, where the details don’t show because everything looks too bright, that is an overexposed photo. The three components of Exposure are ISO, Aperature, and Shutter Speed, and I focused on ISO camera setting this week. ISO is your camera’s digital sensor’s sensitivity to light. The range is from 100 – 6400. The lowest number means the least amount of light, and the highest numbers mean the most amount of light.
Obviously, in order to change your ISO, you need to know where the button or setting is on your camera, so locate the ISO button or setting on your camera, or consult your manual to help you find yours.
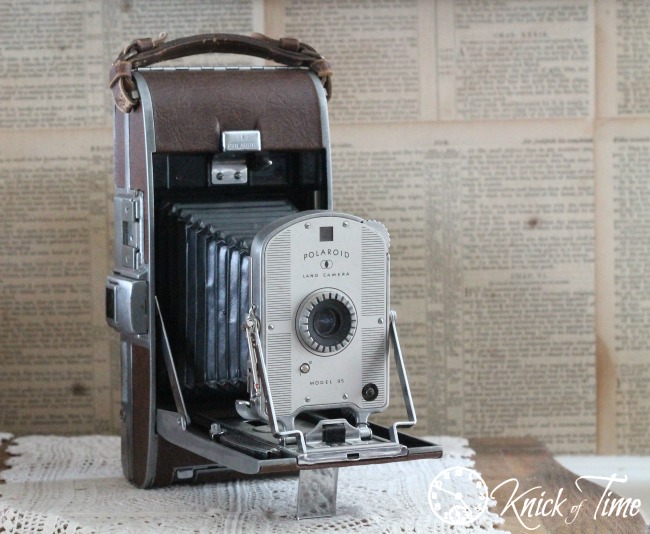
I practiced changing the ISO settings, by taking photos of my antique camera. I took the photo in my living room, on a very overcast day, so there was very little natural light coming in. My camera was on a tripod, and was set on manual, and the only setting I changed was the ISO. Here you can see the results. On the lowest settings, the antique camera is either not visible, or is barely visible. It isn’t until I increased the ISO to 400 that you can really see it at all, and the photo isn’t well lit until the ISO was cranked all the way up to 6400 – the highest setting.

Clearly, in this setting, with very low natural light, using the highest ISO setting was necessary, taking into account that no other settings were changed. Here you can see that photo close up.
Next week, I’ll be learning about Aperature. Even with just one lesson under my belt, I am so excited to see the results of actually practicing with using my camera in manual mode.
These lessons are perfect for me, because each lesson is short, and doesn’t require a huge chunk of my day to do, which also means I don’t have to absorb a lot at one time – I can do the lesson, practice the skill, and let that sink in before taking the next lesson.


Thanks Angie! I’ll be following you along…yes, WE can do this.
Good lesson and well explained … someday, I will try the Manual setting.
Thanks for sharing your lessons with us.
Audrey Z. @ Timeless Treasures