Yesterday I promised I’d share the tutorial to build this farmhouse wooden tote, so let’s get to it!
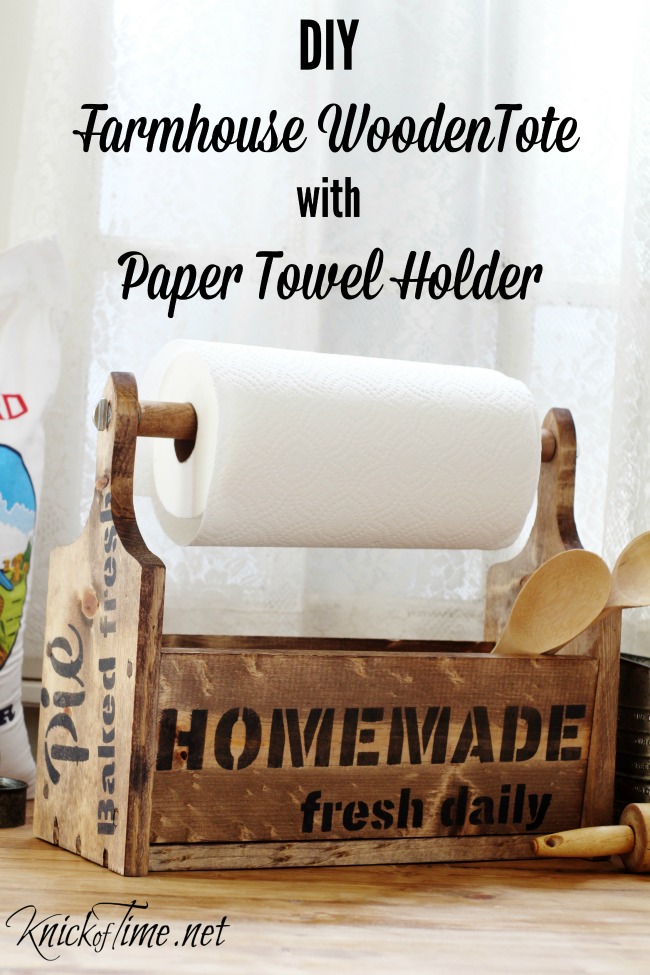
Build a Bread Board Wooden Tote with Paper Towel Holder
All works © Knick of Time – Do not redistribute this tutorial in part or whole in manner.

Supplies Needed: (contains affiliate links are included to help you find the products you’ll need. Most of these
Pine Boards (dimensions below)
thumb screws (1/4″ x 20 x 1″)
T nuts brad hole (1/4″ x 20″ x 5/16″)
screwdriver or nail gun
screws or brad nails
wood stain or paint (optional)
Vintage Sign Stencils (if desired)
How to Build it:
I purchased 3 types of wood – a 1x8x8 wide pine board, and a narrower 1x6x8), and the wooden dowel.

1. Trace 2 of the bread board shapes on the wider board, and cut them out with a jigsaw.
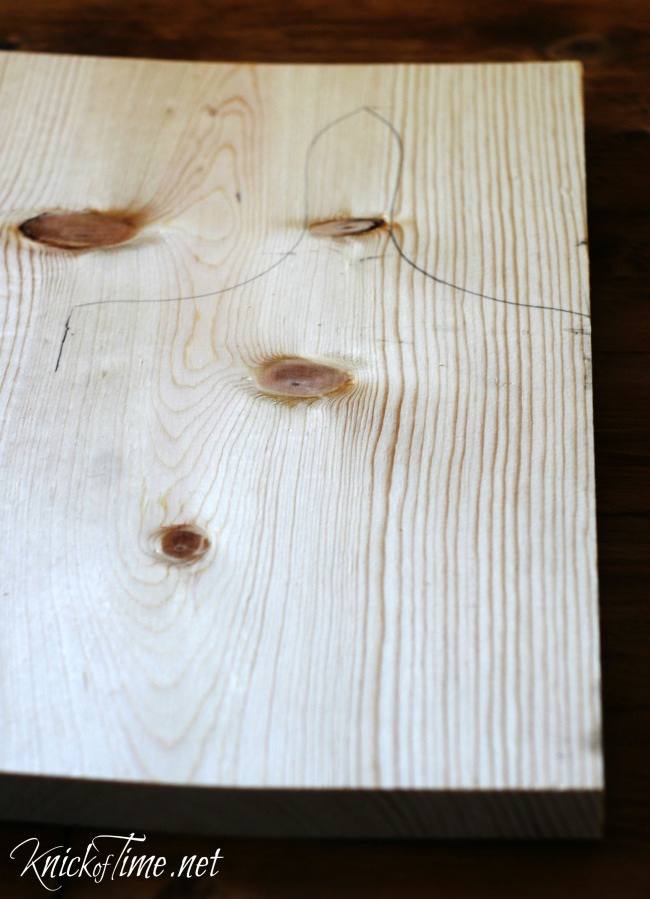

I used one of my vintage bread boards as a pattern.

2. Cut 3 boards for the sides and bottom of the tote to your desired length. Mine were cut 16″ long.
Tip: Wait to cut the dowel until the tote is assembled, so so you get the correct length.
Sand all the edges and erase any pencil lines, so they won’t show if you plan to stain your tote.

*If you want to stain or paint the wood, do it before the next steps.
2. Drill a ” hole about 1″ from the top of both bread board handles. (The diameter of the hole should be the same as the diameter of the thumb screws and T-nut inserts.)
**Note – we used wood pegs, rather than screws to assemble mine, but it was hard to get the wood straight (so mine isn’t) :).
I recommend using screws or a nail gun instead, so the instructions are for screws, so where you see wood pegs in he photos – pretend they are screws. 🙂 Just follow the instructions, as the process is very similar.
3. Drill pilot holes, then screw 1 of the small boards to the bottom edge of the bread board.

This will be the bottom of the tote.
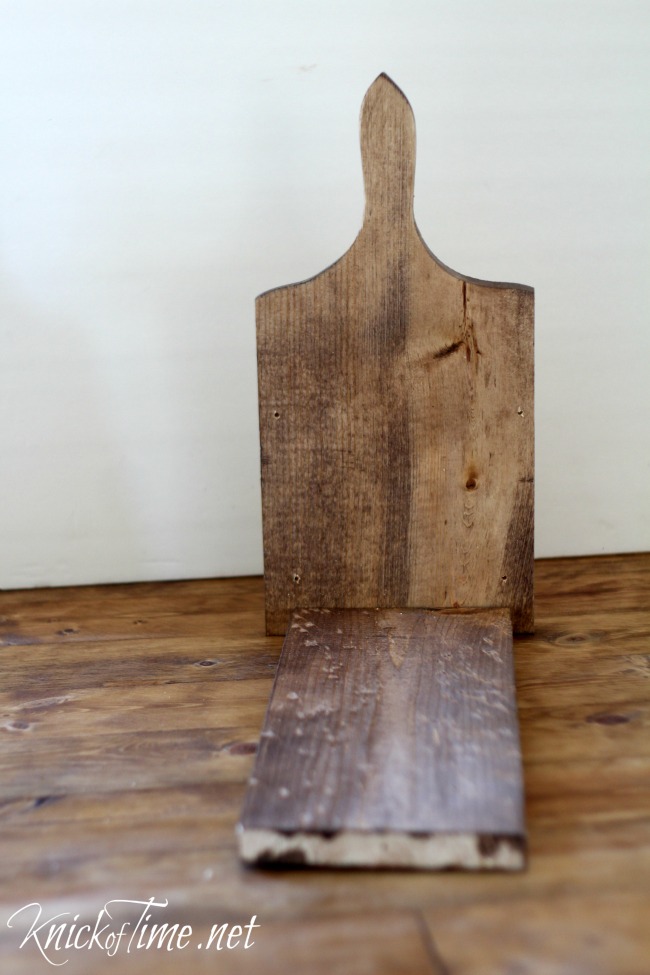
4. Attach 2 more of the small boards to each side of both breadboards. Make sure they all are flush with the bottom and side of the bread board.

Here’s the front view.

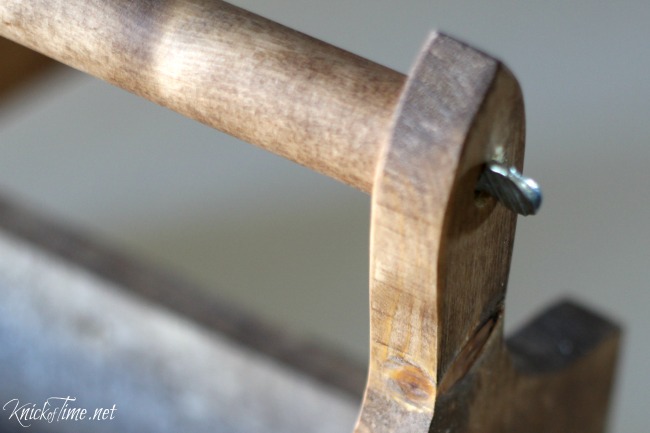
5. Drill a hole in both ends of the wood dowel.

6. Insert the T nut inset into the hole and hammer wire brads into the holes to secure it.

7. Screw in the thumb screws in, and the building and assembly part is finished!
Here it is all assembled.

Since my side boards were a little crooked, I thought adding some Vintage Sign Stencils designs would draw the attention away from that.

3. Stencil on all 4 sides of the tote. I used the Flour Sack Stencil and the Fresh Baked Pie Stencil
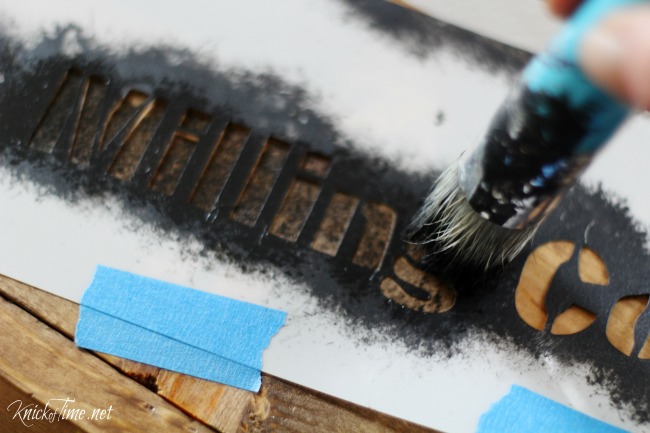
All finished! 🙂

I listed it in my shop, and it sold very quickly, but I took a few new photos of it today. I put a few farmhouse milk bottles in it to hold flowers for a flower shop tote.

Here it is styled as a bakery tote.
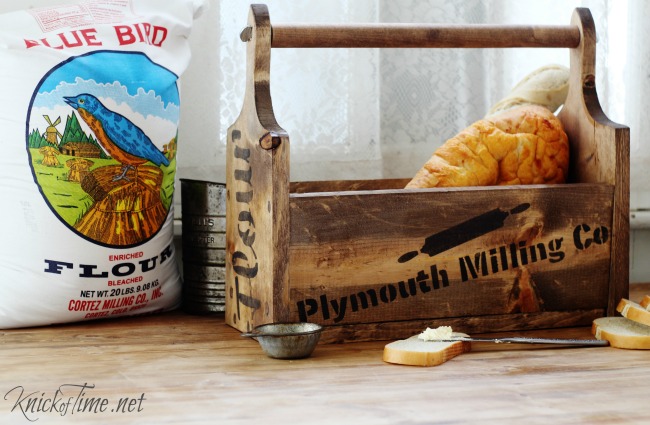
I would love to convince my husband we need to build more of these!
If you build one of your own – I’d love to hear about it! 🙂

Viya con Dios,

Here’s something I think you’ll love!


It came out great! No wonder it sold fast!
Also, thanks for the tip – I somehow never knew about T-Nuts.
david
This would be perfect for picnics. Thanks for sharing.
Love this ! It’s given me an idea I think I’d use mine as a craft caddy and use the paper towel holder as a washi tape/ribbon holder. Either way it will look great. Thanks
Love this idea!!! I het I can find many different uses for this!!!??
Guess it’s time to start up that jigsaw of mine any time soon now!!!
How tall are the ends of the wooden breadboard tote with paper towel holder?
Linda, from top to bottom of the sides, mine is about 14″, but I just used one of my breadboards to trace around, so they really an be any size desired.
I LOVE that tote!l Do you have any more to sell in your shop? I don’t think I could build one myself as I have arthritis in my hands which makes it hard to use tools. I would like one that is plain and I would stencil on it myself. I’ll check out your shop. There are so many things you could use the tote for! I LOVE it!
Naomi, we make each one as they are ordered, so they are always available in my shop! 🙂
I forgot to mention, if you want a plain one, leave a note when you purchase any of my stenciled totes, and I’ll send you a $5 refund since you’ll be stenciling it yourself. Just be sure to put “NO STENCILING” in the notes section so I see it.
Thanks!
I pinned it an hope to make one of my own soon. Thank you for sharing!
Dori, you can print the image out, then put tracing paper between the paper and your wood and trace over the image with a ball point pin. The traced line will show up on your wood so you can paint it. Good luck!
Good luck, Cherryl! I’m making another one this week that a customer ordered. 🙂
I need this tote! I immediately thought it would be perfect as a painter’s catch all, especially with the paper towel holder handle for a watercolorist. Jars could be placed in it to hold paintbrushes and tubes or pans of paint. And masking tape and other gadgets painters use can be tucked inside.
Suggestion: can you add a like button on your comments? There are a few of the comments I liked and want to tell the commenter that I liked their ideas.