Furniture Refinishing for Beginners
Tips, tricks, and what I learned by refinishing an antique coffee table.

It’s been years since I tackled a furniture refinishing project, but when I spotted an antique coffee table at a thrift store, it had to come home with me!
It has a crack and some pretty bad stains on the top.
The $40 price tag was steep, but I still wanted it.
My husband tried to talk me out of it, but I was determined to get it.
Never go thrift shopping with husbands. Never, never, never! 🙂
Since I haven’t done any furniture refinishing in a long time, I thought the challenge might be fun. And since my daughter is putting an offer on a house this week, I knew she’d need a coffee table.
But the real reason I wanted it was …
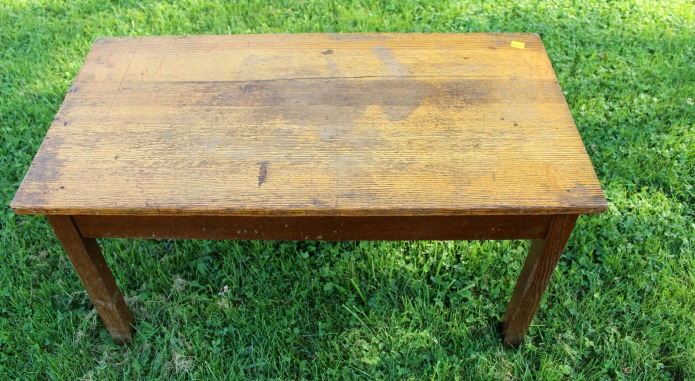
… the hardware on the drawers.
Yes, I’m a sucker for old hardware.
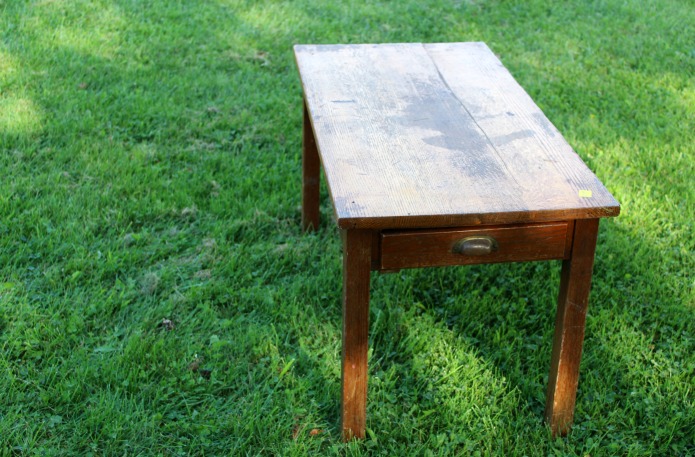
Those old brass drawer pulls were like a siren song calling my name.

I walked away from it several times, hoping I’d find a real bargain to distract me. But I kept coming back to it and finally gave in to the little metal sirens. 🙂
So, I got it home and began the task of refinishing it.
For those who are beginners at furniture refinishing, I’ll share how I did it, along with mistakes I made, a few tips, and supplies needed to do the job.
Supplies needed (includes affilidate links):
Citristrip (There are other products out there, but I used this one.)
Chip brush
100, 120, & 180 grit sandpaper
Palm sander
Wood stain (I used this color.)
How to do it:
- Remove hardware and clean.
- Apply stripping gel with a chip brush and let it sit for 1-24 hours.
- Use a plastic scraper to scrape off the finish.
- Put mineral spirits on steel wool pad and scrub off any residue.
- Use various grits of sandpaper to get a smooth finish. Start with a rougher grit working up to finer grit.
- Apply wood stain and let dry.
- Reattach hardware.
Tip #1 – Put a thick coat of stripper on the piece.
Mistake #1 – In hindsight, I think I should have put on a thicker coat.

Mistake #2 – I didn’t have a plastic scraper on hand, so I used a metal one which slightly gouged the wood.

Tip #2 – Use a toothpick to remove the stripping gel from inside the hardware holes. Don’t leave it.

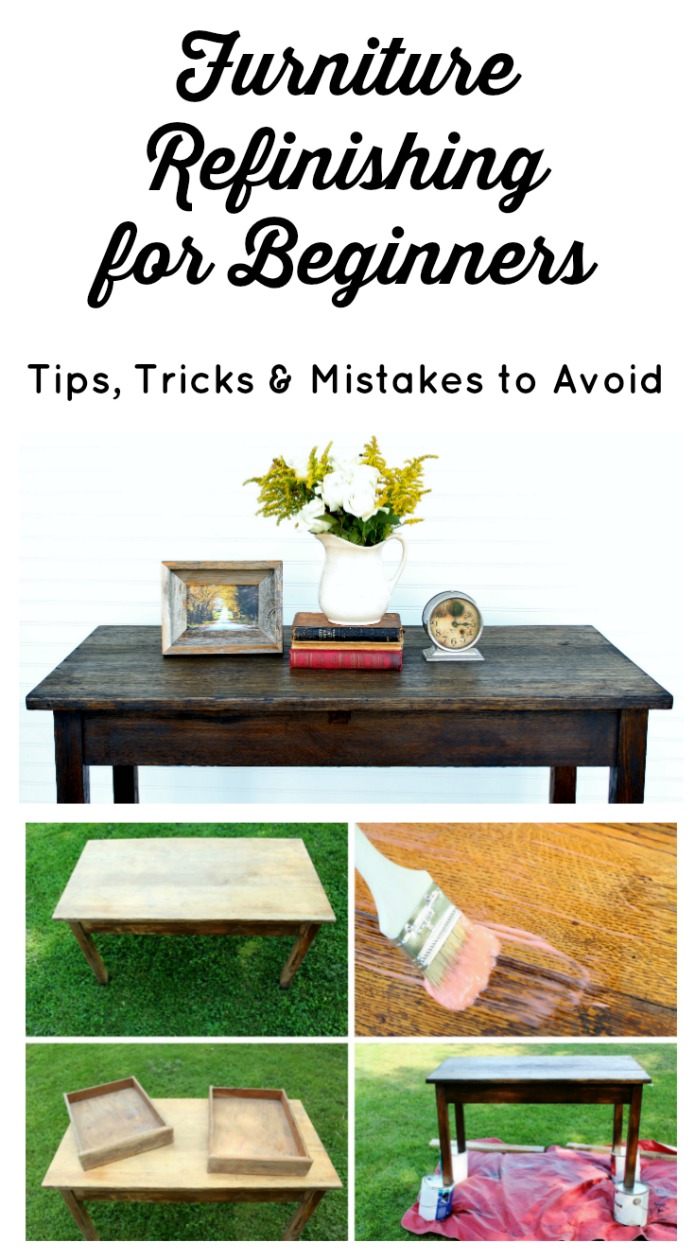
Here’s the top and sides all stripped. The stain on the wood still shows, but I knew stripping wouldn’t remove that.
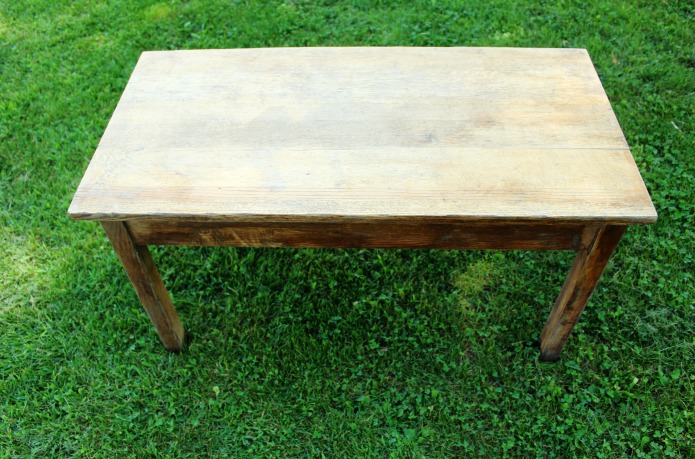
I knew I would need to use a dark wood stain to cover the stain on the wood, so I used the color ebony.

Tip #3 – Elevate your piece above the ground over a drop cloth while staining. That keeps the stain from puddling around the bottom of the legs and lets air flow around it to dry.

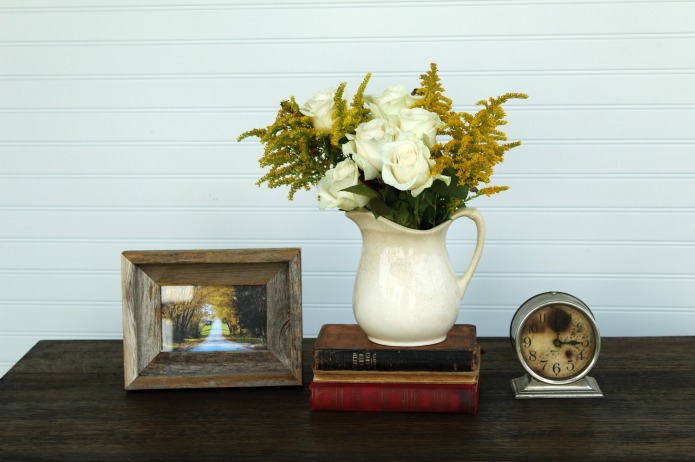
And here’s the finished coffee table.

Those little drawer pulls look so much better against the new color.

My daughter loved the deep color I gave it, and I can’t wait to see it in her new home!
To see some of my past furniture projects, click HERE.
Connect with Knick of Time – Facebook / Pinterest / Twitter / Instagram
Vaya con Dios,


Angie…Did you add wax , poly or some other sealant, on top of the stain?
I prefer wax over poly, unless I’m wanting a glossy sheen, Sharon.
It is a beauty and your daughter is a very lucky person.
It turned out beautifully, Angie! The thing I really like about it is that it still looks very “used” and rustic, but the stain gives it a nicer color. Great job! Thanks for sharing.
very good job on your table I hope your daughter gets her house and if you give the table to her for a house warming I hope she likes it.
I’m so excited for her to get her own home, Bonnie. I showed her the coffee table and she loves it!
I was in a thrift store today, and as I was looking through the frames/artwork, this man kept saying “Let’s go, lets go” to his wife. When he wandered away I whispered out of the side of my mouth “Never bring your husband when you go thrifting.” She looked at me and said “Ain’t it the truth!”
LOL – I feel her pai, Karen!
So so pretty! I love that dark stain, its classy. I found similar draw pulls at our local Restore and used them on a reclaimed wood box for my kitchen table, totally understand the allure! Wonderful makeover!
Thanks Audra. I do love hardware! 🙂
Hi Angie! Thanks for sharing this method of furniture refinishing. It is really good tips for me. I am going to do so after reading your tutorial 🙂