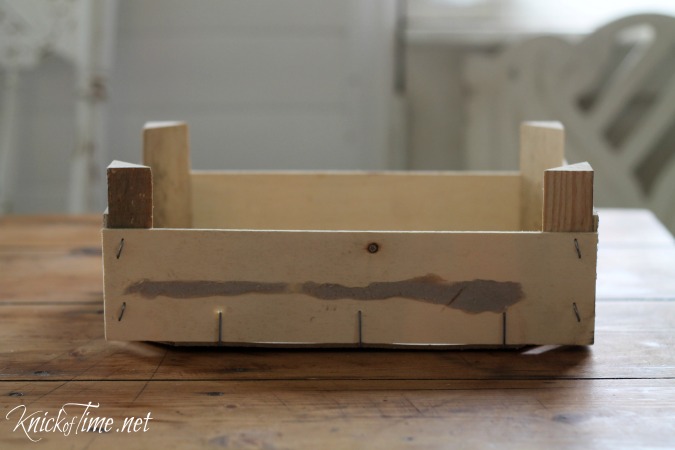
I love projects that don’t cost me a cent, are easy, and end up being so pretty, I’m left wondering why I didn’t make them a long time ago. This is one of those projects! I’ve had this clementine crate for over 3 years now. It was filled with fruit, which I used when I was styling my kitchen for the photos in my kitchen remodel post (seen HERE). It was torture for my kids not to eat the fruit for several days while I was getting all the photos I needed.
I thought I would paint or stain the bare wood parts, but when I tried to remove the paper from the side of the crate, the paper stuck to the glob of glue underneath. At that point, I retired it to the workshop, where it’s been ever since. I spotted it a few days ago, when I was looking for something else, and decided to give it another try. Poor thing…it was time I finally did something with it. Although I loved the cute clementine image, I couldn’t think of a way to allow it to show, without the glue globs showing too, so I decided to give the crate a rustic makeover instead.
First, I stained all the exposed raw wood.
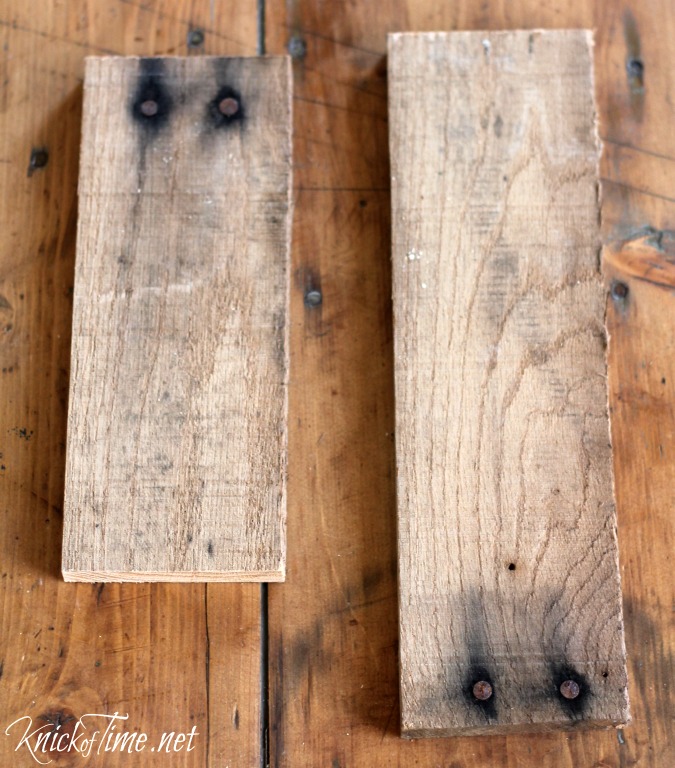
I had 1 board left over from all the other pallet projects I’ve done recently, so that board was cut into 4 pieces, for the 4 sides of the crate. To fit my clementine crate, 2 pieces were cut into 11-1/2″ lengths and 2 were cut into 9″ lengths.
I used my nail gun to attach the 4 pallet pieces into the corner supports.
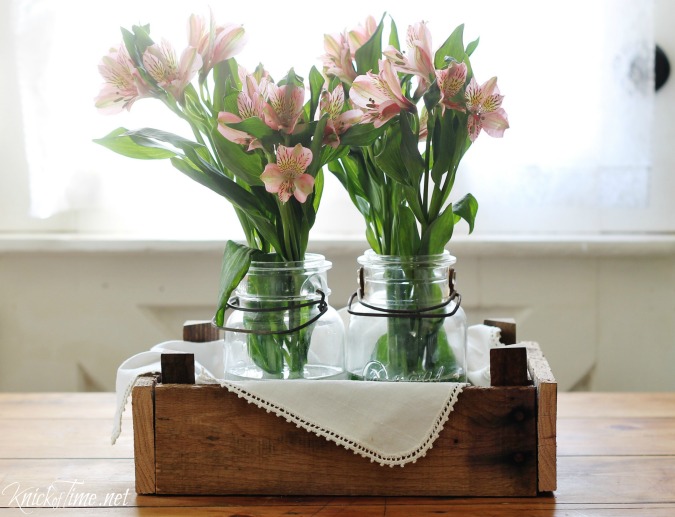
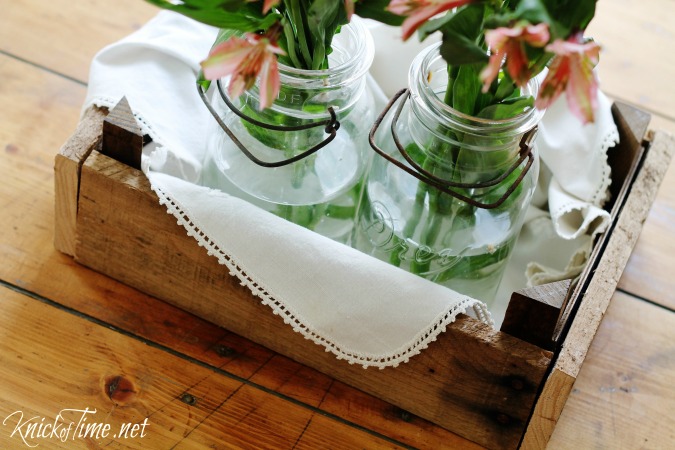
I can’t believe I waited 3 years to do this, because it only took about 20 minutes to finish, and it looks so rustic and pretty now.
This could be used all over the house – in the bathroom to hold hand towels, in the kitchen to hold utensils in jars, in the pantry for organization, or on the coffee table to hold remote controls. I opted to put a few vintage canning jars in it, because it was a great excuse to by myself some flowers!
I would love to make a few more of them, but lately our Walmart has been selling the clementines in bags instead of the cute little crates. Don’t they realize the crate was a great selling point?!
I can’t believe I got FOUR projects from just ONE pallet! I have another pallet sitting in my basement, and I can’t wait to dream up some ways to use it too.
If you missed any of them, click HERE to see them, and more Salvaged Wood projects!


I miss those clementine crates, too. Mine are used as “elevators” when I’m painting chairs or small tables on my work bench. They elevate the inverted chairs, but don’t stick out around the edges so i can paint the legs & sides more easily. I also put a rubber drawer liner/rug stabilizer on upside down crates and use them under other small painting projects. Easy to turn them around when I’m painting and get to all the sides.
Besides..the clementines get all mushy without the crates to protect them!
That’s a great idea, Kat!
Great idea
Lovely! And I actually think I have most of what I need to do this buries somewhere in my storage… I’m sure I’ll find it eventually! x
LOL – NIkki, just go looking for something else in your storage, and you’re sure to find the clementine crate! 🙂
This is such a smart idea. I will have to get after my kids to hurry up and finish the half eaten box of clementines, so I can get my creative juices flowing.
Thanks for sharing,
Suzanne
Pieced Pastimes
Put all those clementines in a basket, so you can use the cute box, Suzanne! I need to find a store that still sells them in the crates so I can get more of them!
Angie, love the look and simple to do, too. Now I keep reading where you find something in your workshop….we all want to see a photo of your workshop!!
Liz, believe me, you probably DON’T want to see a photo of my workshop, because it really should be called a Hoardshop right now. It is floor to nearly ceiling filled with junk, all waiting to get repurposed!
I have one of those that I’ve been meaning to do something with – thanks for the inspiration~!
I can see you stained the pallet pieces but it looks like you left the cut edges unstained. Is that correct? Thank you for the idea. I have a stack of these from several years ago when clementines were always packaged in them. I knew they could be something useful.
Kathy, no I didn’t stain the pallet pieces – that’s their original color. I opted to leave the cut edges unstained, because I didn’t want to stain over the rest of the pallet wood – it looked pretty as it was.
Love this idea, I had one of these crates for years and finally threw it away when we moved. Next time I will definately NOT throw it away but reuse it!
Now I know what to do with those clementine crates! I used to use them for a bit of storage in the laundry room as they were…but your idea beautifies them and gives them much greater stability, so I will definitely have to try this! Oh, and those little clementines are sooooooo addictive, aren’t they? They don’t last long around here!
What a cute idea… we’ve got tons of those crates currently being used for paint supply & junk stuff storage, along with an occasional “cat must sit in the box” storage!!! The clementines in a crate can be found at BJs & Publix supermarkets here in FLA.
I keep all my clementine crates! They make great craft room storage…and you can stack them!
Oh my darling oh my darling, oh my darling Clementine crate…..
I have 2 of them sitting in my art studio waiting for a facelift. lol
great idea.
Debbi
Love it! I’m about to start a woodworking class so maybe I can make one soon!
Maureen, good luck in your woodworking class, but you won’t need it for this project! It’s literally just a few straight cuts on one board, and a few nails! Have fun!
Hah! I’ve got a crate like this in the basement waiting for a brilliant idea. I love your brilliant ideas!
super cheep idea that looks outstanding.. thanks for sharing!
These things take time you know. It was worth the wait, so cute!!
Angie I will never look at a clementine box again! What great project! Thank you for sharing it at THT.
I’m looking for more of them, and can’t find them now, Pamela, but I’ve heard other people say they can still find them in their local stores!
Beautiful! Thanks for sharing, Angie!
My pleasure, Tina!
I’m confused did you just remove all the sides and add the pallet wood and only use the original support posts and bottom? I have a few different crates I need to do something with
Tammy – no, I didn’t remove anything from the original clementine crate. I just added the pallet wood over it.
WOW oh WOW………I love your website ! I’m officially addicted.
Thanks so much,
Mary Baer (Muffie)