Christmas Centerpiece with an Upcycled Pallet Crate
You’re in for a treat today, because not only and I sharing how to make a Christmas centerpiece crate, but I’m also joining up with a amazing group of other women.
 The reason why this group of women are so amazing is that these aren’t just any group of bloggers …These women are all OVER 50!
If you are over 50, you already know that as we age, things that once seemed seemed easy, become a bit more challenging, but these bloggers continue to work very hard, sometimes it seems harder than we worked in our 30’s, because we’re all passionate about what we do, and love sharing our projects and homes with our dear readers. If you are over 50, you already know that as we age, things that once seemed seemed easy, become a bit more challenging, but these bloggers continue to work very hard, sometimes it seems harder than we worked in our 30’s, because we’re all passionate about what we do, and love sharing our projects and homes with our dear readers.
For our blog hop, I decided to share a Christmas centerpiece. I made the project several years ago but it started out totally different.
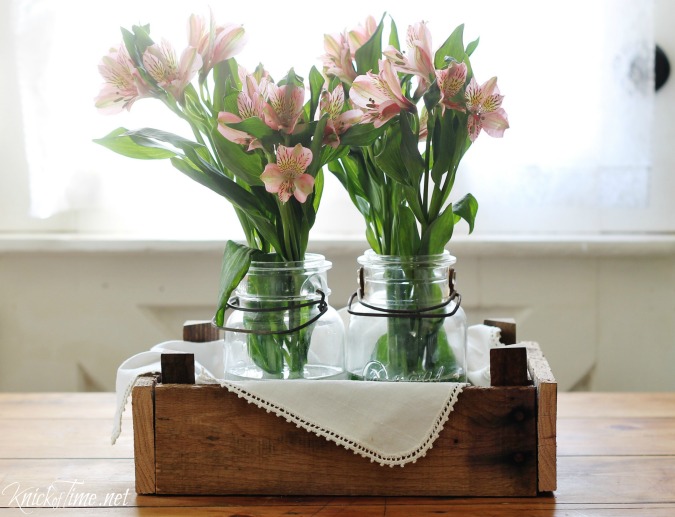
If you’ve been following my blog for at least a few years, you may remember the clementine crate I turned into a rustic farmhouse style crate with pallet wood. If you missed that tutorial, you’ll find it HERE. I loved it but wanted to spice it up a bit after awhile.

First I stenciled it and used used it in my woodland Christmas guest room. It was filled with string lights and pine cones.
But ever since then, Jack and Sawyer (two of my daughter’s cats) have been using it as a cat bed.
They officially have a new home. No, we didn’t get rid of them. My daughter closed on her own home last week! I’ll miss her and her cats, but I admit, I won’t miss their fur. 🙂
So now that the crate is free of fur, I can finally use it for my own purposes. I decided it was time to give it a makeover for Christmas.
How I made my Christmas centerpiece
First I painted the crate with barn red chalk finish paint by Dixie Belle Paint Co. It’s a wonderful deeper red that is perfect for a rustic Christmas crate.

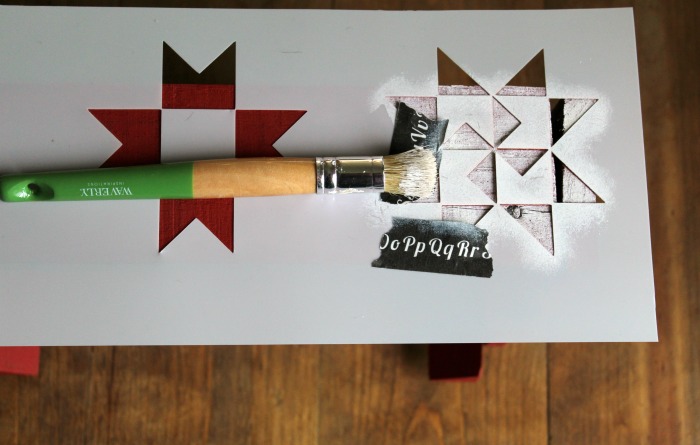
Then I taped the small Quilt Blocks stencil on the front of the crate and used Fluff chalk finish paint, which is a crisp bright white for the quilt blocks design.

I thought about distressing it, but the pallet wood was rustic enough and it looked great as is.
I wasn’t sure what I would do with it at first, but I remembered the painted mason jars I’d made several years ago.
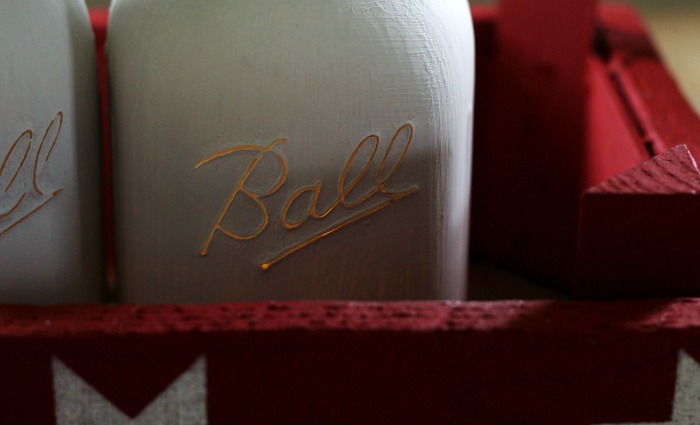
So I painted two of them (again with Fluff color chalk finish paint) and let them dry, then distressed them with sandpaper.

I knew they would look sweet filled with faux evergreens and a battery tea light candle shining from them.

And I was right! 🙂

All my kids will be home for Christmas, and I can’t wait to use it as a Christmas centerpiece!
PIN ME!

Now enjoy taking a look at the rest of the projects our blogging team has for you …
The Creative Christmas Link Party is hosted by Janet of Shabbyfufu and the bloggers of Blogging 50. Please visit all of the talented bloggers below!
Vaya con Dios,


You were right they do look sweet with the battery lights inside them. I think this would make a great gift too, nothing better than a hand made gift.
Maria
Love this project Angie! You are correct that is a beautiful rustic red. 🙂
Angie, this is so cute! Love the stencils against the dark red! Pinned. Visiting from BF.
How beautiful Angie! I think you can make these as gifts and/or sell on Etsy!
visiting from blogging50 😉
This is so sweet. I love the rustic charm.
This is so sweet and the red and white crate is stunning. I could see you using it all year round, especially on one of your outdoor summer picnic table settings!