Dog Bone DIY Treats Storage Jar
Make an adorable Dog Bone DIY Treats Storage Jar for your pet. It’s so easy using supplies you probably already have on hand.

We have a new addition at the farmhouse. He’s a small black kitty that my daughter adopted for my son whose adult black cat (Loki) disappeared almost a month ago. I was a little worried that Chica, my son’s dog, wouldn’t get along with the new kitten, but they are great buds! They wrestle and chase each other all around the house. It’s so nice for Chica to have a new friend since Pico went to live with my older son who is his owner. You met Chica when I shared a DIY pet treat and dog leash hanger HERE. We can’t give Chica moist treats anymore because the kitten will eat them, and that wouldn’t go over well with Chica! So we’re giving her dog bones as a treat instead.
The dog bones come in cardboard boxes, but I wanted to find something prettier to store them in. I came across this large glass jar for $1 at a thrift store and knew the size was perfect to hold a lot of dog bones with just a little effort.

I wanted to use the same technique as I used on my Gingerbread Man Candy Jar.
Supplies needed to make a Dog Bone DIY Treats Storage Jar:
Large glass jar with lid
Spray paint
Adhesive shelf liner or vinyl
DIRECTIONS:
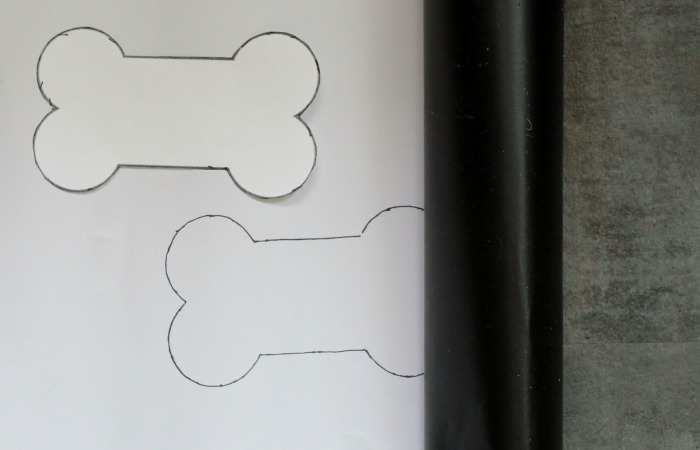
- Print out the dog bone as a 4″ x 6″ image (larger or smaller if using a different size jar), then cut it out and trace the shape on the back of adhesive vinyl and cut out the vinyl shape.
- Wipe the jar with alcohol to make sure all the dust and fingerprints are removed.
- Adhere the dog bone shape to the jar making sure to press down well, especially around the edges. Spray paint the jar with the lid on so no paint gets inside the jar. TIP – Make sure to hold the spray paint can at least 12 inches away and use quick short bursts so the paint won’t drip.
- Use the fine point paint pen to make “stitch marks” around the dog bone shape. That just makes it stand out a little more.


I ended up free-painting the lid white to make it match the pen stitching around the bone.
It only takes about 20 minutes, not including drying time.
That’s all there is to it. Just fill it up with dog biscuits.


It looks adorable, much cuter than having cardboard boxes around the house!
P.S. – The same project could be done for cats using a cat silhouette like this one.
If you liked this project, I would greatly appreciate it if you would take a moment to pin it on Pinterest or share it on Facebook!

More products for your dog:
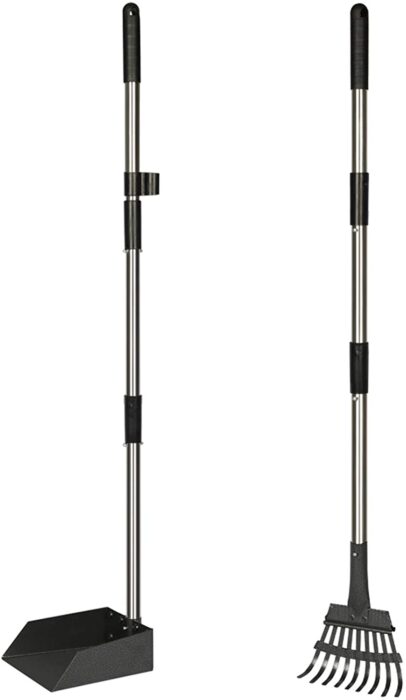
Dog Pooper Scooper

Stay well and be creative!
Vaya con Dios,


I love the dog treat jar! I have a Xlarge jar sitting at my feet right now! Hobby Lobby hare I come..
Have fun Teresa!